|
|
|
Aviation Links:
|
Empennage: pg 1 | pg 2 | pg 3 | pg 4 | pg 5
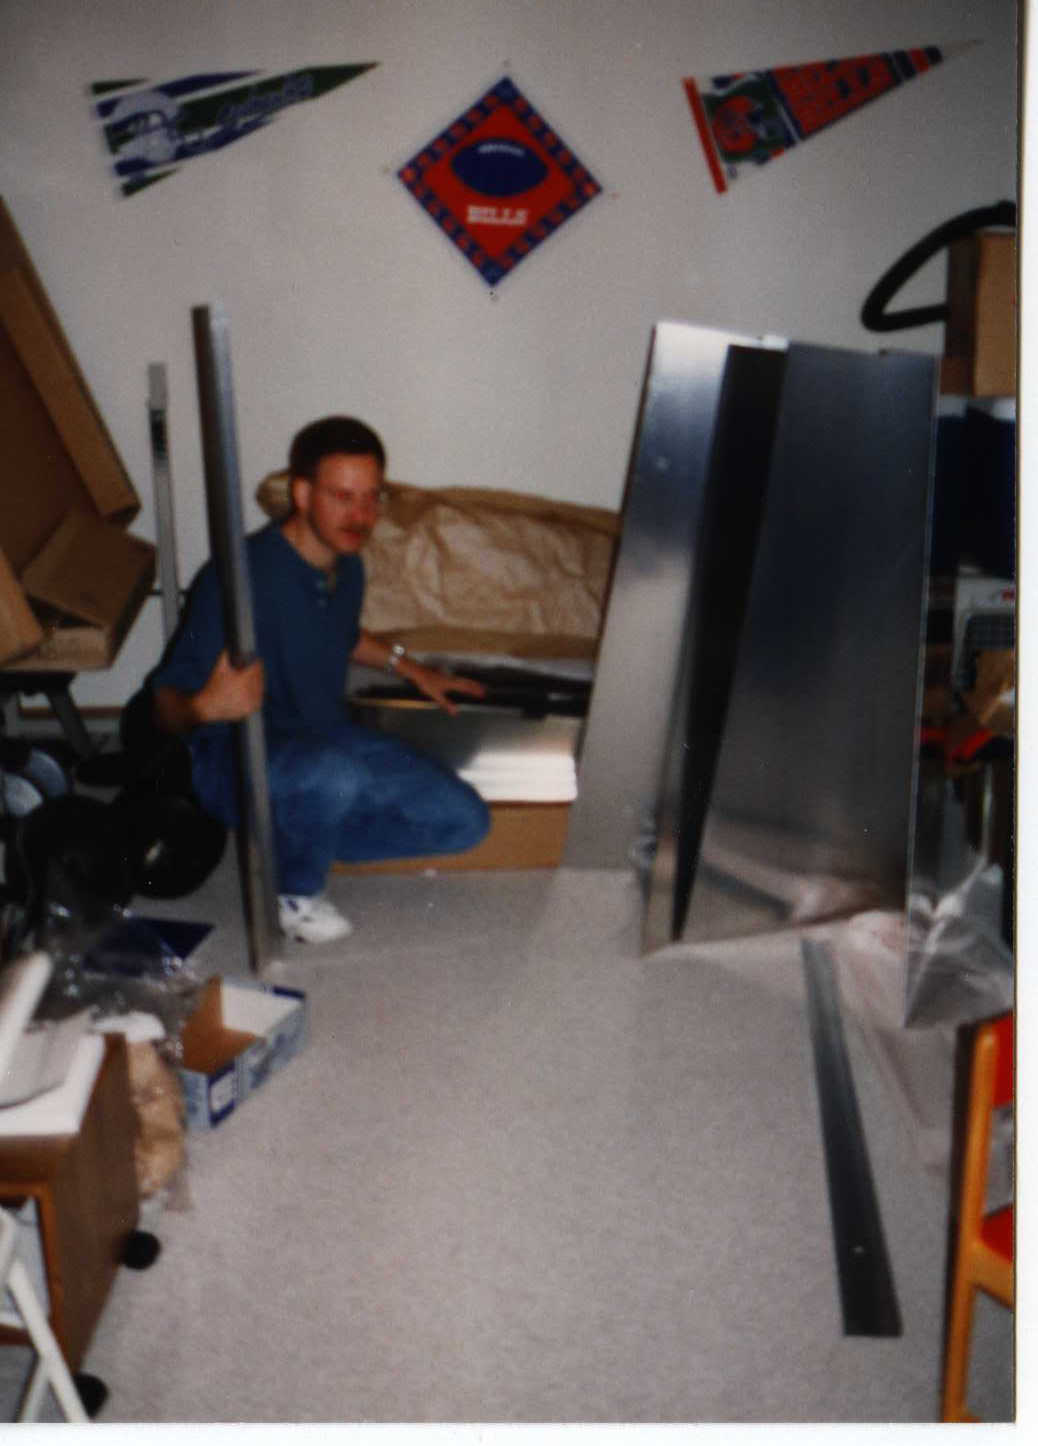
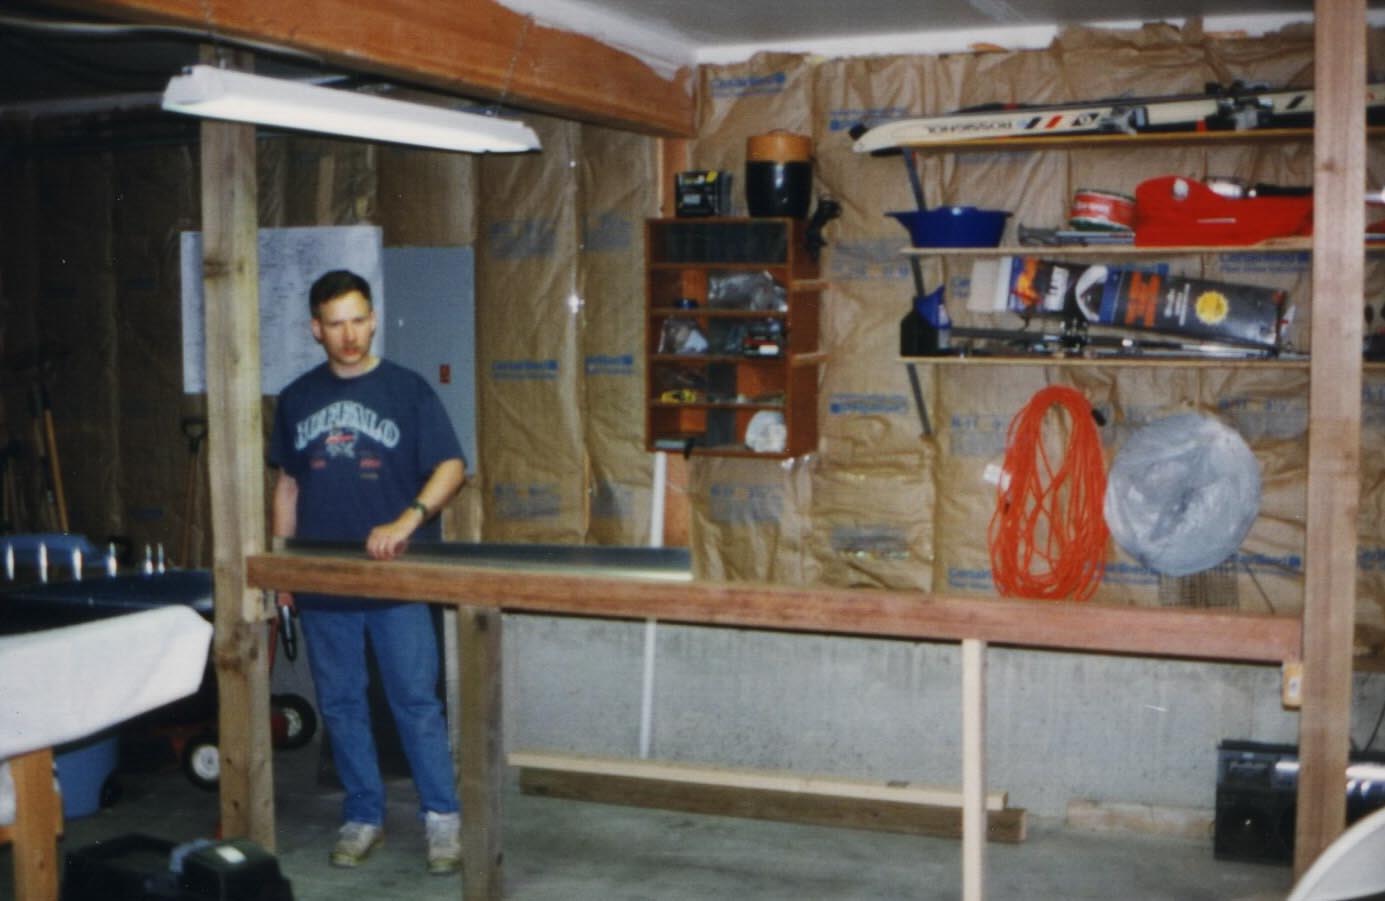
July 1996: Empennage kit has arrived; wasn't really sure what I was going to do with all these parts and starting to wonder if I could really learn how to do this. Picture quality not real good hear because this is a digital photo of a real picture....affordable digital cameras didn't exist when I started this project (not even sure expensive ones could be bought at that time).
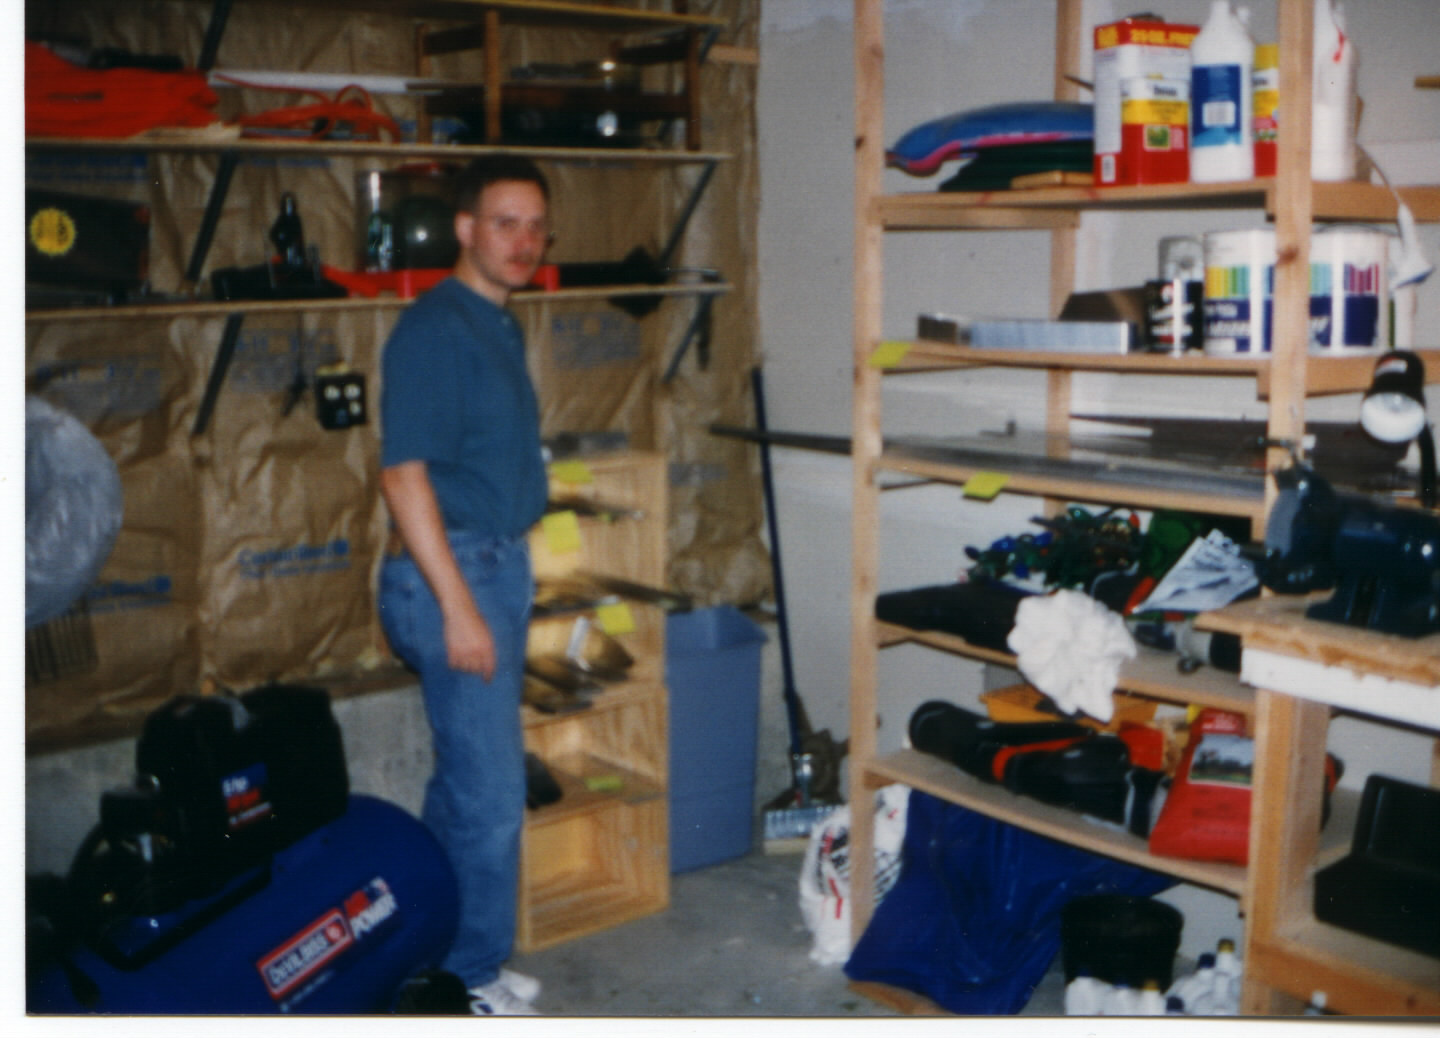
After inventory process, trying to find space in the garage for all the empennage parts:
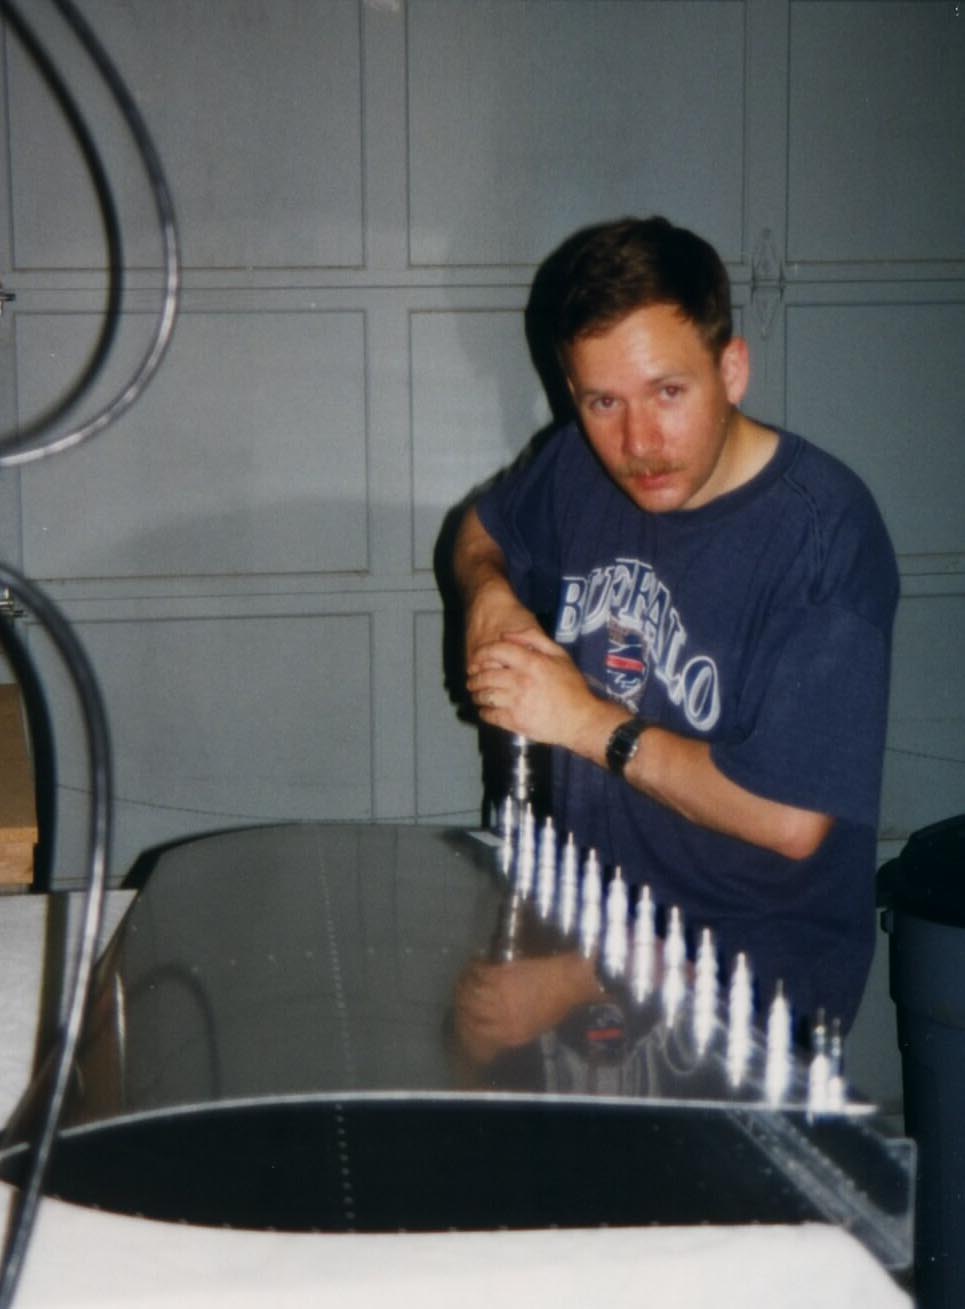
My first use of clecos. This was the first generation of "pre-punched" tail kits Van's sold. Pre-punched wing kits were still not available but since I was building between submarine patrols, I would later get one of the first generation "pre-punched" wing kits (only skins were pre-punched, not ribs, etc). Posting these pics 11 years after they were taken - can't believe that's really me!!
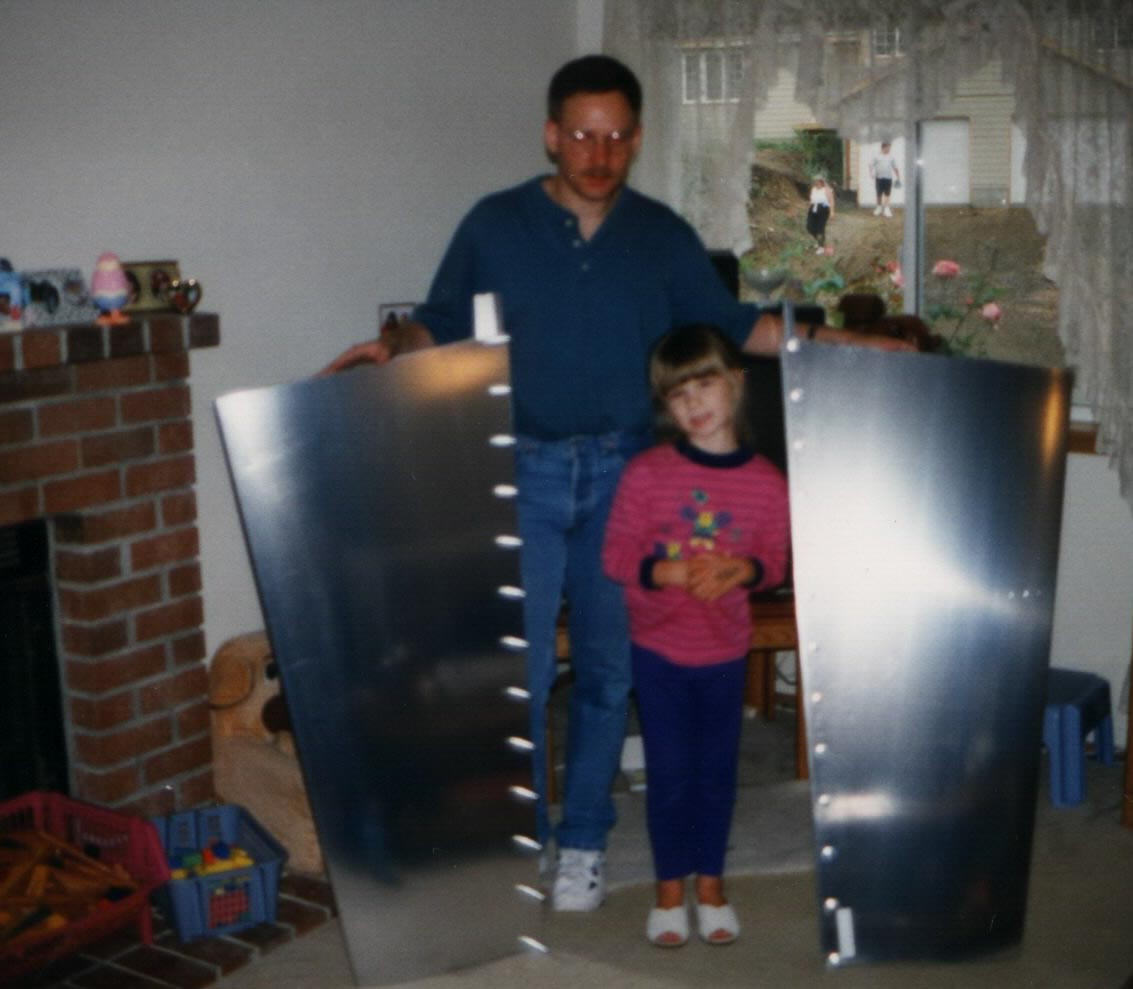
My first temporarily joined parts (horizontal stabilizer halves):
Built jig for horizontal and vertical stabilizer construction. Trying to figure out how I was going to use this jig to align and build the HS and VS parts:
|
|
This page was last updated on 12/18/11.
Click here for questions or feedback. Copyright © 2007. All rights reserved. Chris Hand, chris@ckhand.com
|