|
|
|
Aviation Links:
|
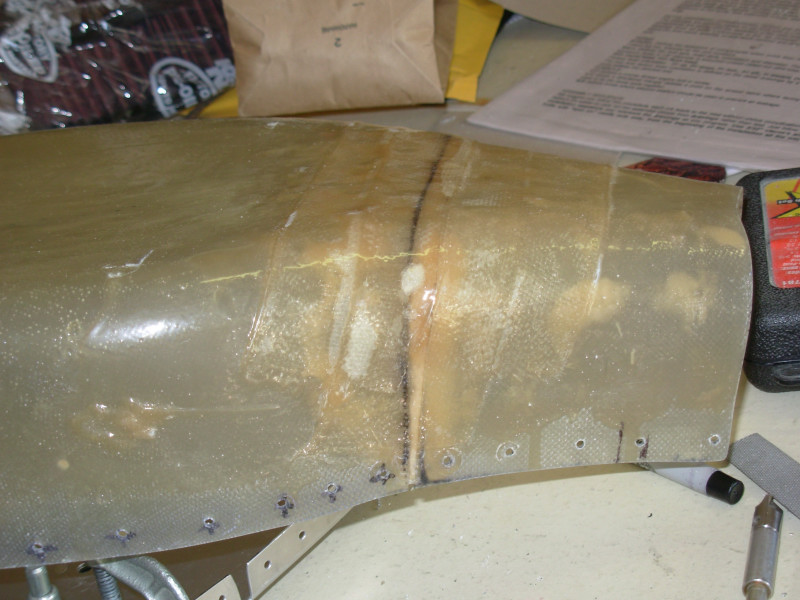
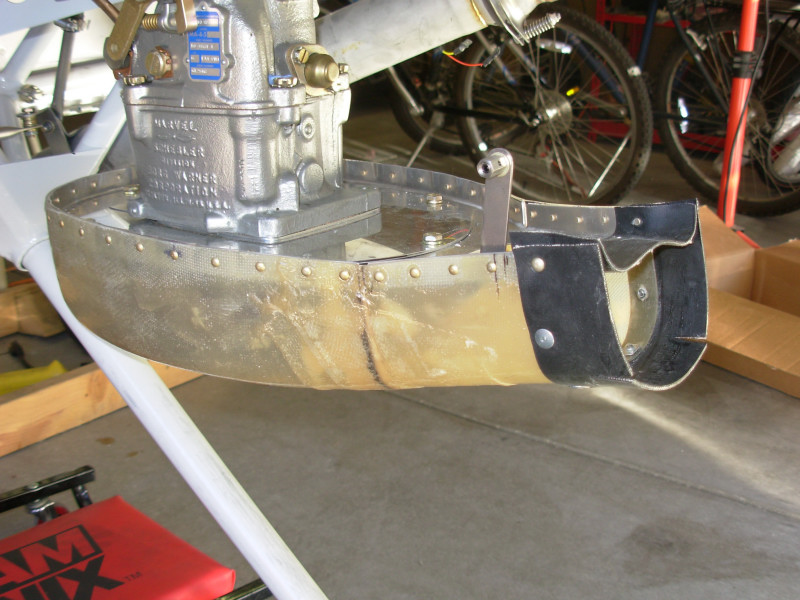
As with many, my airbox did not line up well with the air scoop on the cowl, so I had to cut it for repositioning and patched it back together with a few layers of fiberglass. That's what the somewhat sloppy looking job here is, but it's smooth on the inside where the intake air flows and nobody will see this thing with the cowling on.
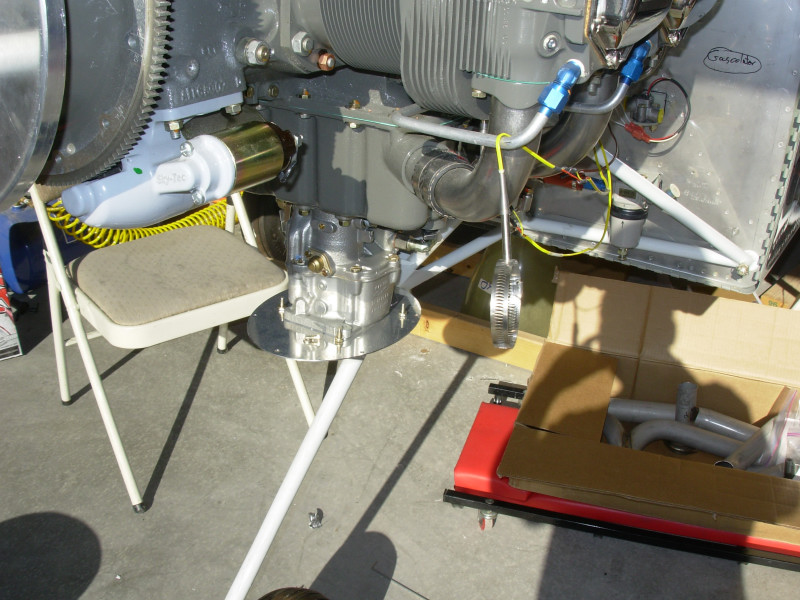
This shows the airbox top plate installed on the carb. This is what the airbox bolts to using #8 screws and nutplates:
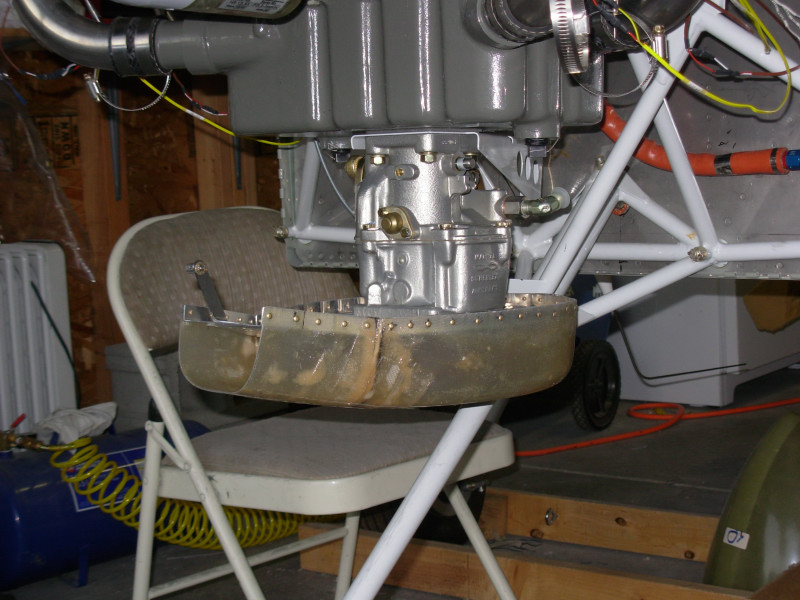
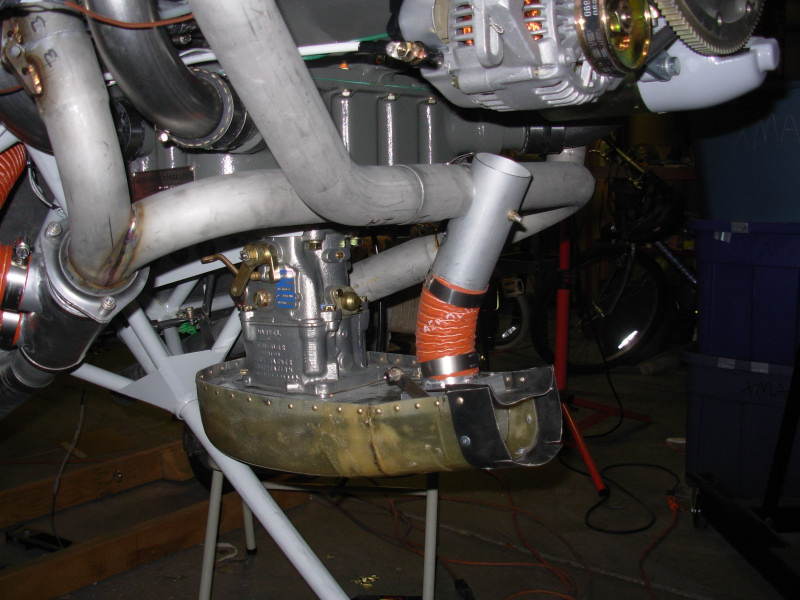
Here's the riveted airbox installed on the plane, ready to fit the cowling back on so I could extend the fiberglass air scoop inlet back to meet the airbox (that process is detailed on the next page).
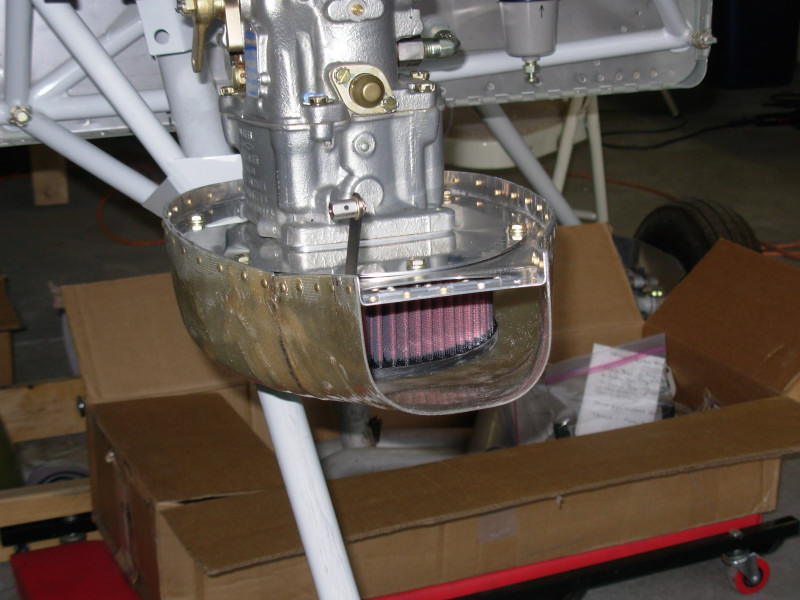
And here's the finished product with the air seal material installed (this picture was taken after the air scoop work shown on the next airbox page of this web site):
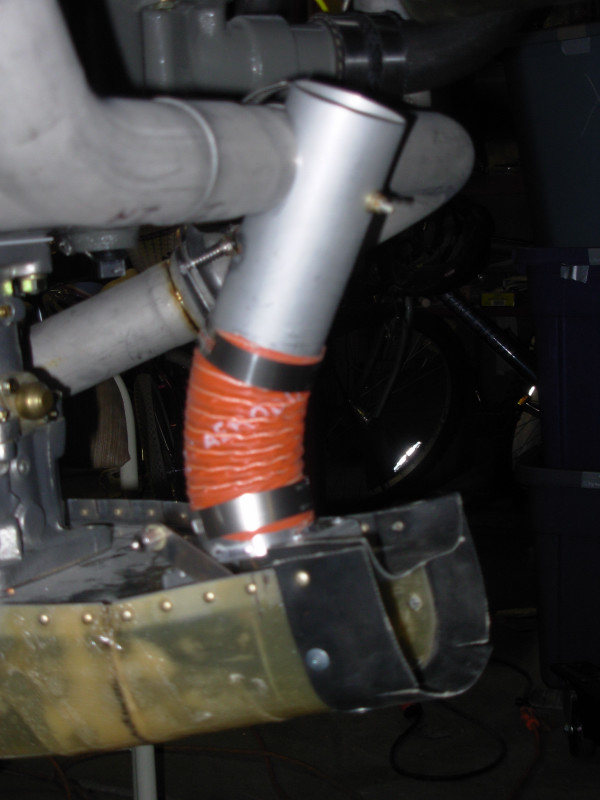
Here are a couple pictures with the carb heat muff installed:
|
|
This page was last updated on 12/18/11.
Click here for questions or feedback. Copyright © 2007. All rights reserved. Chris Hand, chris@ckhand.com
|