![]()
![]()
![]()
|
|
|
Aviation Links:
|
Baffles: pg 1 | pg 2 | pg 3 | pg 4
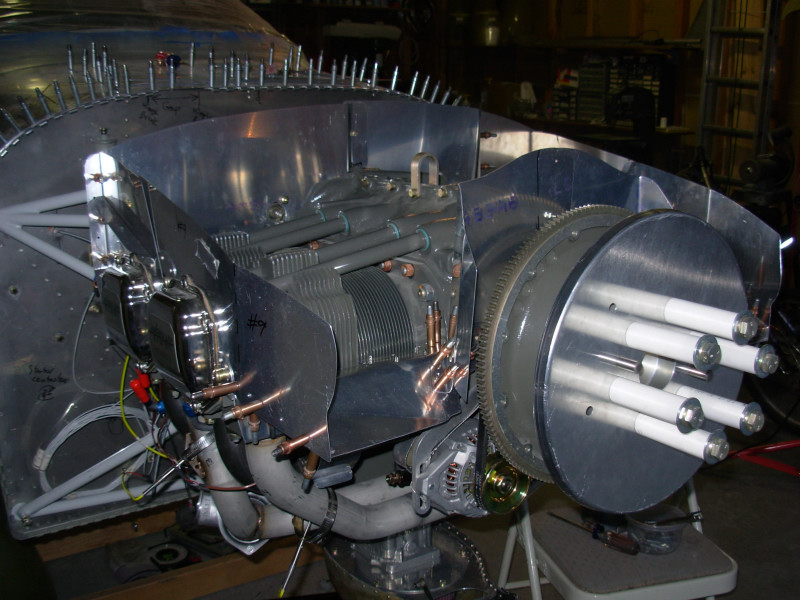
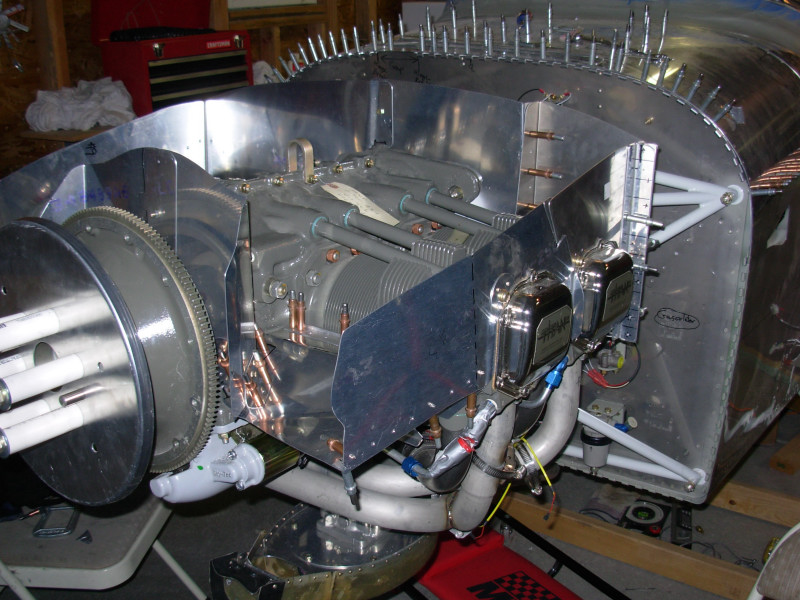
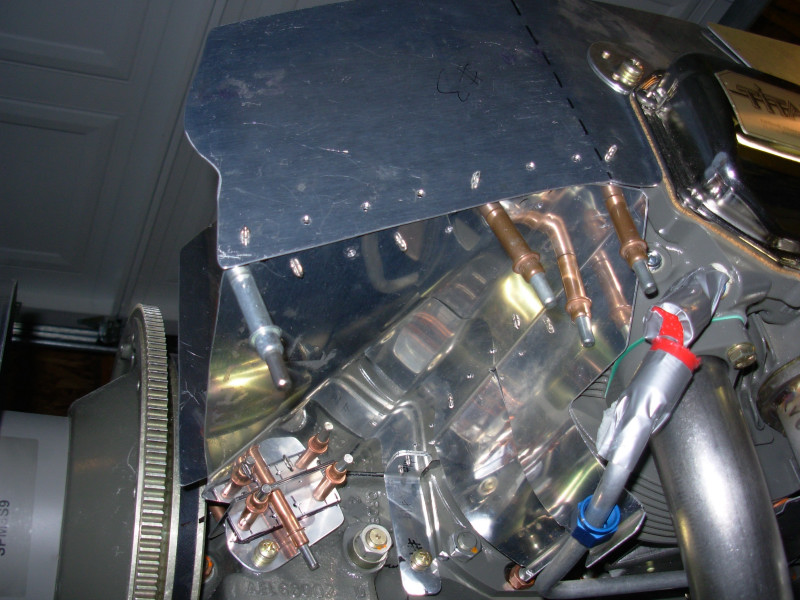
The baffles were tremendously confusing, even with the plans and baffles kit. These pictures show everything roughly fit and installed temporarily. Getting the baffles "right" is very much a trial and error process and I don't think there is really a right or wrong way to handle a lot of the little challenges you encounter in fitting the baffles - just as long as in the end they can get the job done in separating the high and low pressure areas under the cowling.
I used the baffles mounted oil cooler approach. This picture here shows the left side of the baffles before the oil cooler is fit and the hole cut:
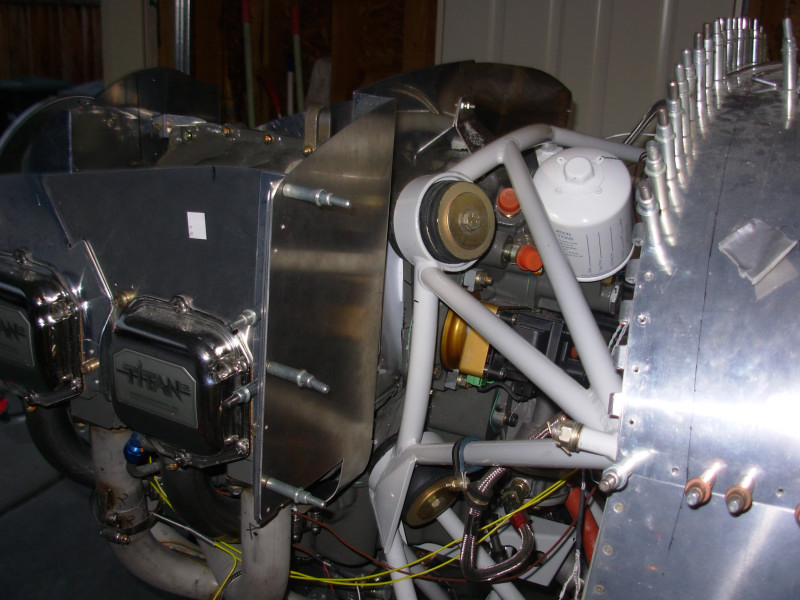
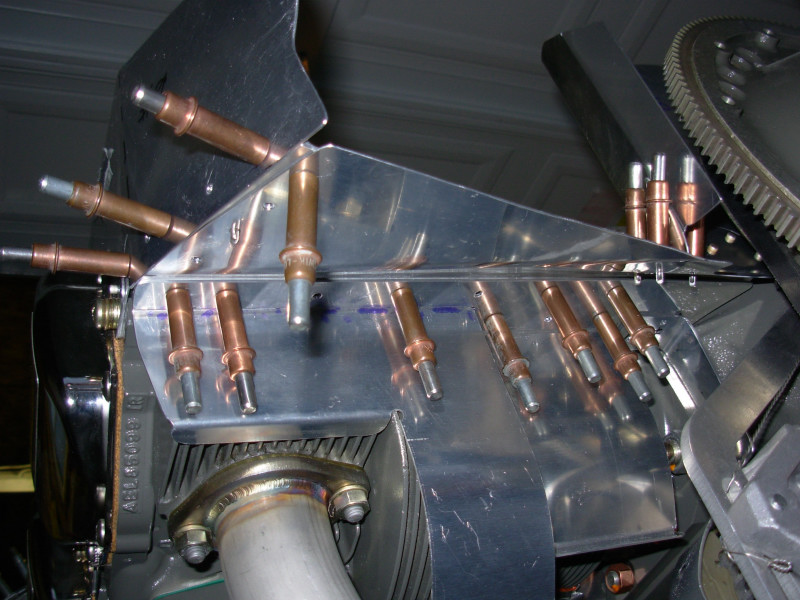
Here's the bottom, front, left view that shows the area below the cooling air inlet ramps
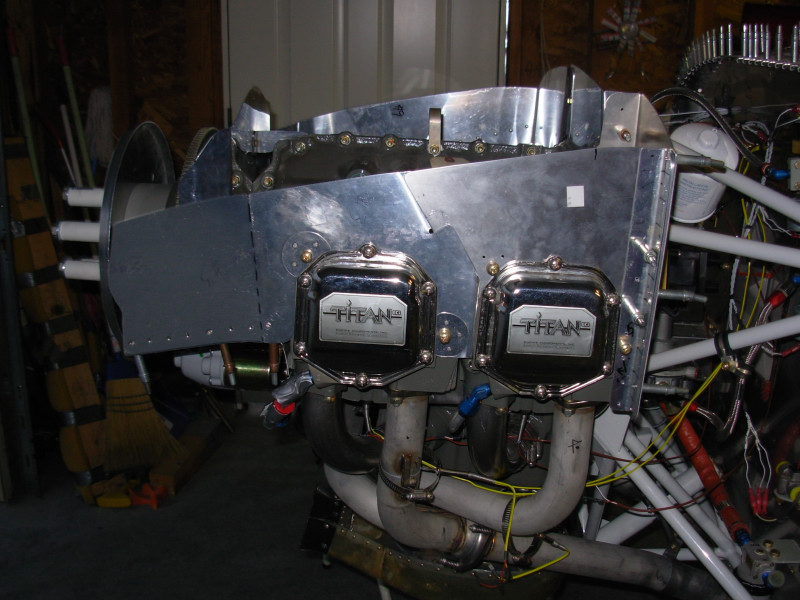
And here's a view of the bottom, front, right side under the cooling air inlet ramps on that side:
Baffles: pg 1 | pg 2 | pg 3 | pg 4
|
|
This page was last updated on 12/18/11.
Click here for questions or feedback. Copyright © 2007. All rights reserved. Chris Hand, chris@ckhand.com
|