|
|
|
Aviation Links:
|
Baffles: pg 1 | pg 2 | pg 3 | pg 4
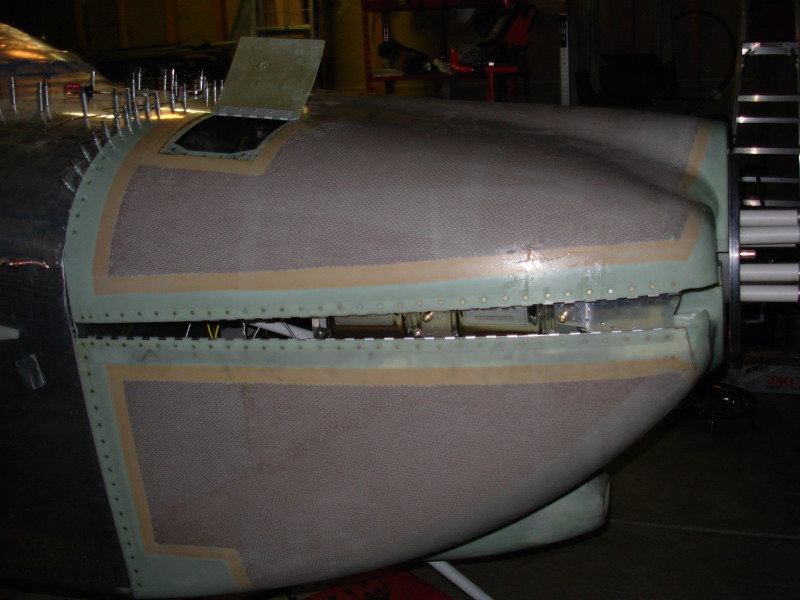
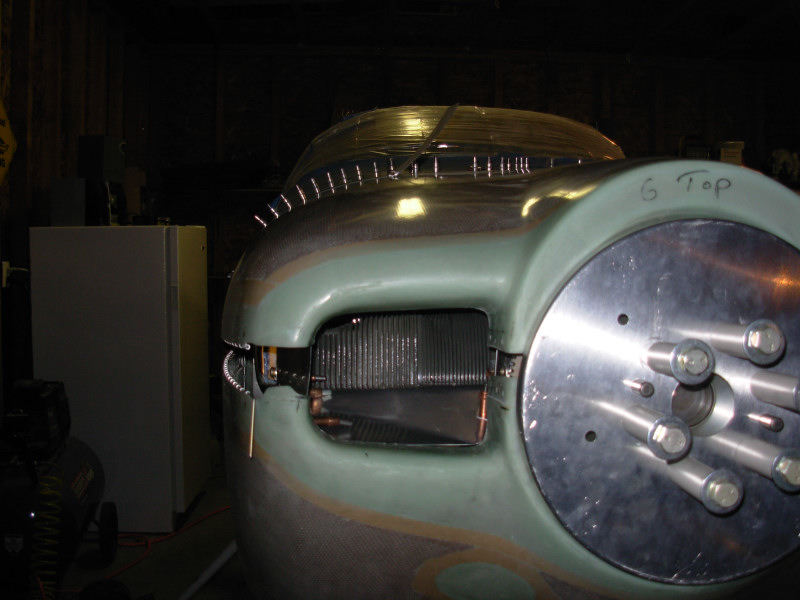
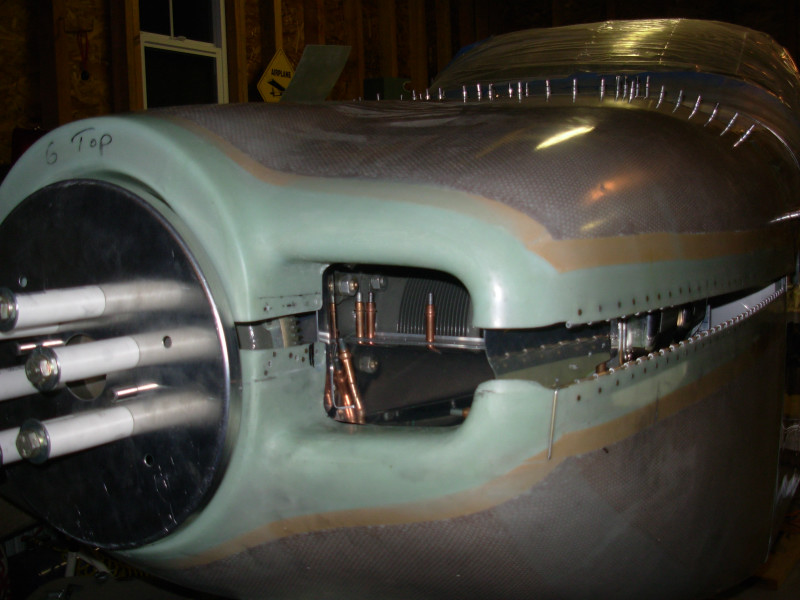
With the baffles mostly done, it's time to put the cowl halves back on and start the tedious task of trimming for the required gap to install the air seal material. This process took me a long time and a lot of patience, but it can be done..... The area around the ramps you install on the top cowl is the most confusing. I did a lot of web surfing and emailed Van's about this before getting mine done. In the end, Van's said you want the air seal material on the ramps themselves. Figuring out the transitions and preventing gaps along the curving surfaces is the hardest part. Hitting up your RV buddies and looking at flying planes was the best resource for ideas and picturing how to do it and what works. Once I got it to the point of being able to install the cowl normally again, I used a tip I'd read about in one of the on-line forums; put paperclips on the top of the baffles all the way around and replaced the top cowl, then used the displaced paper clips to see how much more needed to be trimmed everywhere to get the desired gap. It looks like I have a pretty good fit and seal, but the proof will have to come when I start flying and see how the CHTs turn out.
Baffles: pg 1 | pg 2 | pg 3 | pg 4
|
|
This page was last updated on 12/18/11.
Click here for questions or feedback. Copyright © 2007. All rights reserved. Chris Hand, chris@ckhand.com
|