|
|
|
Aviation Links:
|
Wing Installation: pg 1 | pg 2 | pg 3
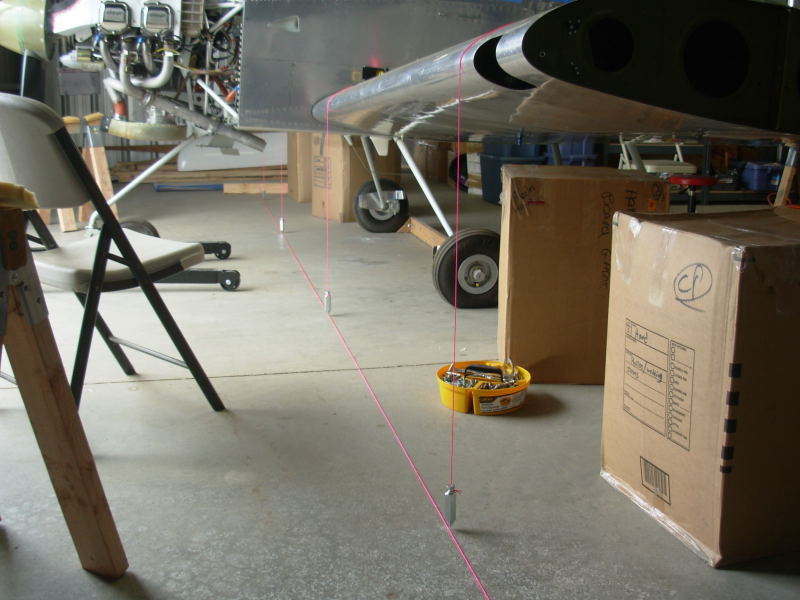
Justin and I got the wings temporarily installed for setting the wing incidence angle and sweep so we could drill the hole for the rear spar bolt. Getting the wing position set wasn't too difficult, but drilling the rear spar is a bit nerve-wracking as the edge distance from center of bolt hole to edge of metal in all directions is very critical and there is not much margin in some directions. Here you can see the plumb bobs from the leadiing edges and the straight line on the floor where I'm checking the wings are straight all the way across. There are several other measurements you make and double/triple check before drilling. We actually got everything all setup and then went home for the night before coming back, rechecking everything, and then drilling that second day. Then it was a week before I got enough other work done (wing root fairings, marking connections, tank attach brackets, etc) to pull the wings off and verify I did in fact meet all the edge distance requirements on the rear spars (much to my relief).
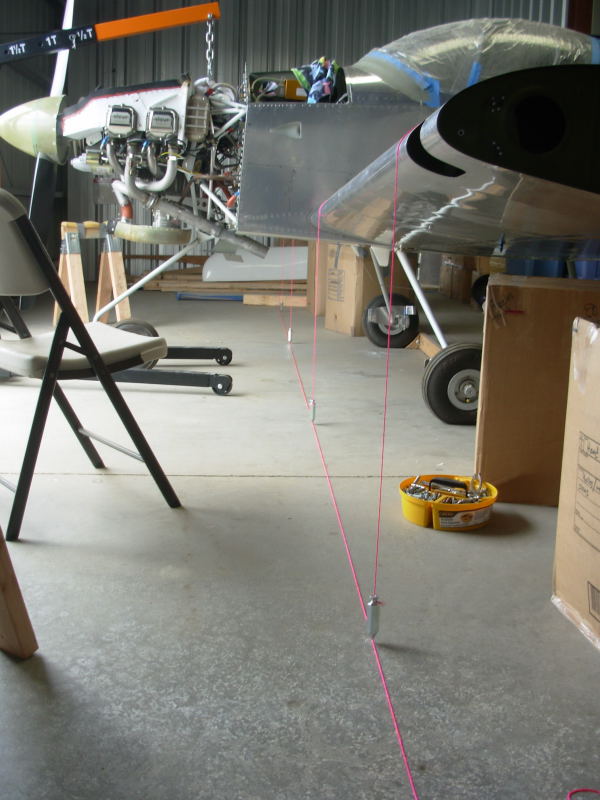
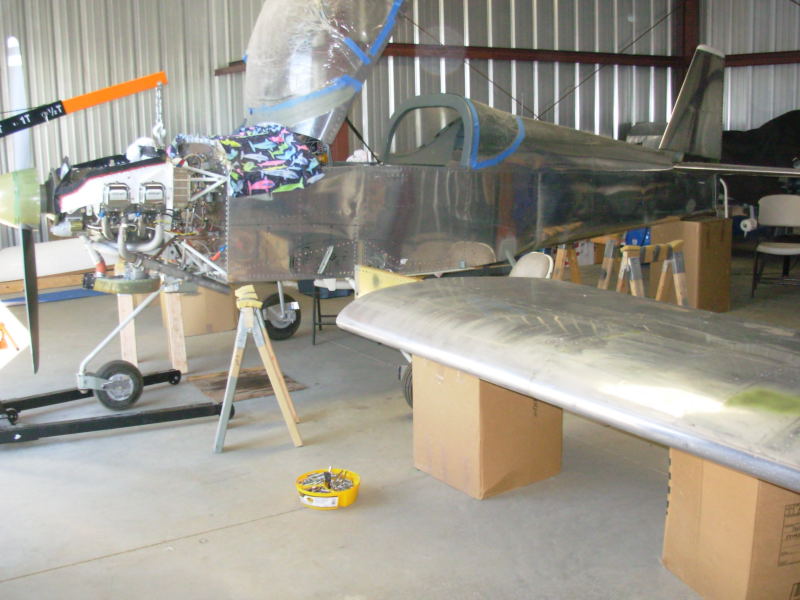
I used the engine hoist on the engine mount (well padded) and packing boxes under the tail to help get the plane level in all directions for the required measurements:
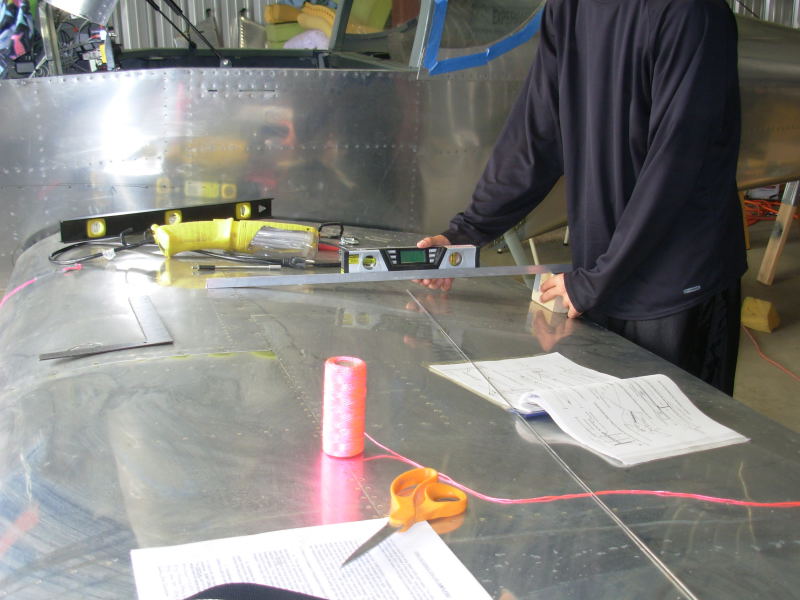
This illustrates the use of the spacer block described in the manual for purpose of checking the wing angle relative to the fuselage longeron and angle of the horizontal stabilizer. Everything came out very close, within tenths of degree measure in multiple places along the wings and HS.
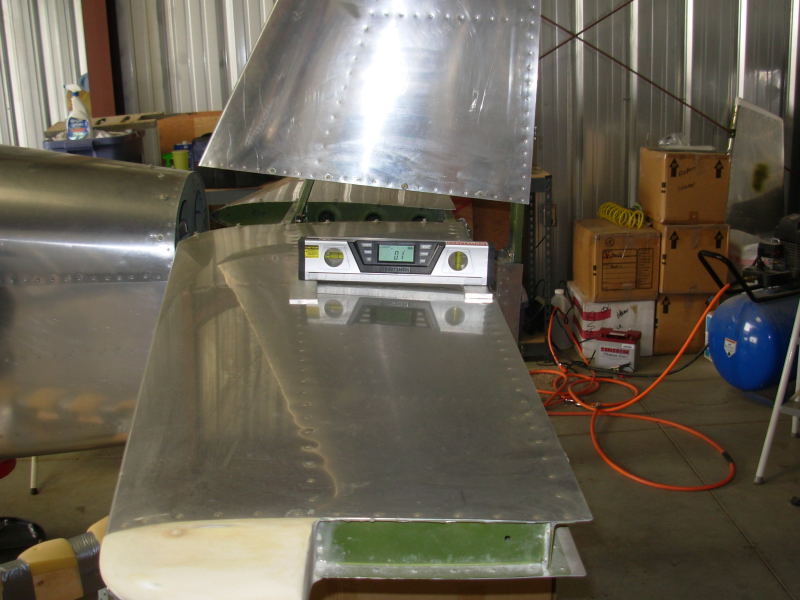
Measurement on HS using appropriately sized spacers per the construction manual:
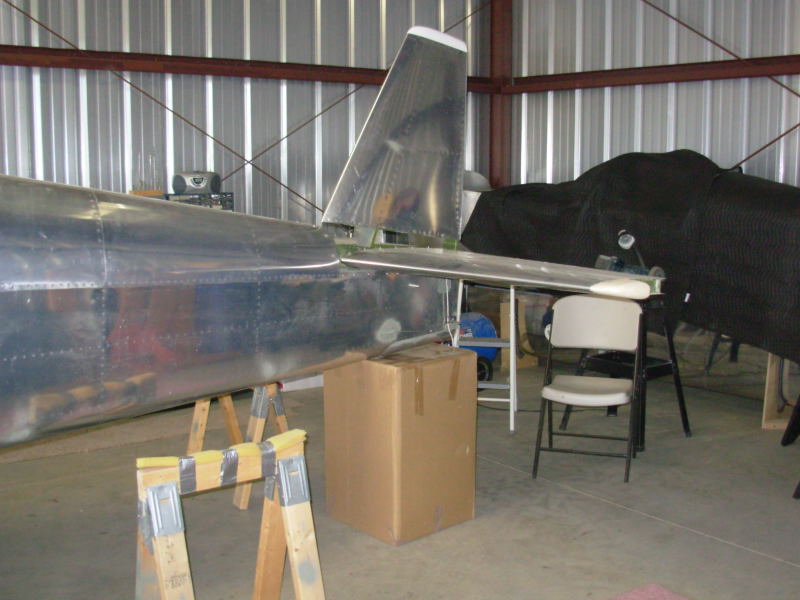
Moving boxes came in handy for propping up the tail in getting proper leveling:
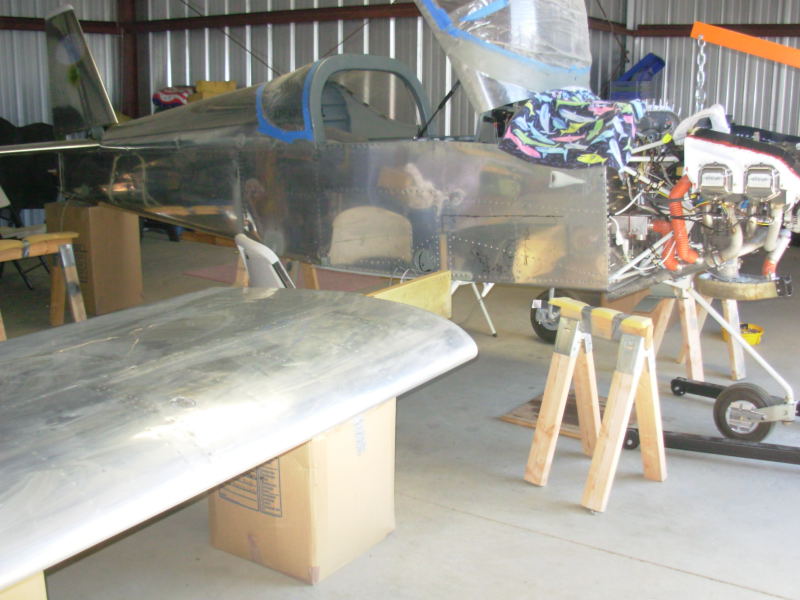
This was taken prior to the above pictures, before we put the wings on for the temporary fitting. More moving boxes (stuff I stored in the hangar because it didn't fit in the house when we moved from WA) used to hold the wings when not installed:
View from other side before temporary fitting of the wings:
Wing Installation: pg 1 | pg 2 | pg 3
|
|
This page was last updated on 12/18/11.
Click here for questions or feedback. Copyright © 2007. All rights reserved. Chris Hand, chris@ckhand.com
|