|
|
|
Aviation Links:
|
Wing Installation: pg 1 | pg 2 | pg 3
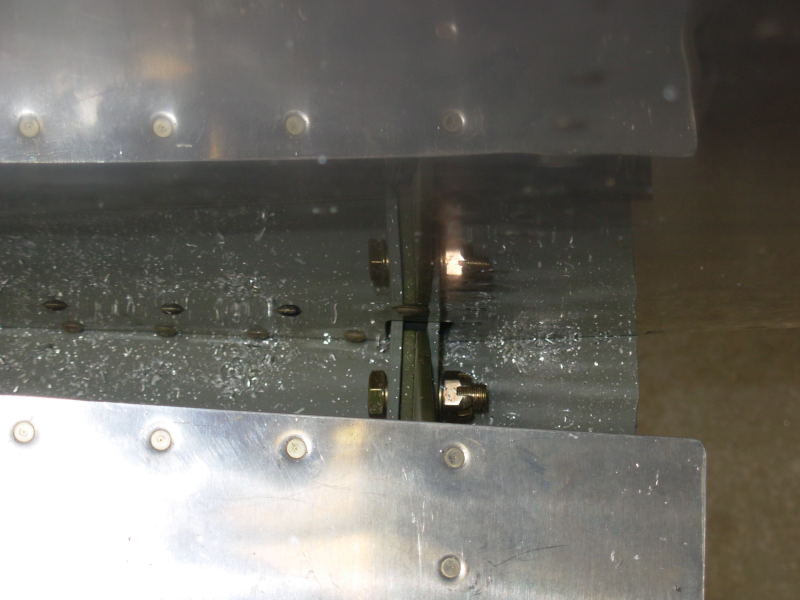
Here's a look at the left wing rear spar bolt temporarily installed. Once the wing position had been double and triple checked with the rear spar clamped in place, I started with a #30 drill bit and gradually enlarged the hole in steps up to the 5/16" final size.
Different angle photo of the left wing rear spar bolt after drilling:
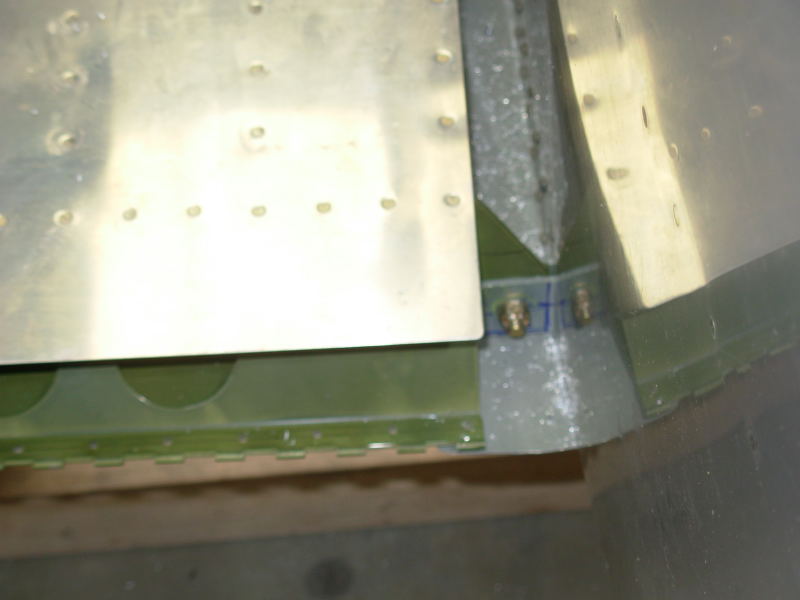
And here's the right wing rear spar bolt temporarily installed after initial drilling. Used same method as on left wing.
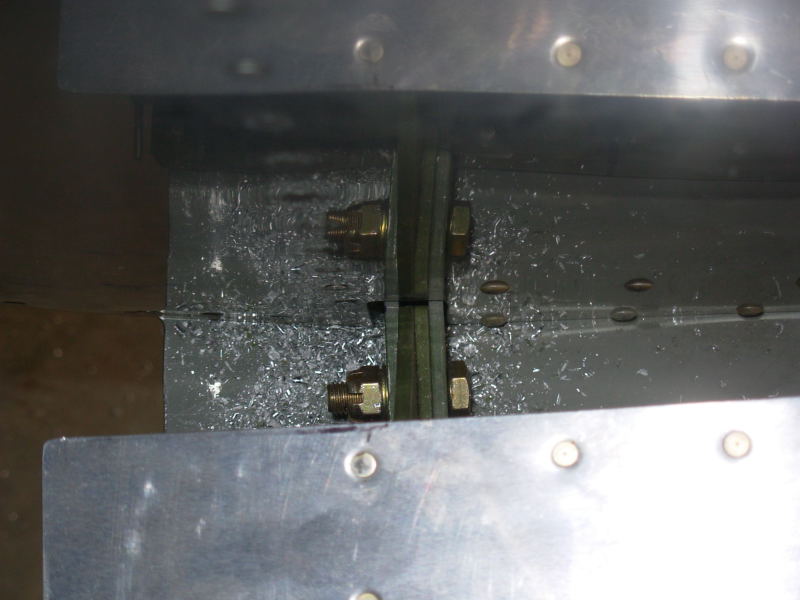
Top view of temporarily installed right wing rear spar bolt:
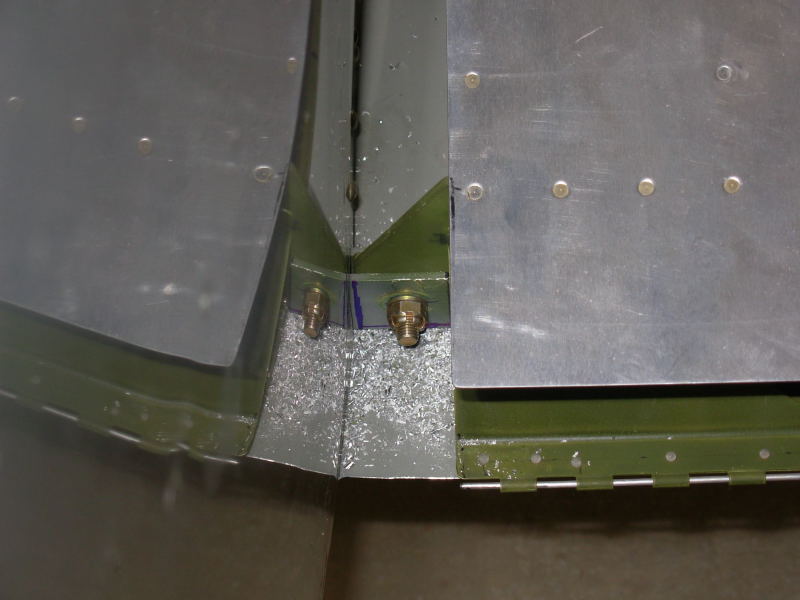
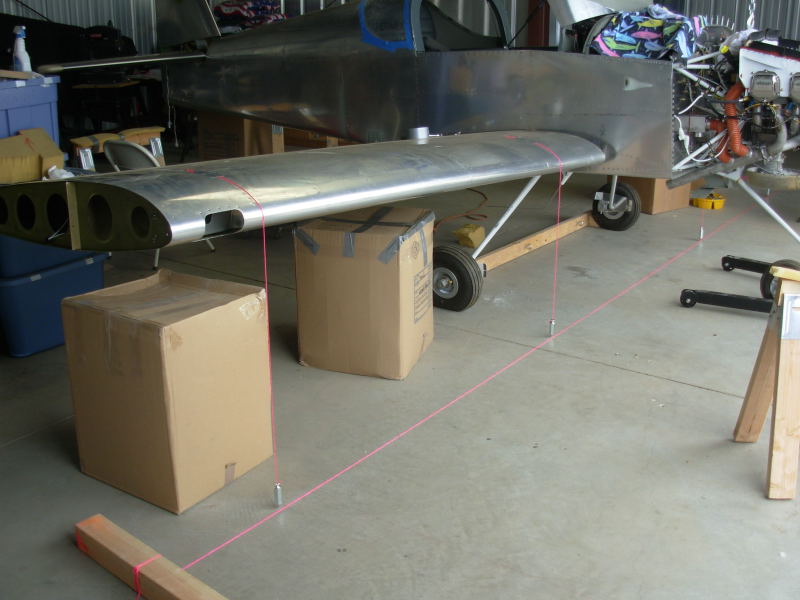
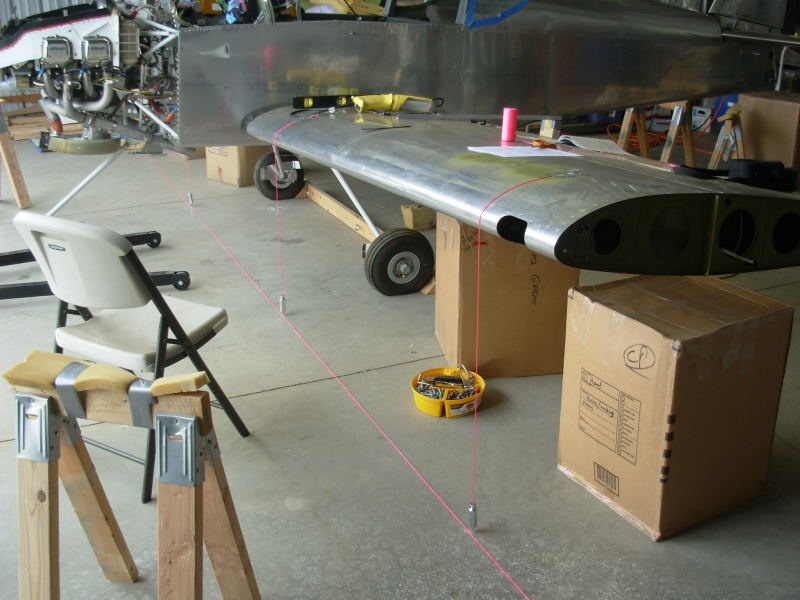
Another picture showing the fitting of the wings for drilling the rear spars, fitting the tank attach brackets, and fitting/drilling the wing root fairings:
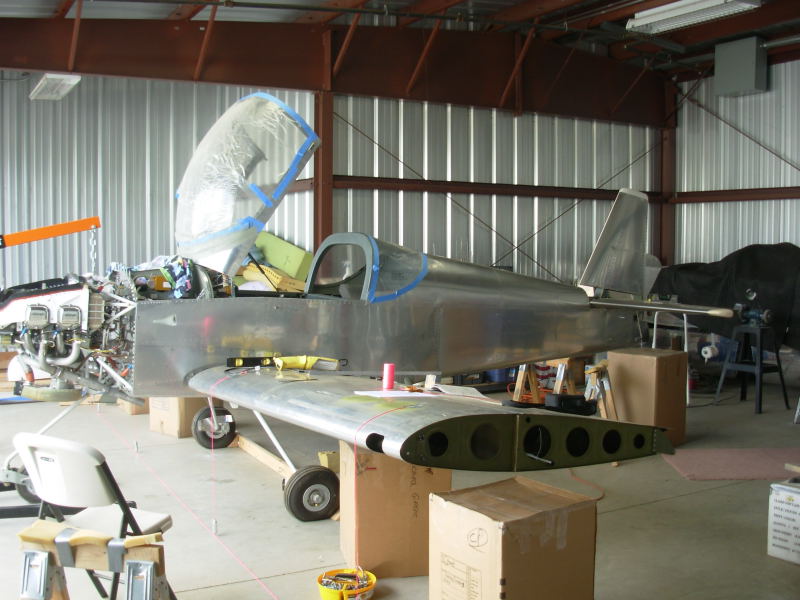
And from the left side, wings temporarily installed:
Wing Installation: pg 1 | pg 2 | pg 3
|
|
This page was last updated on 12/18/11.
Click here for questions or feedback. Copyright © 2007. All rights reserved. Chris Hand, chris@ckhand.com
|