|
|
|
Aviation Links:
|
Wing Installation: pg 1 | pg 2 | pg 3
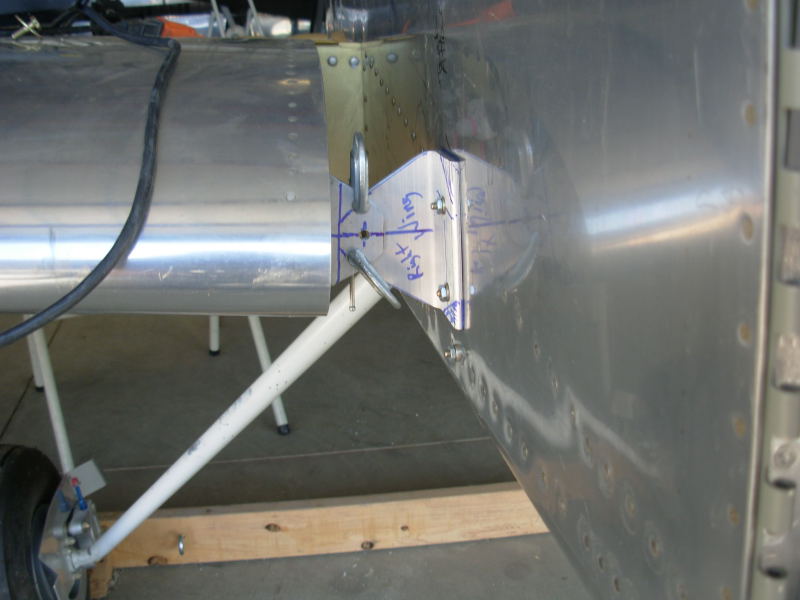
I cut the wing attach brackets on my band saw and used a bench-vise to make the slight bend to match the fuselage. Took a little crawling around on the cockpit floor to drill the fuselage to bracket holes from the inside out. The picture below shows the initial fitting and drilling. You can see the markings where the bracket has to be trimmed so it won't be seen outside the wing root fairing:
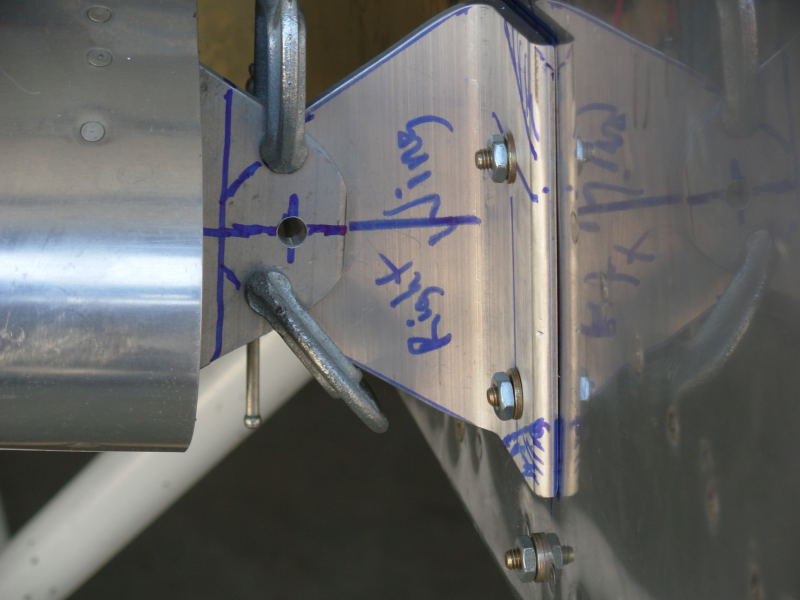
Here's a closer look at the right wing fuel tank attach point (temporary fit obviously, with the non-locking, hardware-store type nuts):
Wing Installation: pg 1 | pg 2 | pg 3
|
|
This page was last updated on 12/18/11.
Click here for questions or feedback. Copyright © 2007. All rights reserved. Chris Hand, chris@ckhand.com
|