|
|
|
Aviation Links:
|
Cowling: pg 1 | pg 2 | pg 3 | pg 4 | pg 5
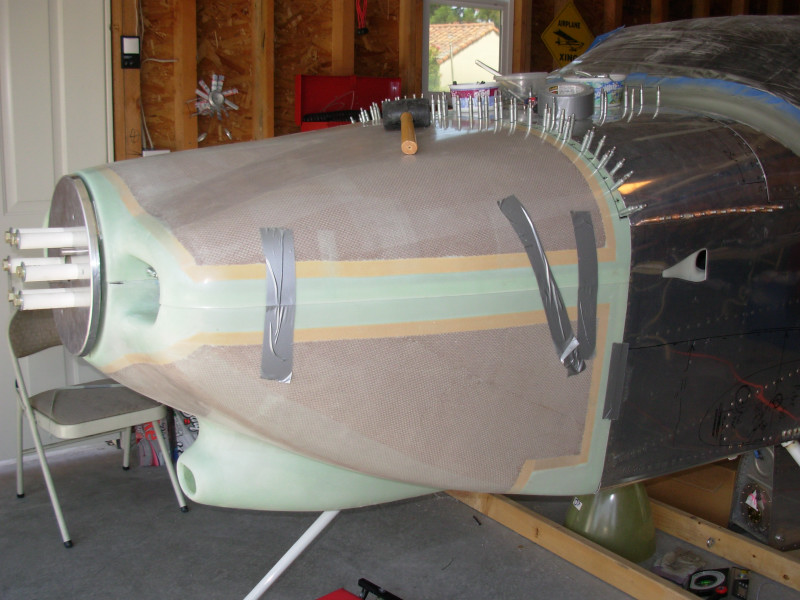
Here the top cowl is fit and drilled to the firewall. The lower cowl is taped in place and being prepped for drilling to the firewall:
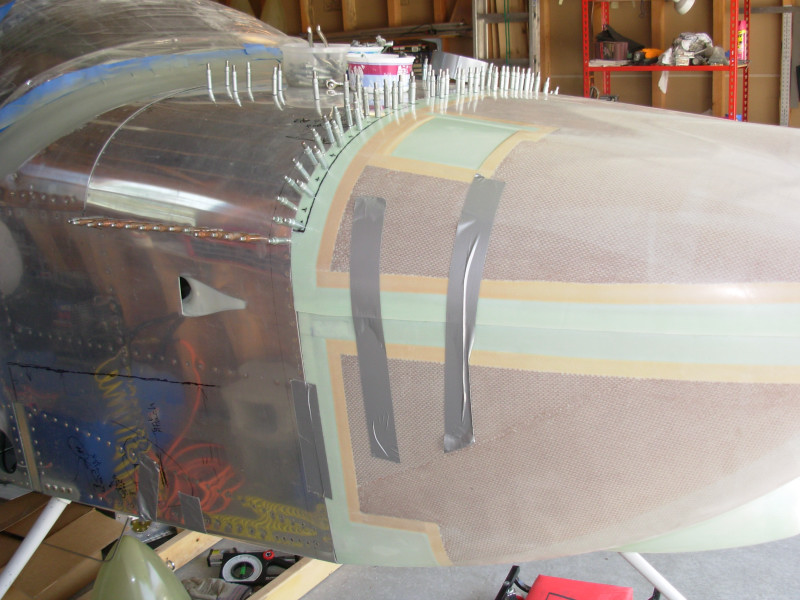
Right side view of top cowl drilled to hinge at fuselage:
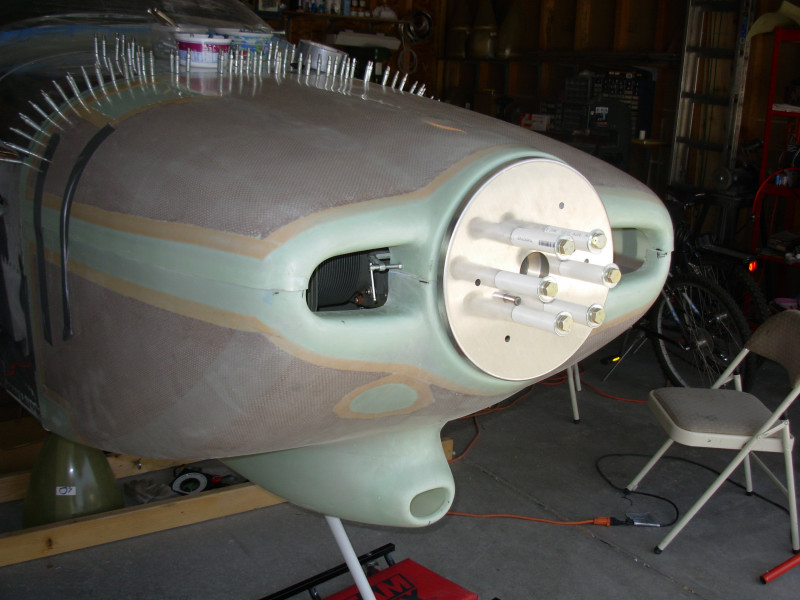
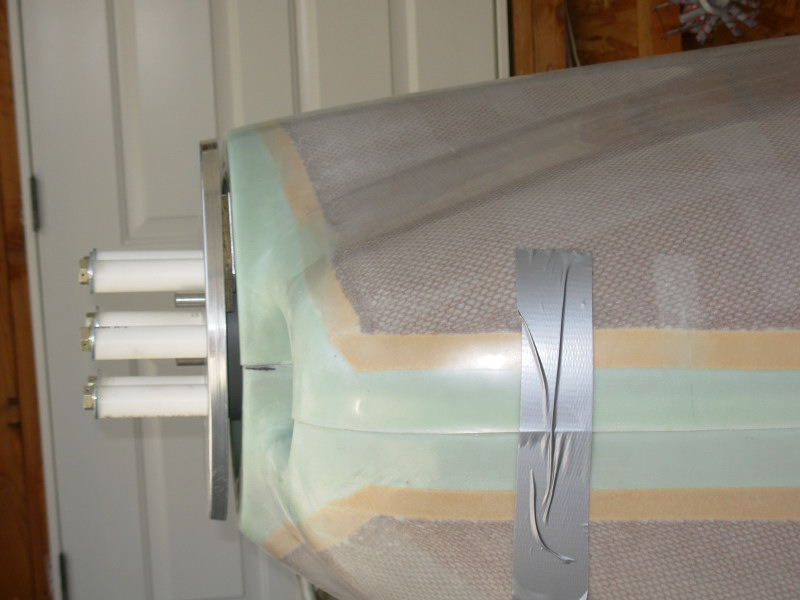
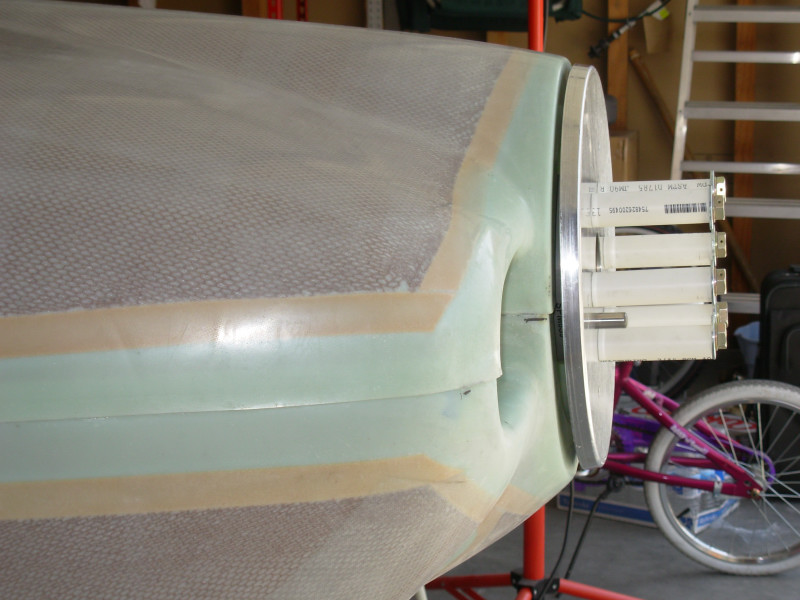
For the fitting process with the firewall, the top and lower cowls are clamped on the inboard sides of the air inlets where they will later attach with screws and nutplates. I cut pieces of pvc piping to take up the space of the prop hub so I could use the prop bolts to bolt the spinner end plate, etc to the engine for getting the proper spinner to cowl spacing (approx 1/4"):
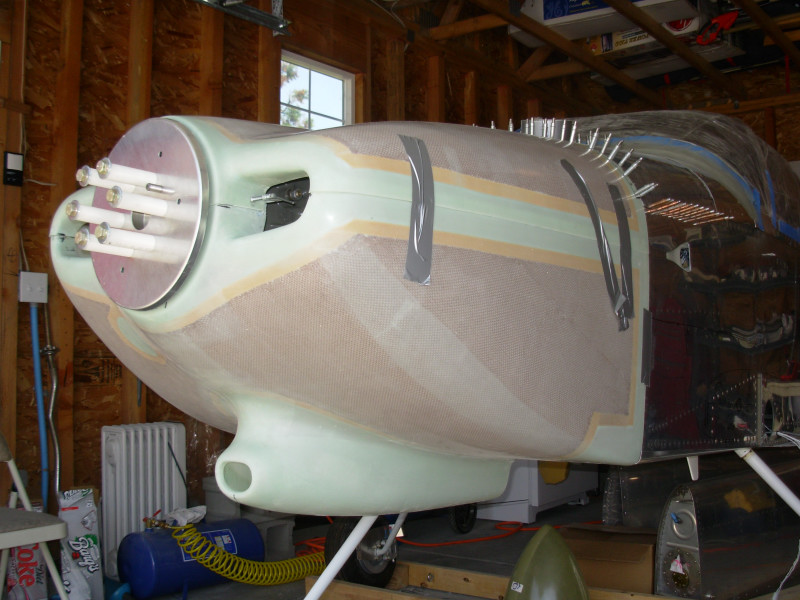
Same as above picture but view from left side:
From the next two pictures, you can see that I will have a little finishing work to do on the cowling to get the fit and finish look I want on the finished product:
Cowling: pg 1 | pg 2 | pg 3 | pg 4 | pg 5
|
|
This page was last updated on 12/18/11.
Click here for questions or feedback. Copyright © 2007. All rights reserved. Chris Hand, chris@ckhand.com
|