![]()
![]()
![]()
![]()
|
|
|
Aviation Links:
|
Cowling: pg 1 | pg 2 | pg 3 | pg 4 | pg 5
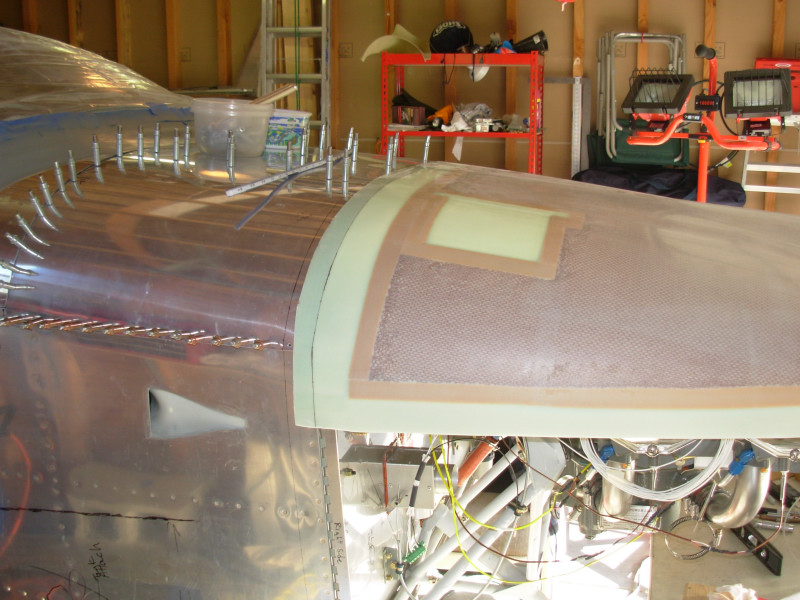
These pictures show the initial fitting of the top cowling, which I did per Van's plans. It came out pretty well in the end, at least as far as I could tell at the time. We'll see how it looks when it's done and flying!!
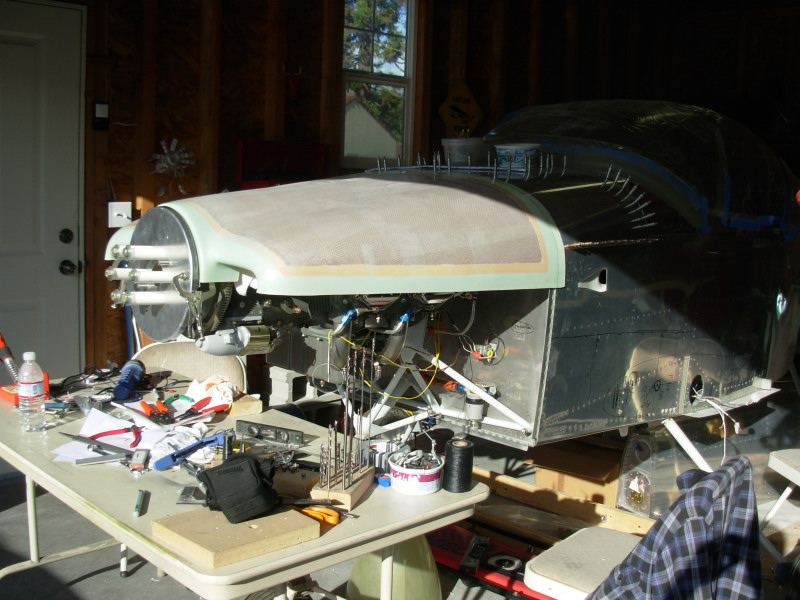
I bolted the spinner backplate to the starter ring gear and clamped the cowl to the spinner back plate with wood spacer blocks in place to achieve the desired gap between the rear of the spinner and the front of the cowl:
Here's a better look at the spinner to cowl gap and the spacer blocks clamped in place:
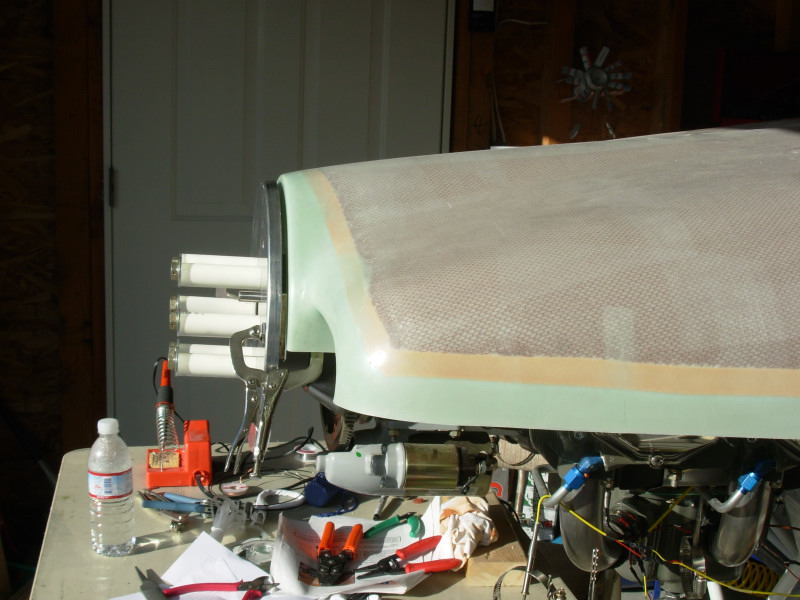
Per the Van's construction manual advice, I marked a line on the forward top skin that was 2" back from where I wanted the cowling trimmed to for a nice fit. Here you can see the cut line marked on the cowl top half after measuring back from that 2" line:
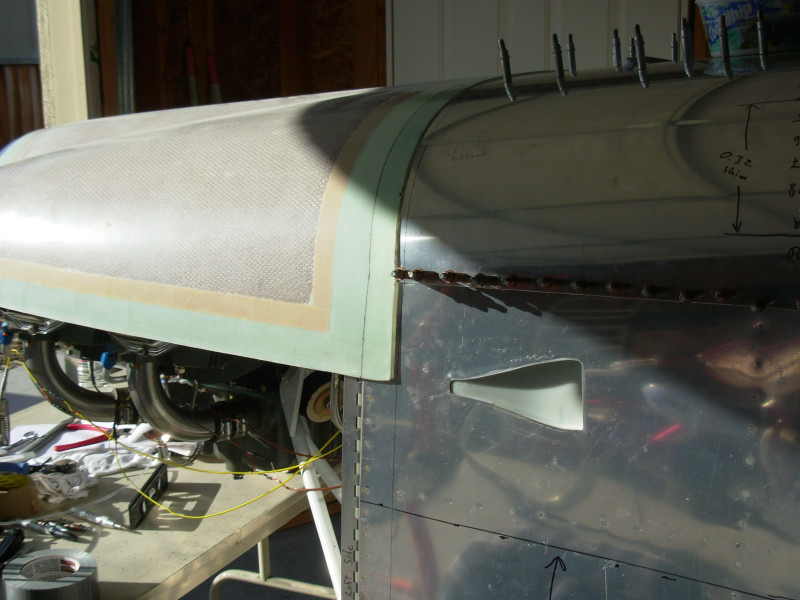
And here's the cut line marked on the right side of the cowl top:
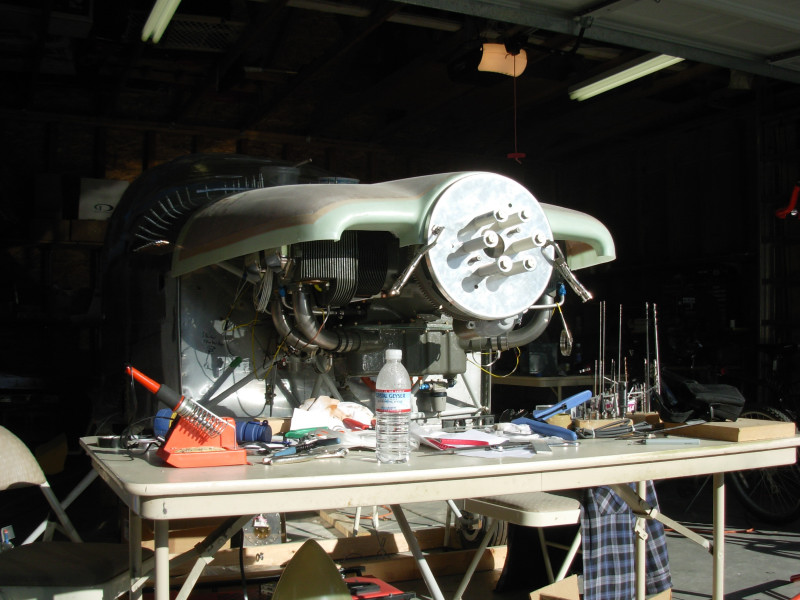
View of the spinner to cowl gap from right side:
Cowling: pg 1 | pg 2 | pg 3 | pg 4 | pg 5
|
|
This page was last updated on 12/18/11.
Click here for questions or feedback. Copyright © 2007. All rights reserved. Chris Hand, chris@ckhand.com
|