|
|
|
Aviation Links:
|
Wings: pg 1 | pg 2 | pg 3 | pg 4 | pg 5 | pg 6
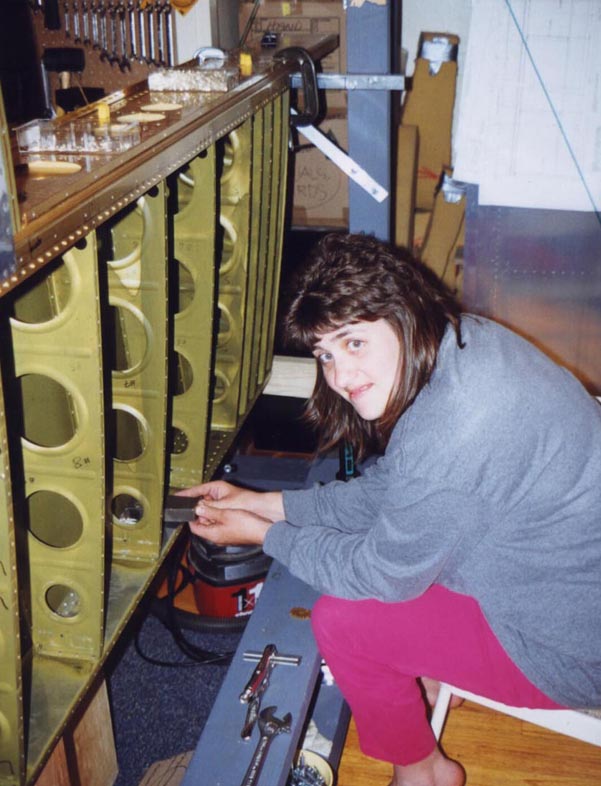
Kellie bucked a bunch of rivets on this airplane. Here she helps rivet the top skins in place:
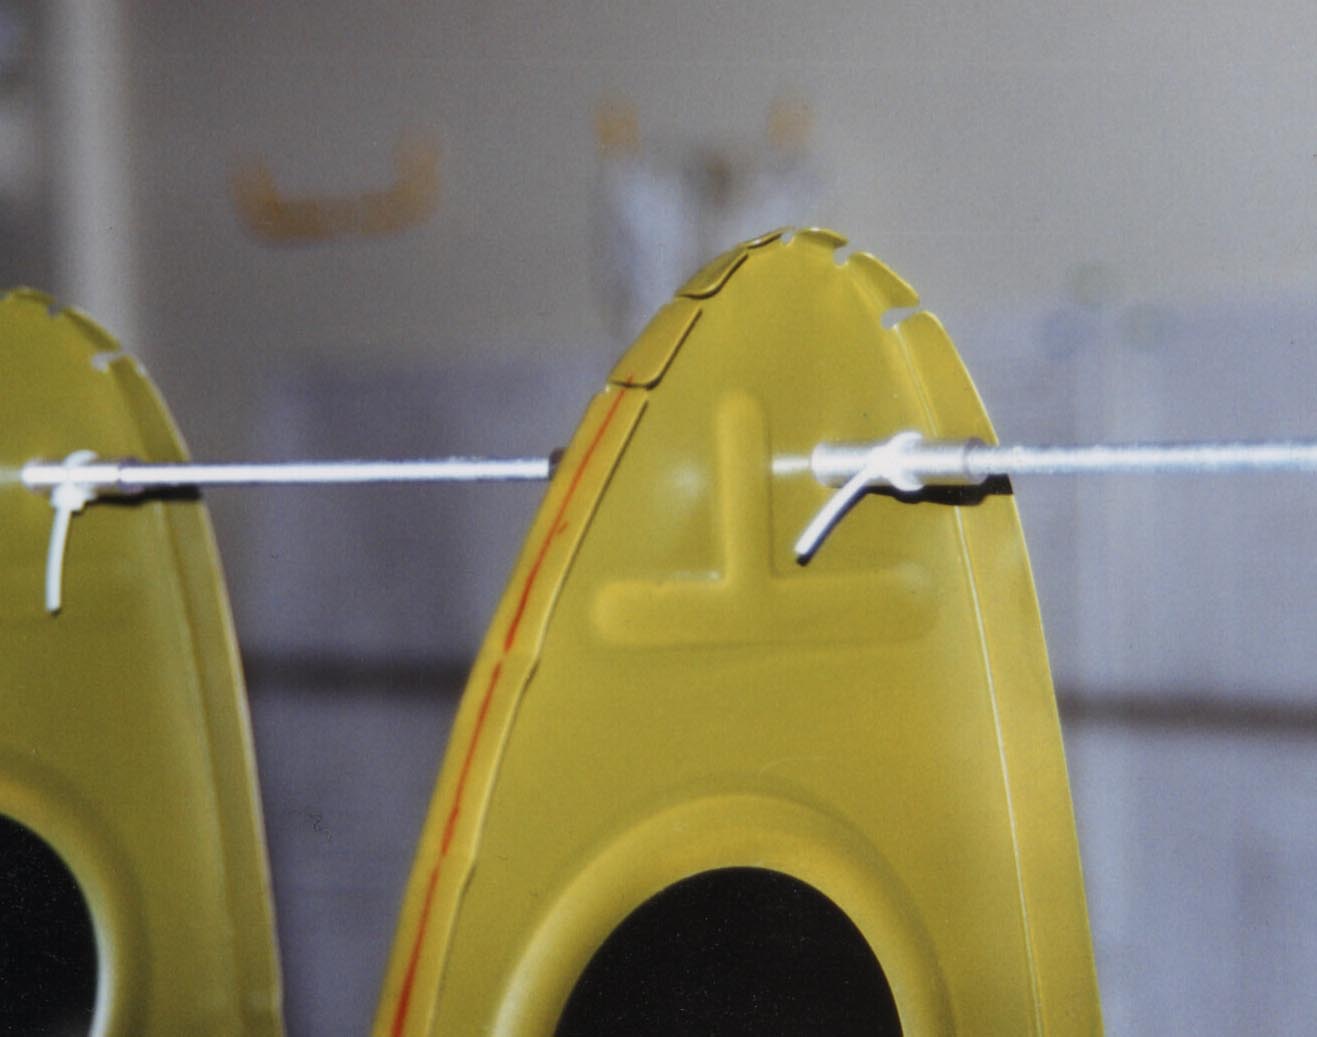
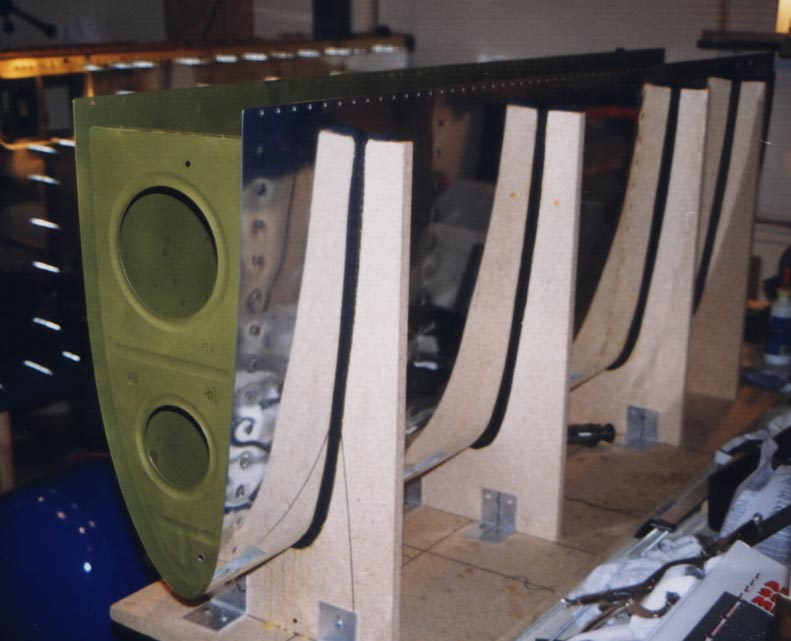
Here's a close up of how I held the leading edge ribs in place while the leading edge wing skins were strapped down and drilled in place. The red line marks the center of the rib flange. Idea being to strap the wing skin in place and use the red line to check rib location before drilling the skin to the rib. My skins were pre-punched but not the ribs. Kits not much older than mine didn't have pre-punched skins so it was a little harder process to match up rib with drilled hole. Worked out fairly well, but it would be fun to build one of the newer kits with pre-punched skins AND ribs.
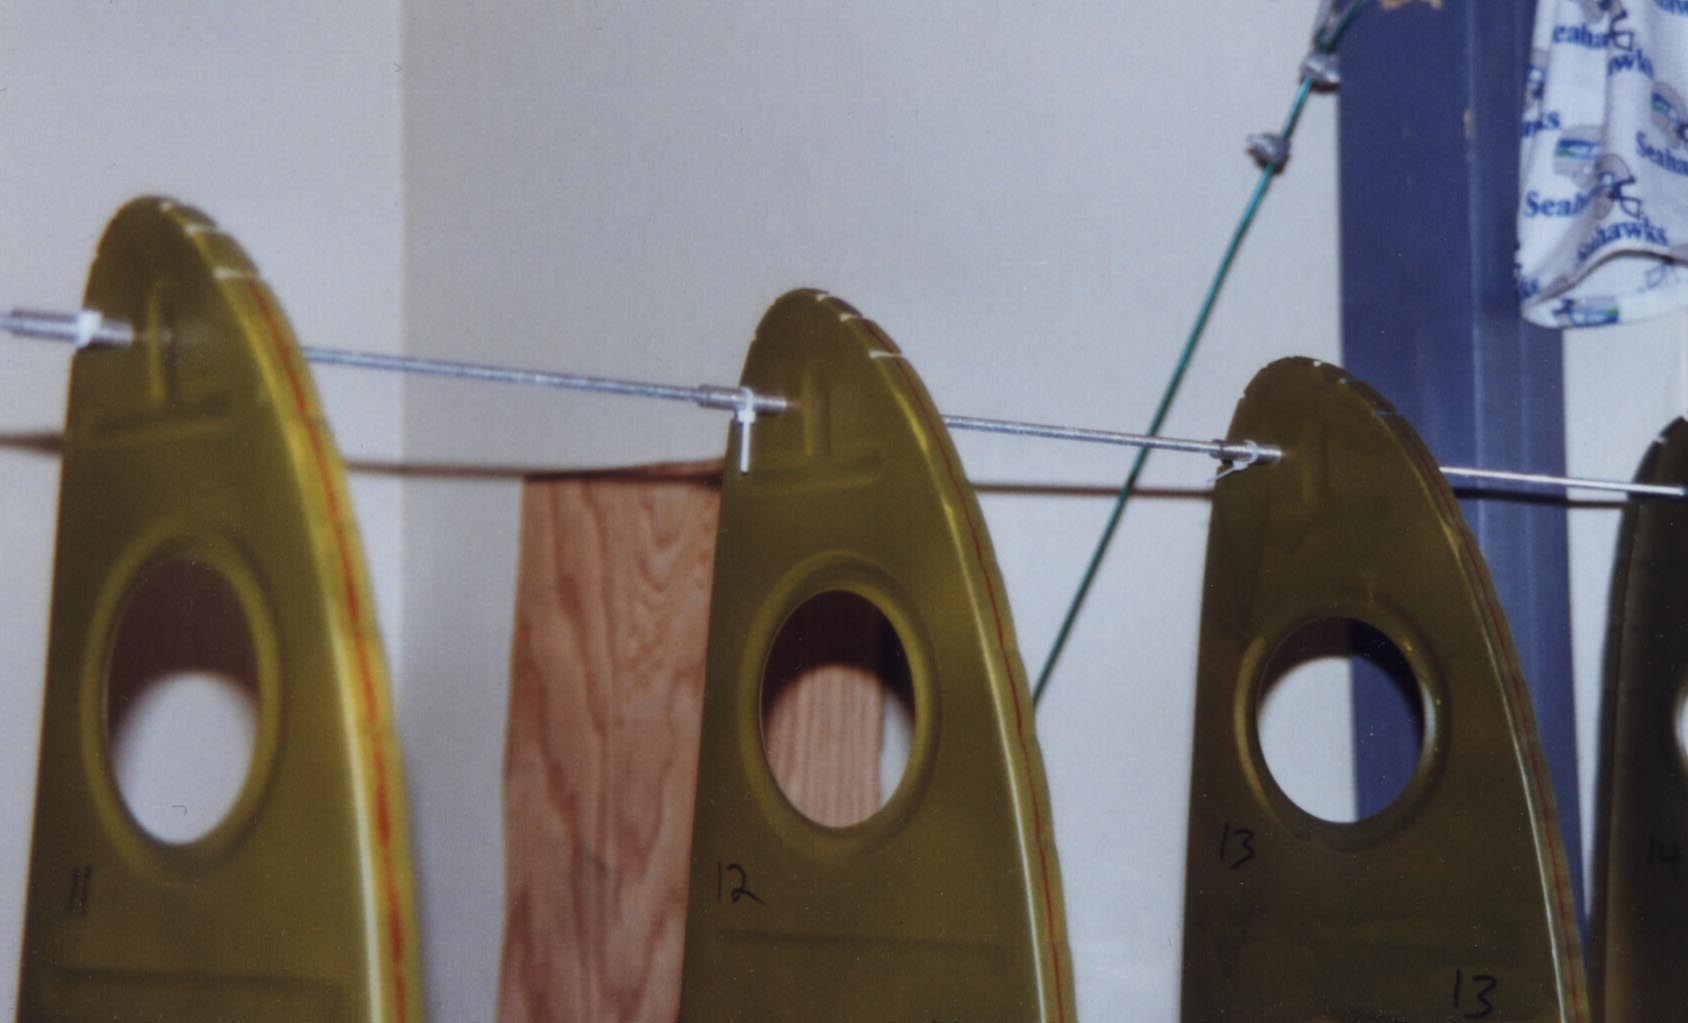
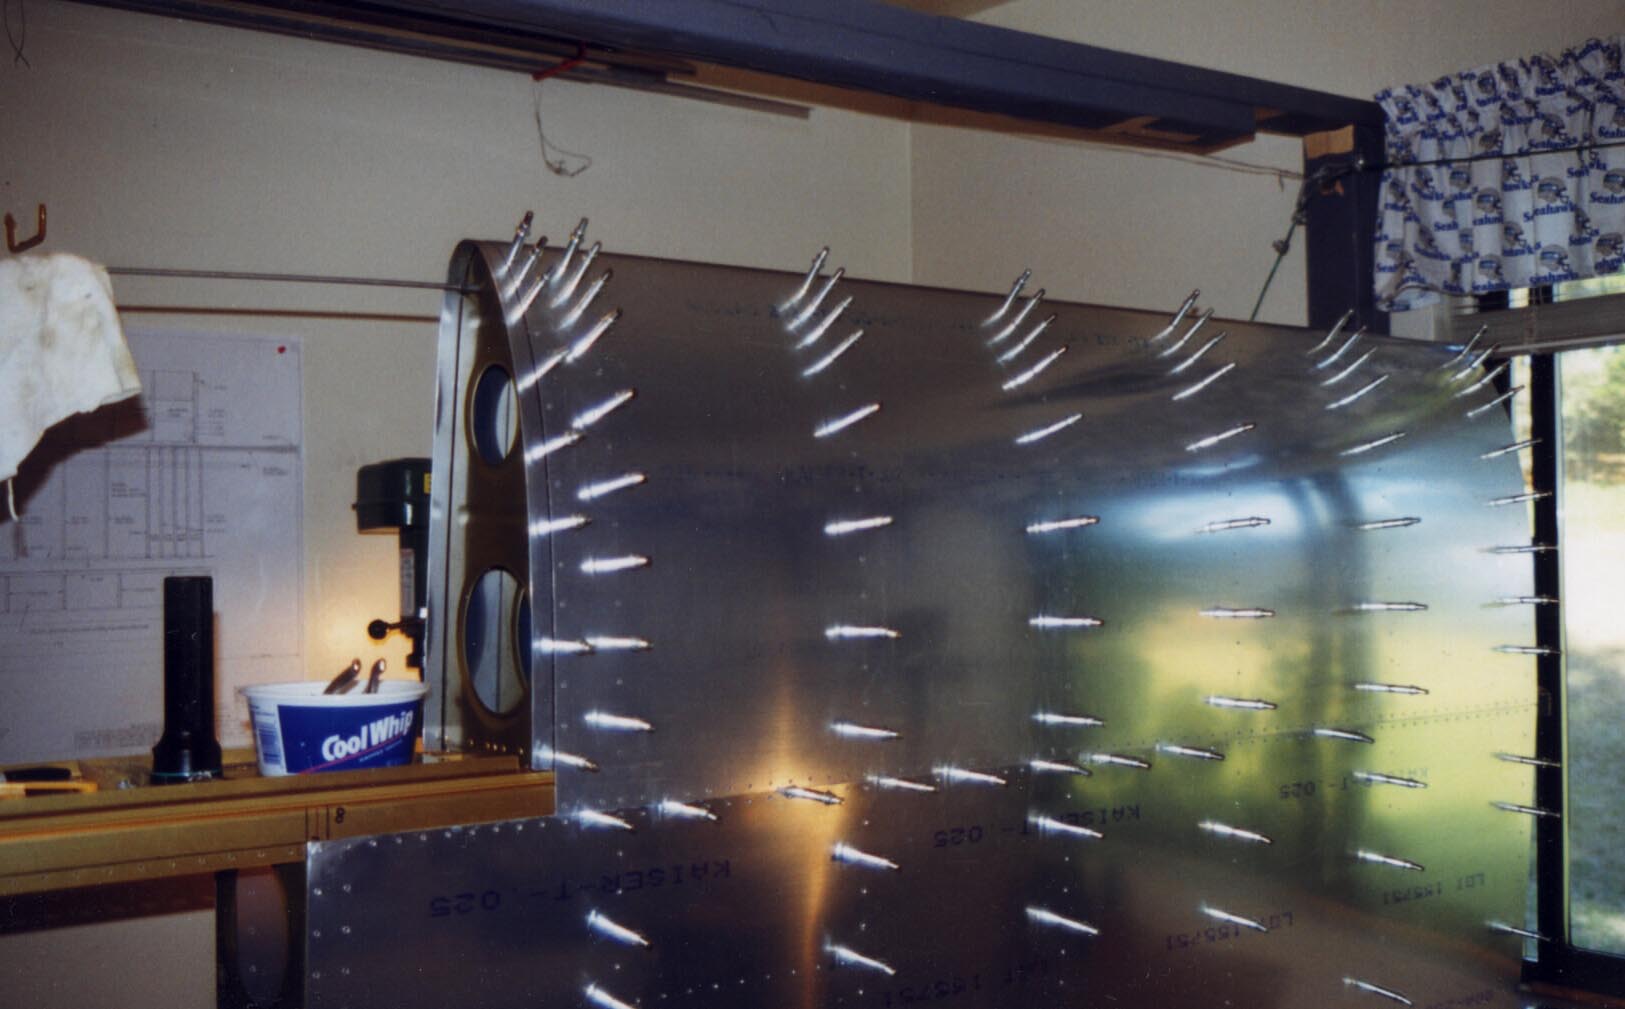
Skins strapped in place, pulled snug onto the leading edge nose ribs. Drilled skins to ribs from here by starting at the top and working down towards the spar on both sides to work all "slack" out of the skins:
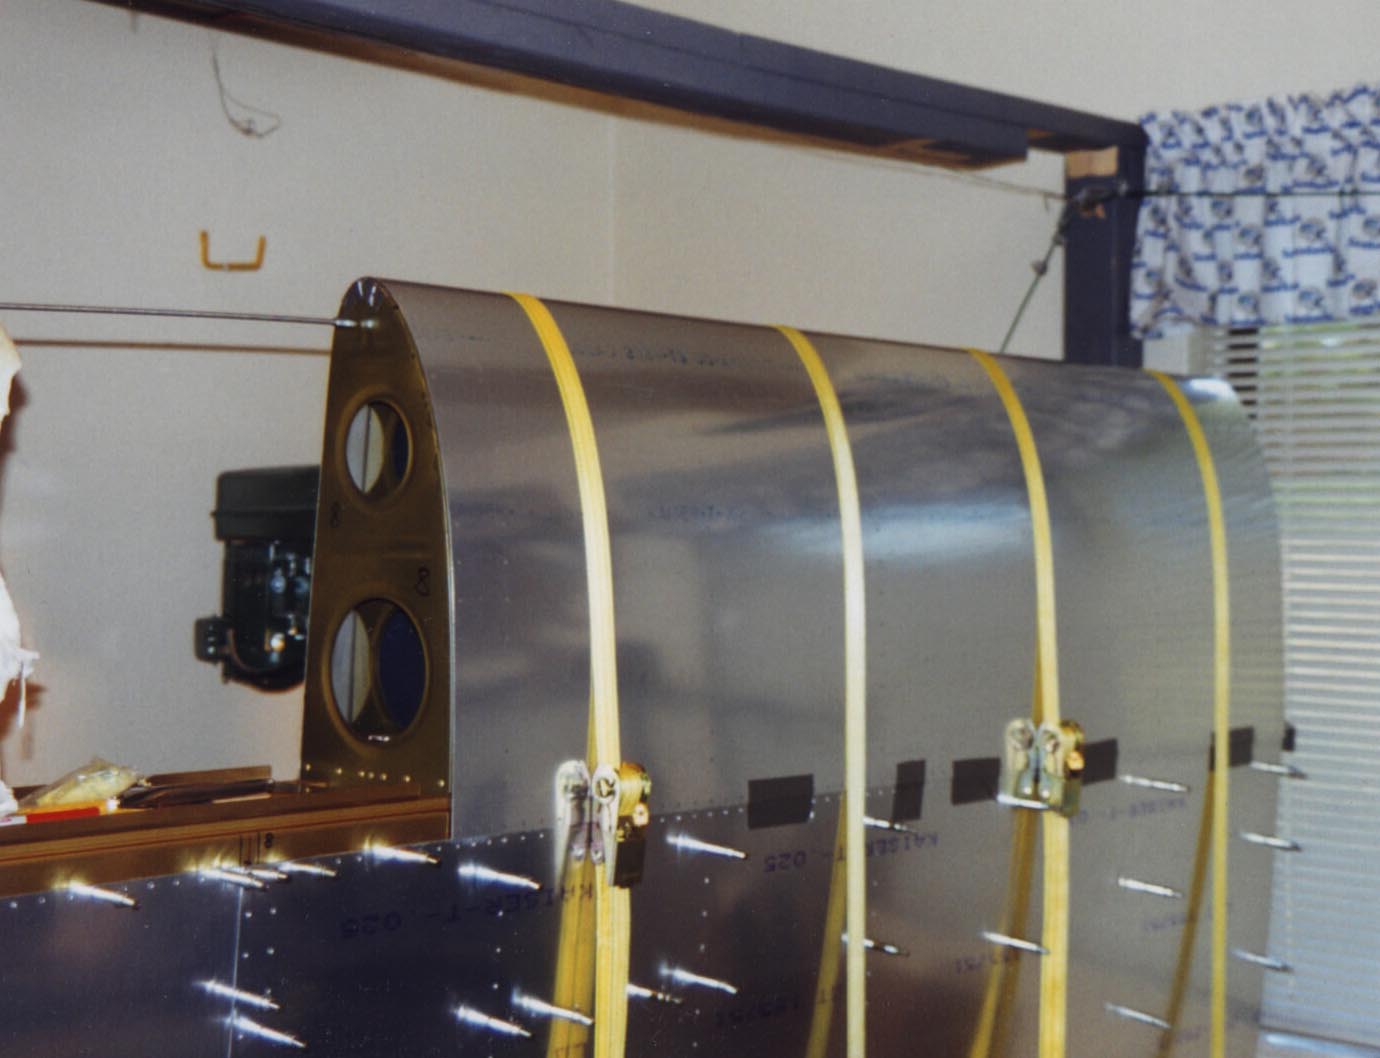
Leading edge is drilled here. Can see the splice strip at the inboard end. That splice strip joins the leading edge to the wing tank on the inboard end. Uses nutplates for screws attaching the fuel tanks:
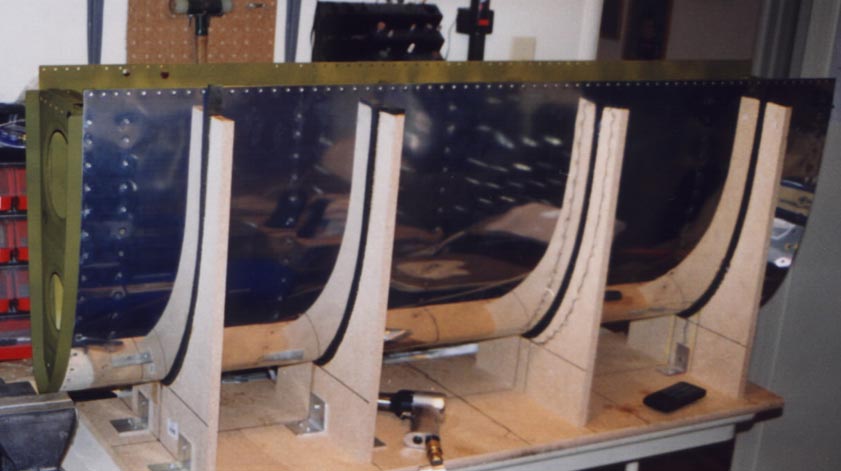
Once drilled and cleco'd, the leading edge skin was riveted in this cradle off the wing and the whole assembly then placed back on to the wing and riveted in place. The fuel tanks are strapped to the wing, drilled similar to outboard leading edge, then riveted with proseal in similar cradle as this:
Wings: pg 1 | pg 2 | pg 3 | pg 4 | pg 5 | pg 6
|
|
This page was last updated on 12/18/11.
Click here for questions or feedback. Copyright © 2007. All rights reserved. Chris Hand, chris@ckhand.com
|