|
|
|
Aviation Links:
|
Fuselage: pg 1 | pg 2 | pg 3 | pg 4 | pg 5 | pg 6 | pg 7 | pg 8 | pg 9 | pg 10 pg 11 | pg 12 | pg 13 | pg 14 | pg 15 | pg 16 | pg 17 | pg 18 | pg 19 | pg 20 pg 21 | pg 22 | pg 23 | pg 24 | pg 25 | pg 26 | pg 27 | pg 28 | pg 29 | pg 30 pg 31 | pg 32 | pg 33 | pg 34 | pg 35 | pg 36 | pg 37 | pg 38
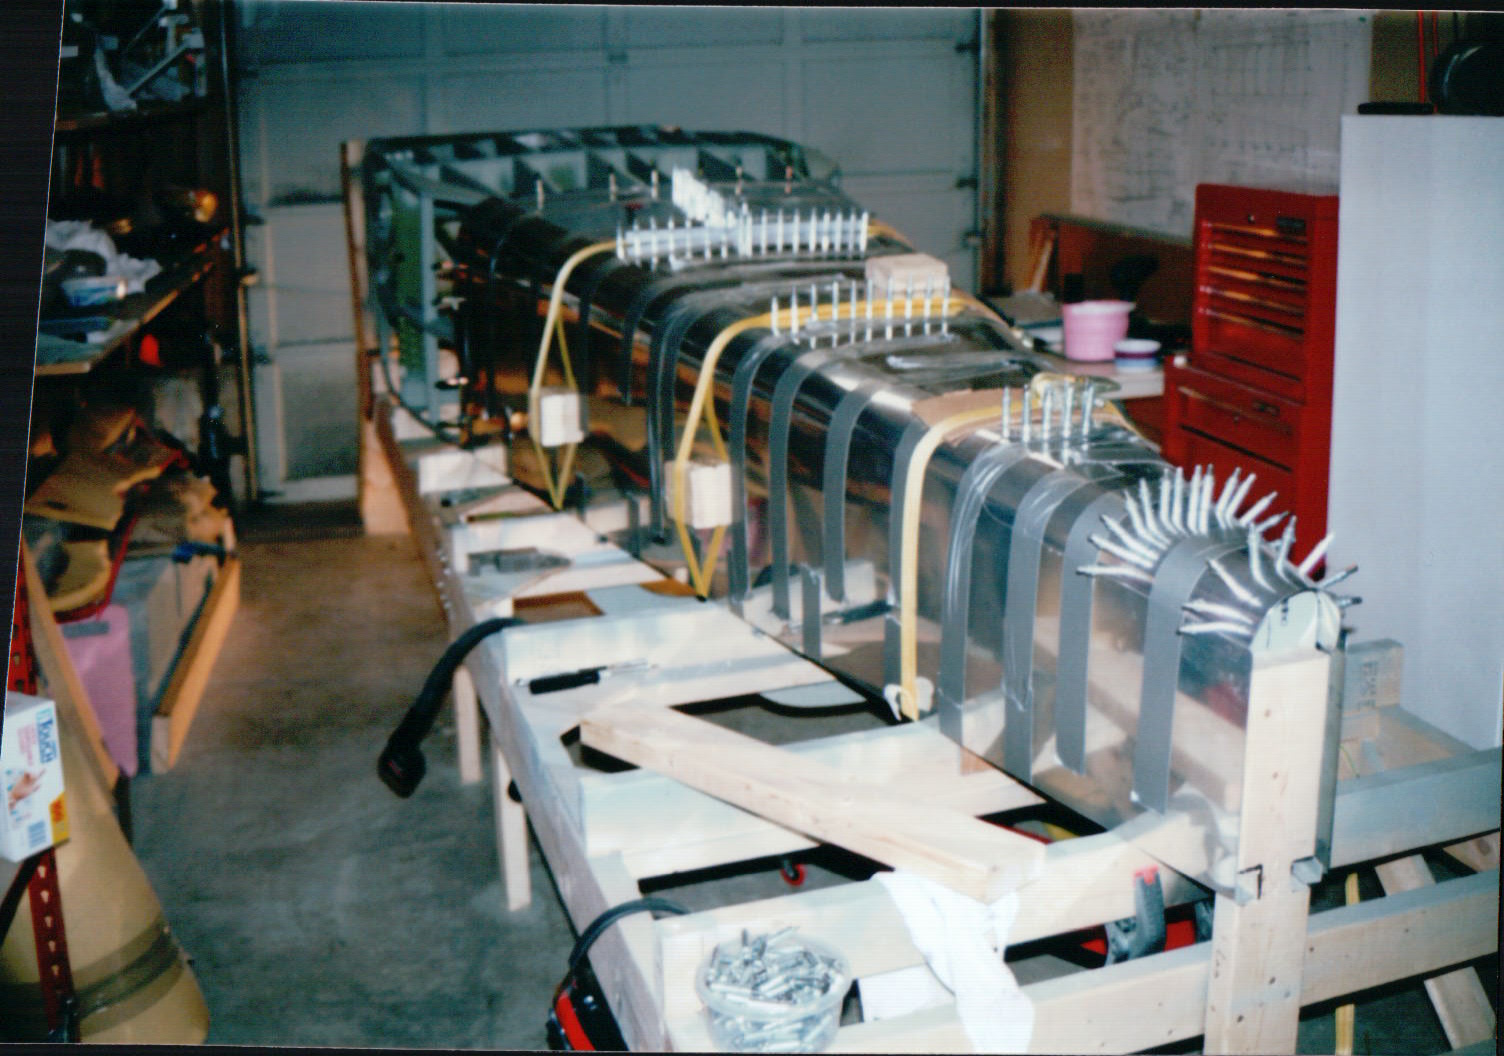
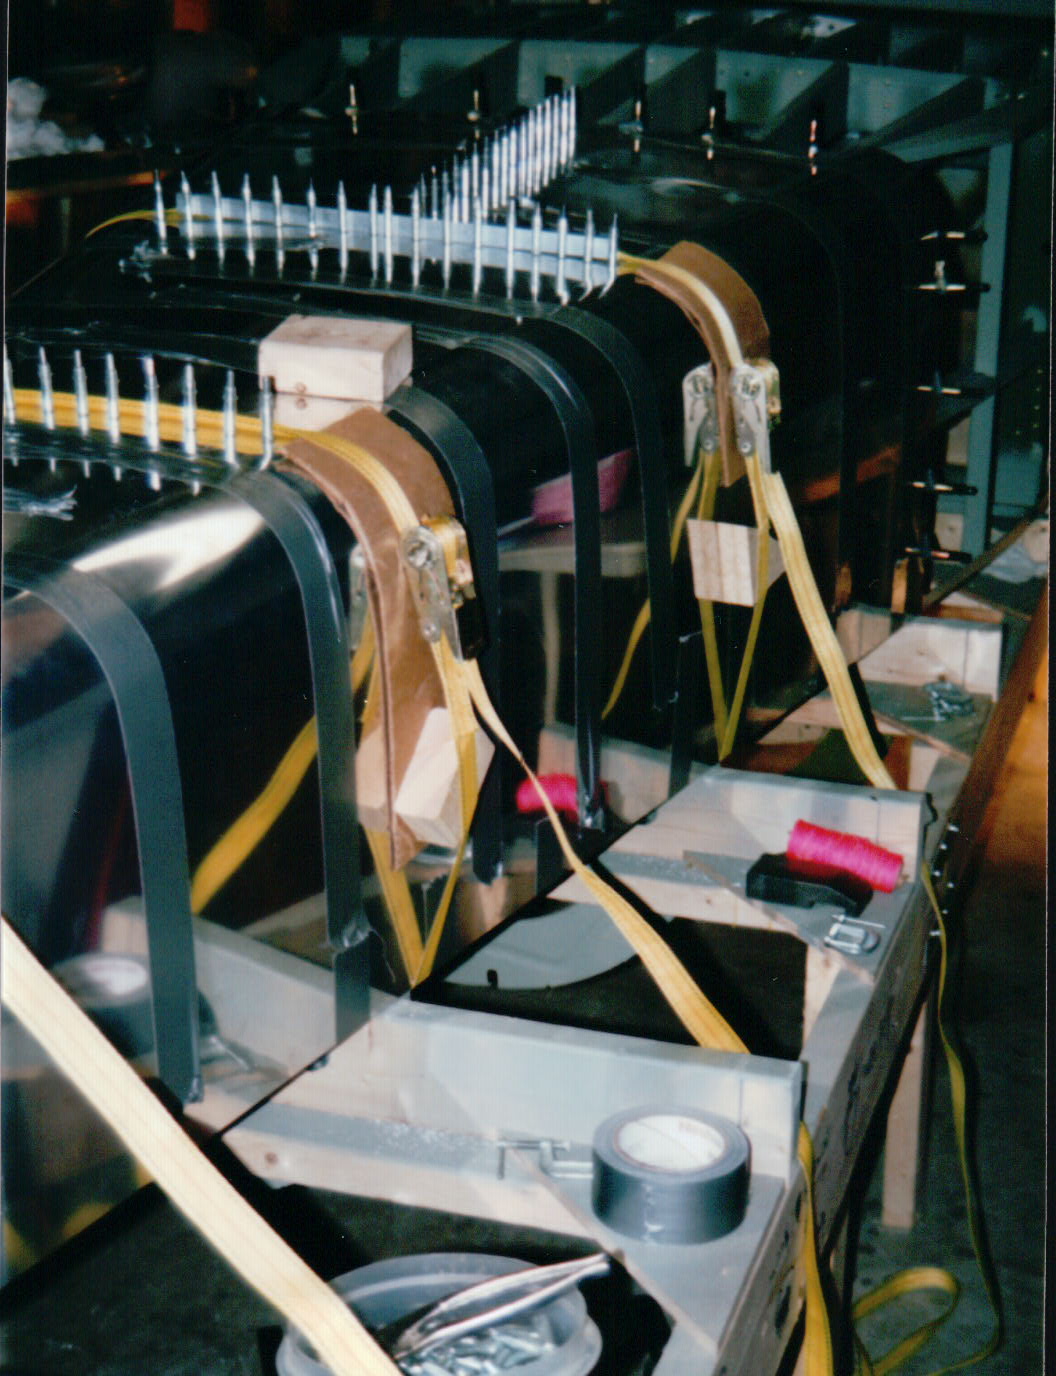
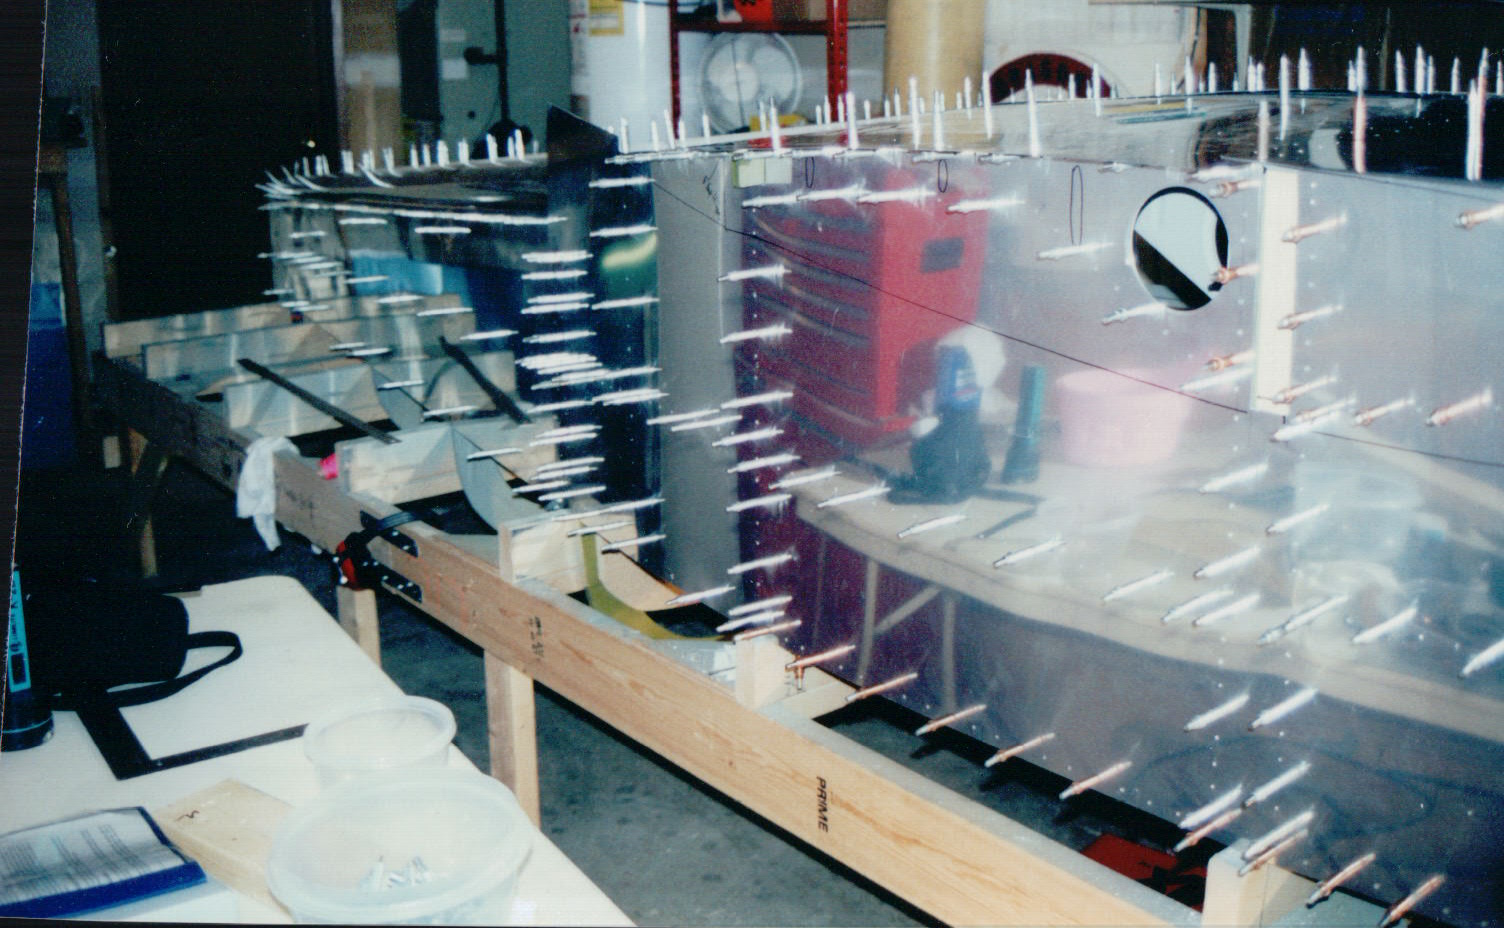
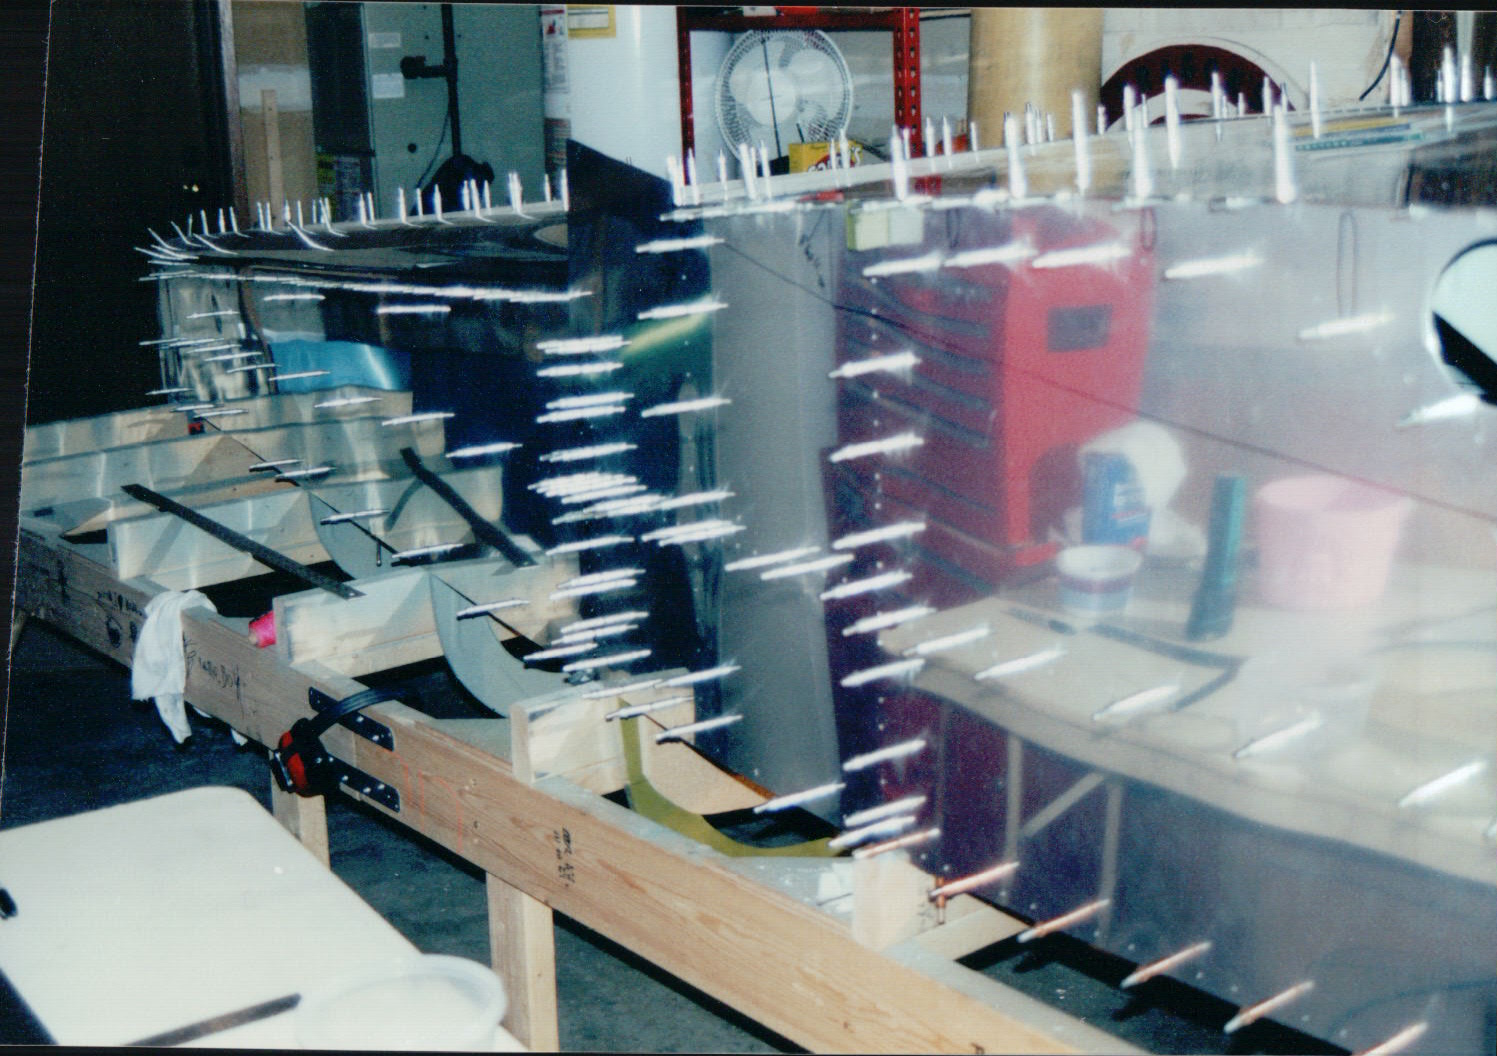
With the RV-6A fuselage skeleton completed, it's time to start skinning the fuselage. With the ribs marked and pre-drilled, I duct taped the skins in place and used cargo straps to to tighten them down snug (this was before the days of pre-punched skins, so no holes in fuselage skins at this point). Cardboard and pieces of 2x4 were used to protect the skins from damage where the cargo straps were cinched down. With everything snugged in place, I crawled under the fuselage and back-drilled the skins through the bulkhead flanges from below using a flexible 12" drill bit. In this photo, the skins are drilled at the top (really the fuselage bottom) center, ready to start working down the sides:
Close up view of the skins during process of drilling to the skeleton:
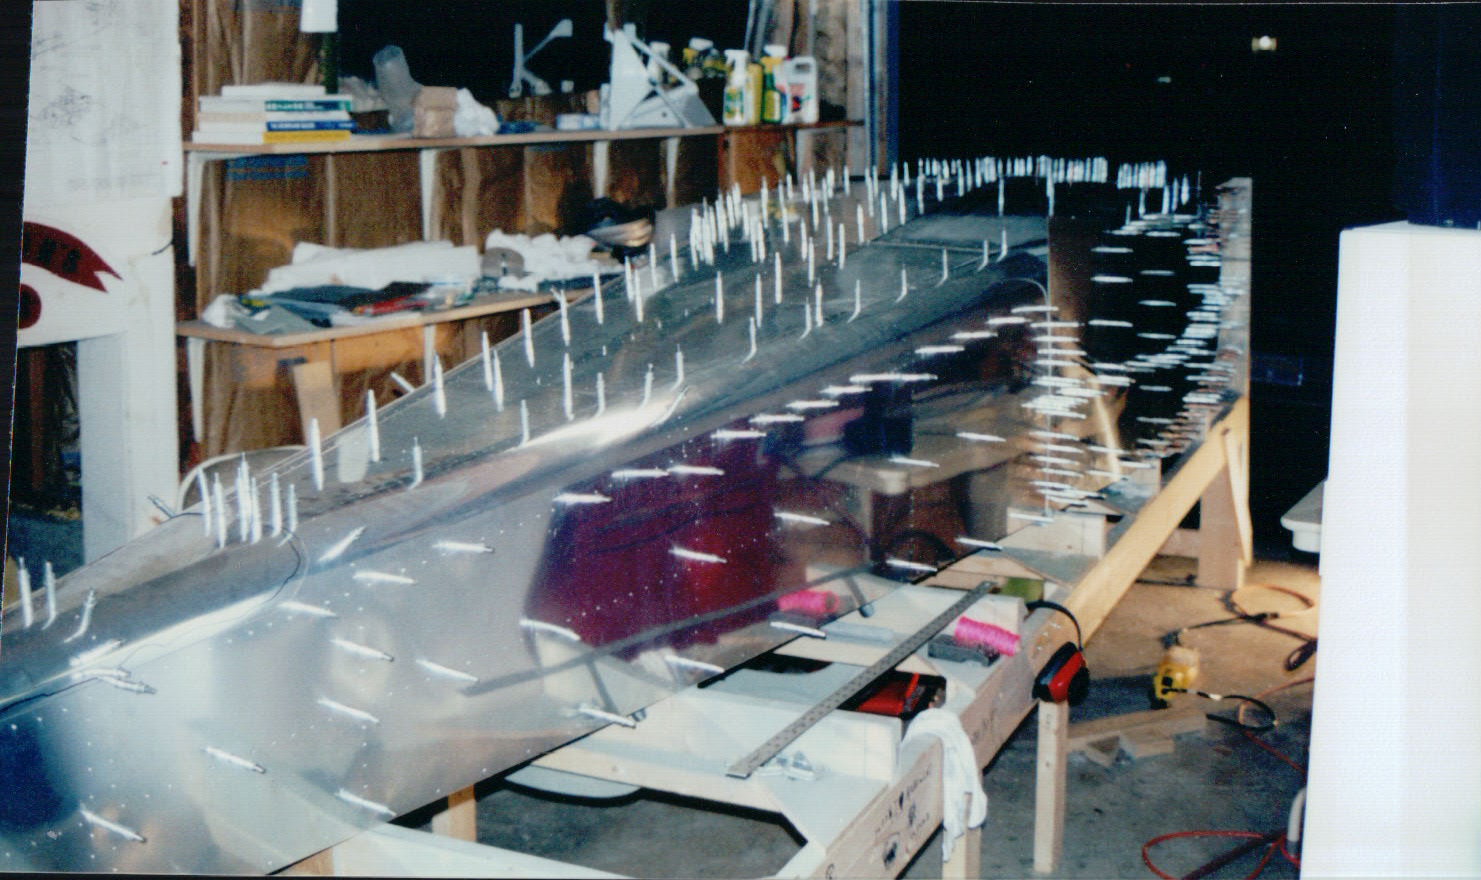
It was starting to get exciting at this point as the years of construction had finally produced something that was starting to look like a real airplane fuselage. Here the skins are drilled and cleco'd in place:
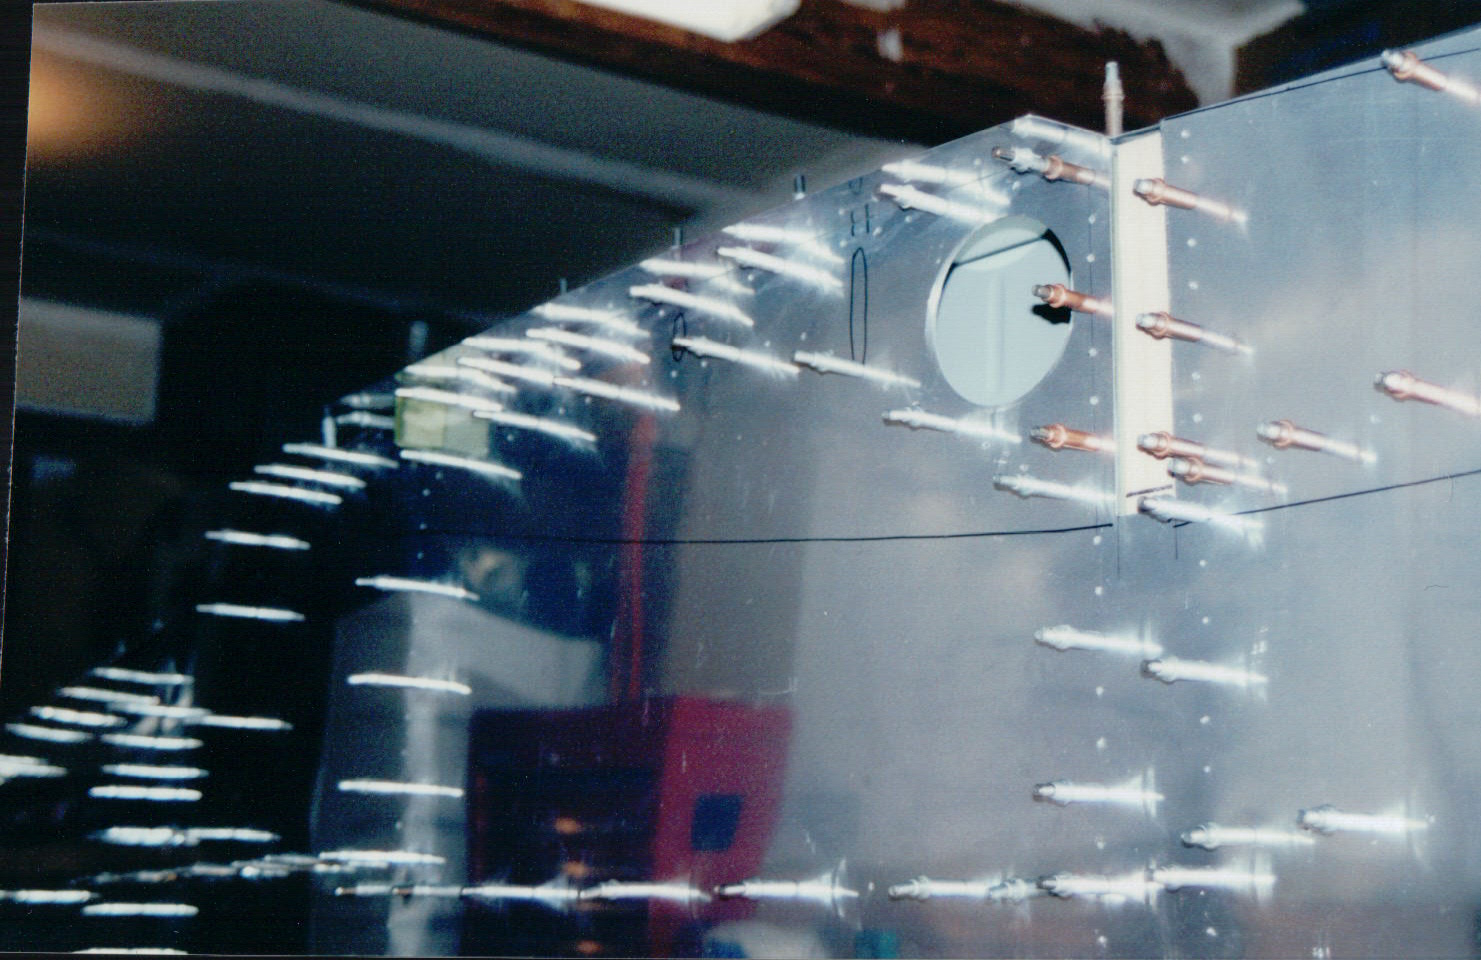
There are some spots in the wing root area where universal head rivets are used vice flush, but I wanted to make sure I didn't inadvertently put a universal head rivet sticking out where it was visible so I traced the wing rib shapes on the fuselage side to make sure I had a visual indication of what would be visible on the finished plane someday:
Pilot side view of temporarily skinned fuselage:
Wing root area with rear spar attach stub sticking out:
Pilot side rear fuselage area with skins cleco'd in place:
Fuselage: pg 1 | pg 2 | pg 3 | pg 4 | pg 5 | pg 6 | pg 7 | pg 8 | pg 9 | pg 10 pg 11 | pg 12 | pg 13 | pg 14 | pg 15 | pg 16 | pg 17 | pg 18 | pg 19 | pg 20 pg 21 | pg 22 | pg 23 | pg 24 | pg 25 | pg 26 | pg 27 | pg 28 | pg 29 | pg 30 pg 31 | pg 32 | pg 33 | pg 34 | pg 35 | pg 36 | pg 37 | pg 38 |
|
This page was last updated on 12/18/11.
Click here for questions or feedback. Copyright © 2007. All rights reserved. Chris Hand, chris@ckhand.com
|