|
|
|
Aviation Links:
|
Fuselage: pg 1 | pg 2 | pg 3 | pg 4 | pg 5 | pg 6 | pg 7 | pg 8 | pg 9 | pg 10 pg 11 | pg 12 | pg 13 | pg 14 | pg 15 | pg 16 | pg 17 | pg 18 | pg 19 | pg 20 pg 21 | pg 22 | pg 23 | pg 24 | pg 25 | pg 26 | pg 27 | pg 28 | pg 29 | pg 30 pg 31 | pg 32 | pg 33 | pg 34 | pg 35 | pg 36 | pg 37 | pg 38
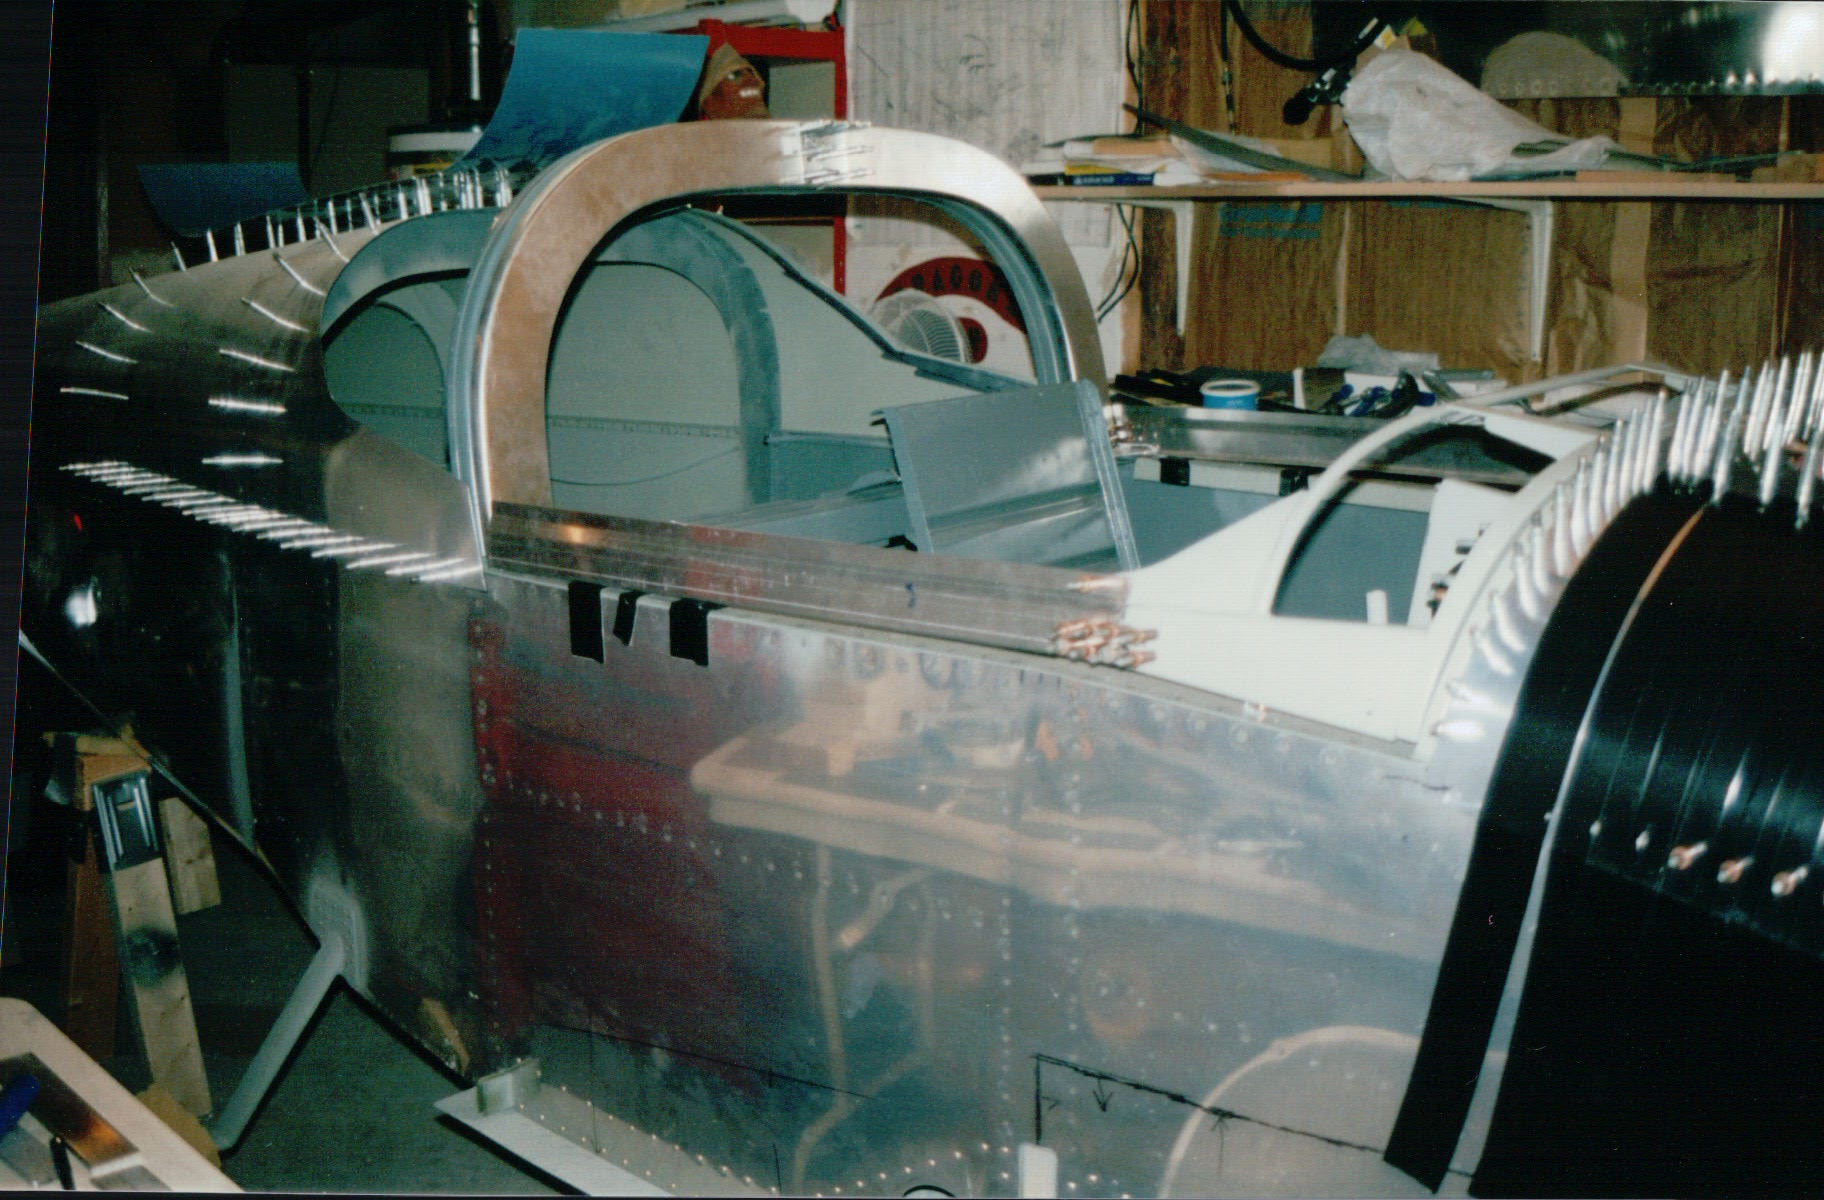
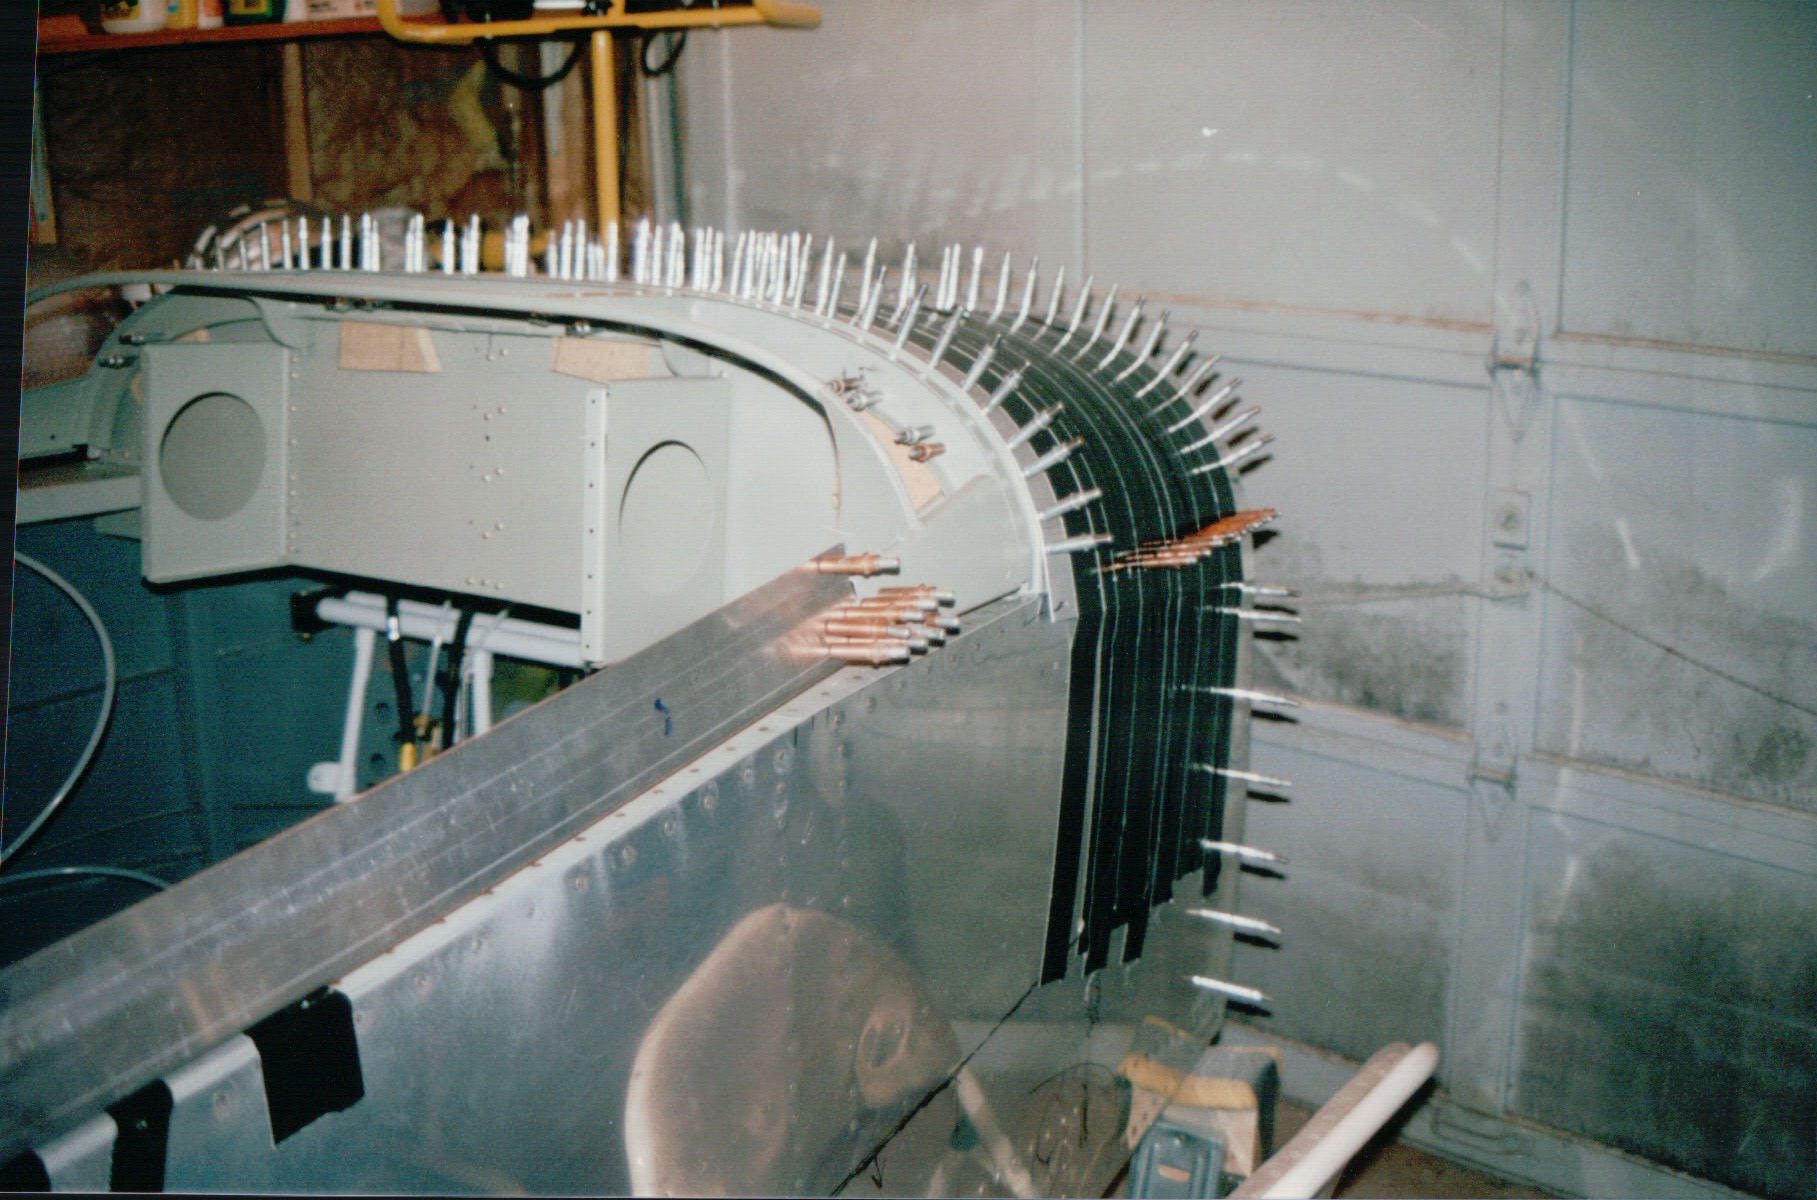
At this phase, my RV-6A fuselage is sitting on saw horses, the aft top skins are drilled and fit, and as can be seen by the black duct tape on the forward top skin, that skin between the firewall and tip-up canopy frame has just been fit and drilled in place. The tip-up canopy frame has been partially assembled and is being fit to the fuselage with appropriate spaces in place between the frame and the fuselage side rail:
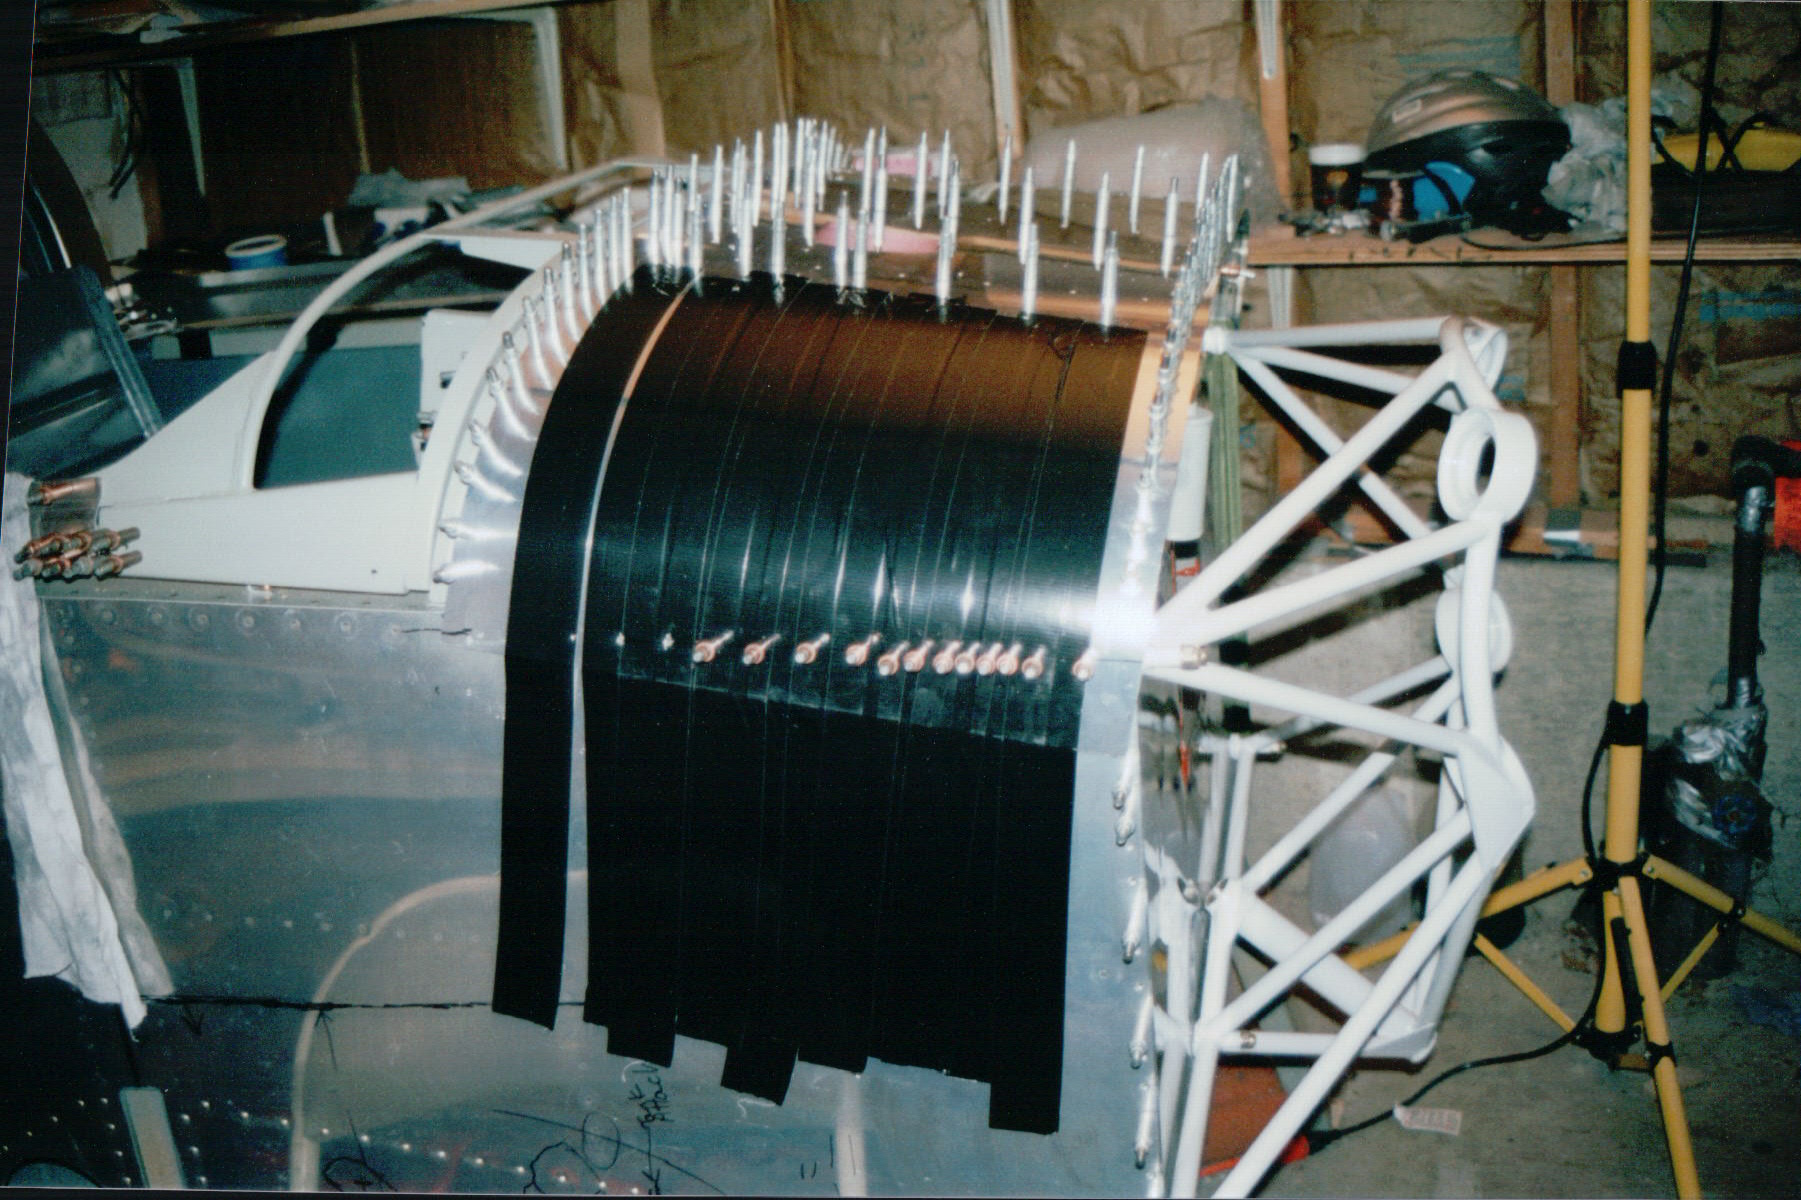
The forward top skin was very difficult to get laid down tight on the fuselage frame (again, old kit so no pre-punched skins here). Thus the extensive tape job to really pull things as tight as I could before I started drilling. Drilling top center first and working down and out also kept the skin tight as I went. Engine mount also mounted temporarily at this point:
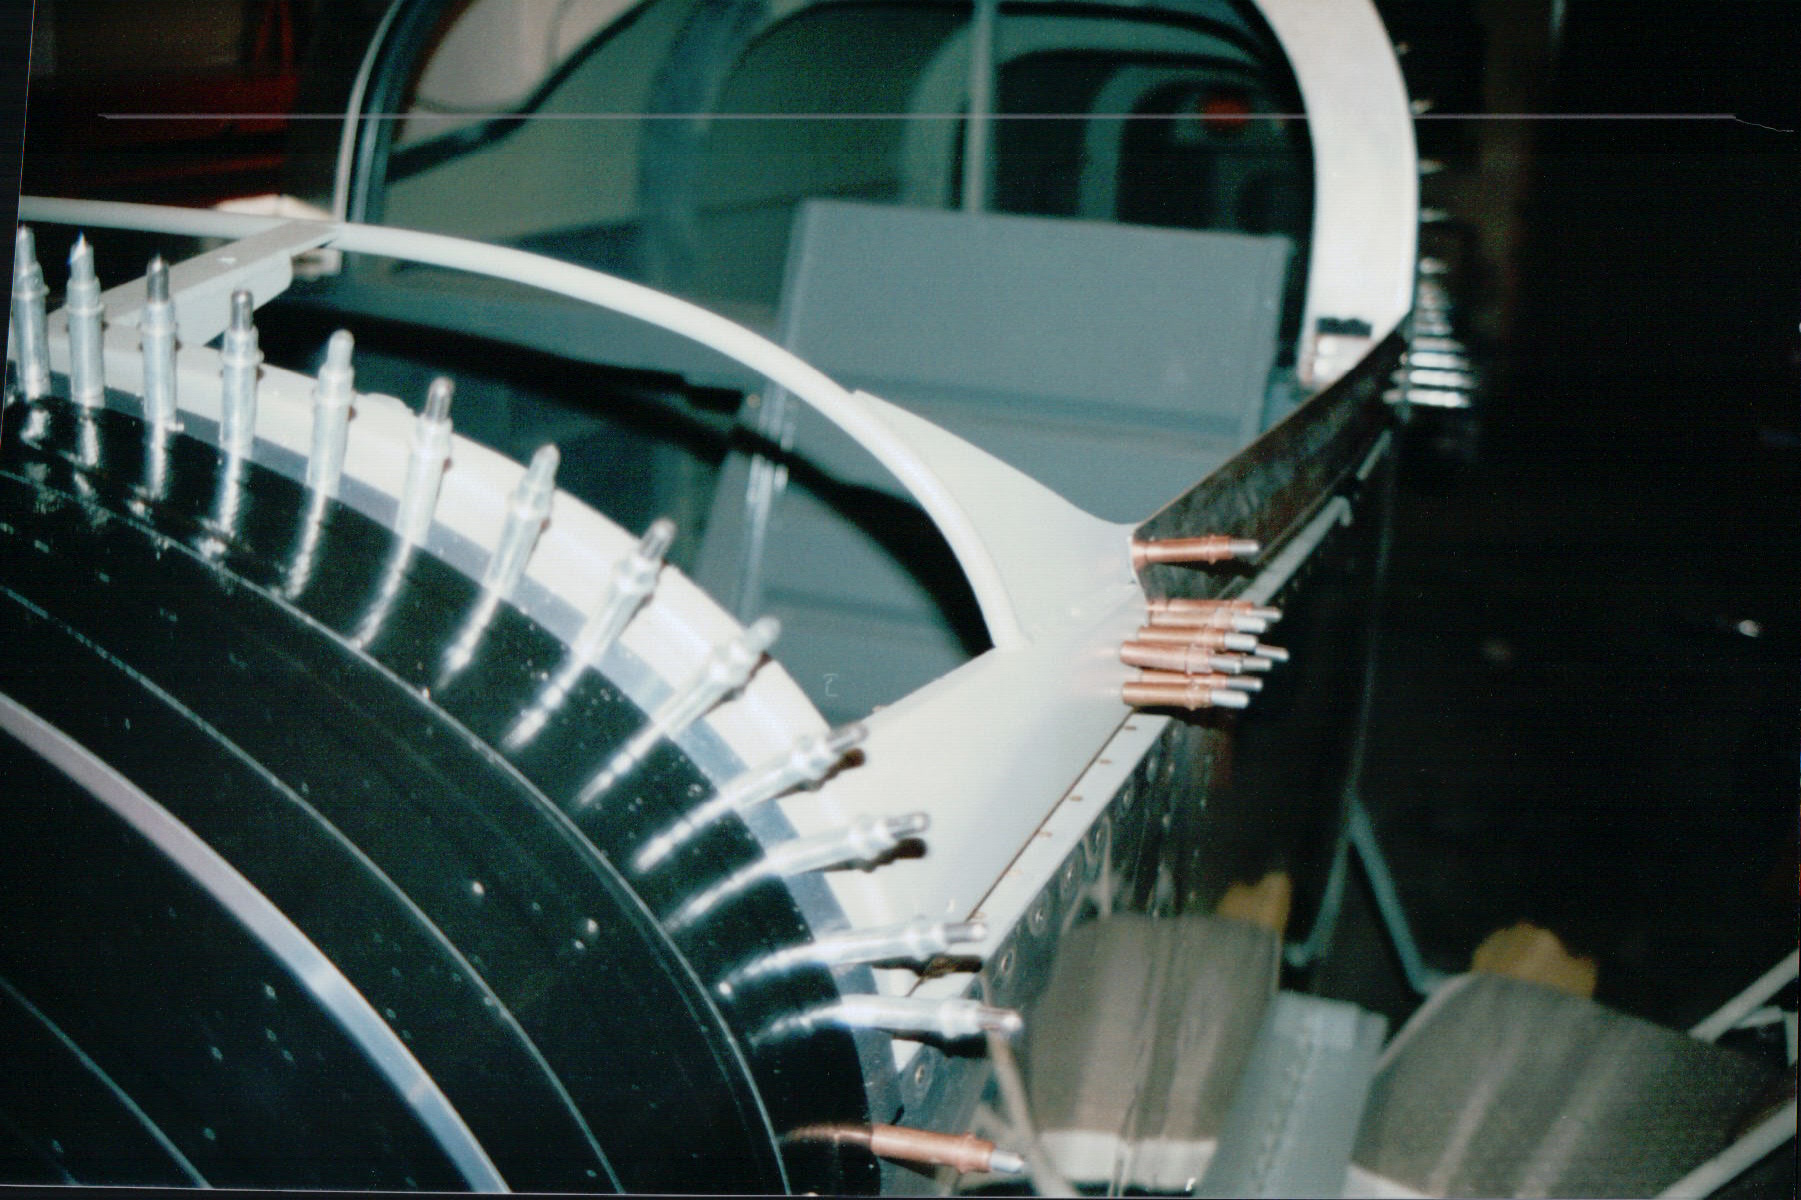
Forward top skin and canopy frame fit in place here, although temporarily:
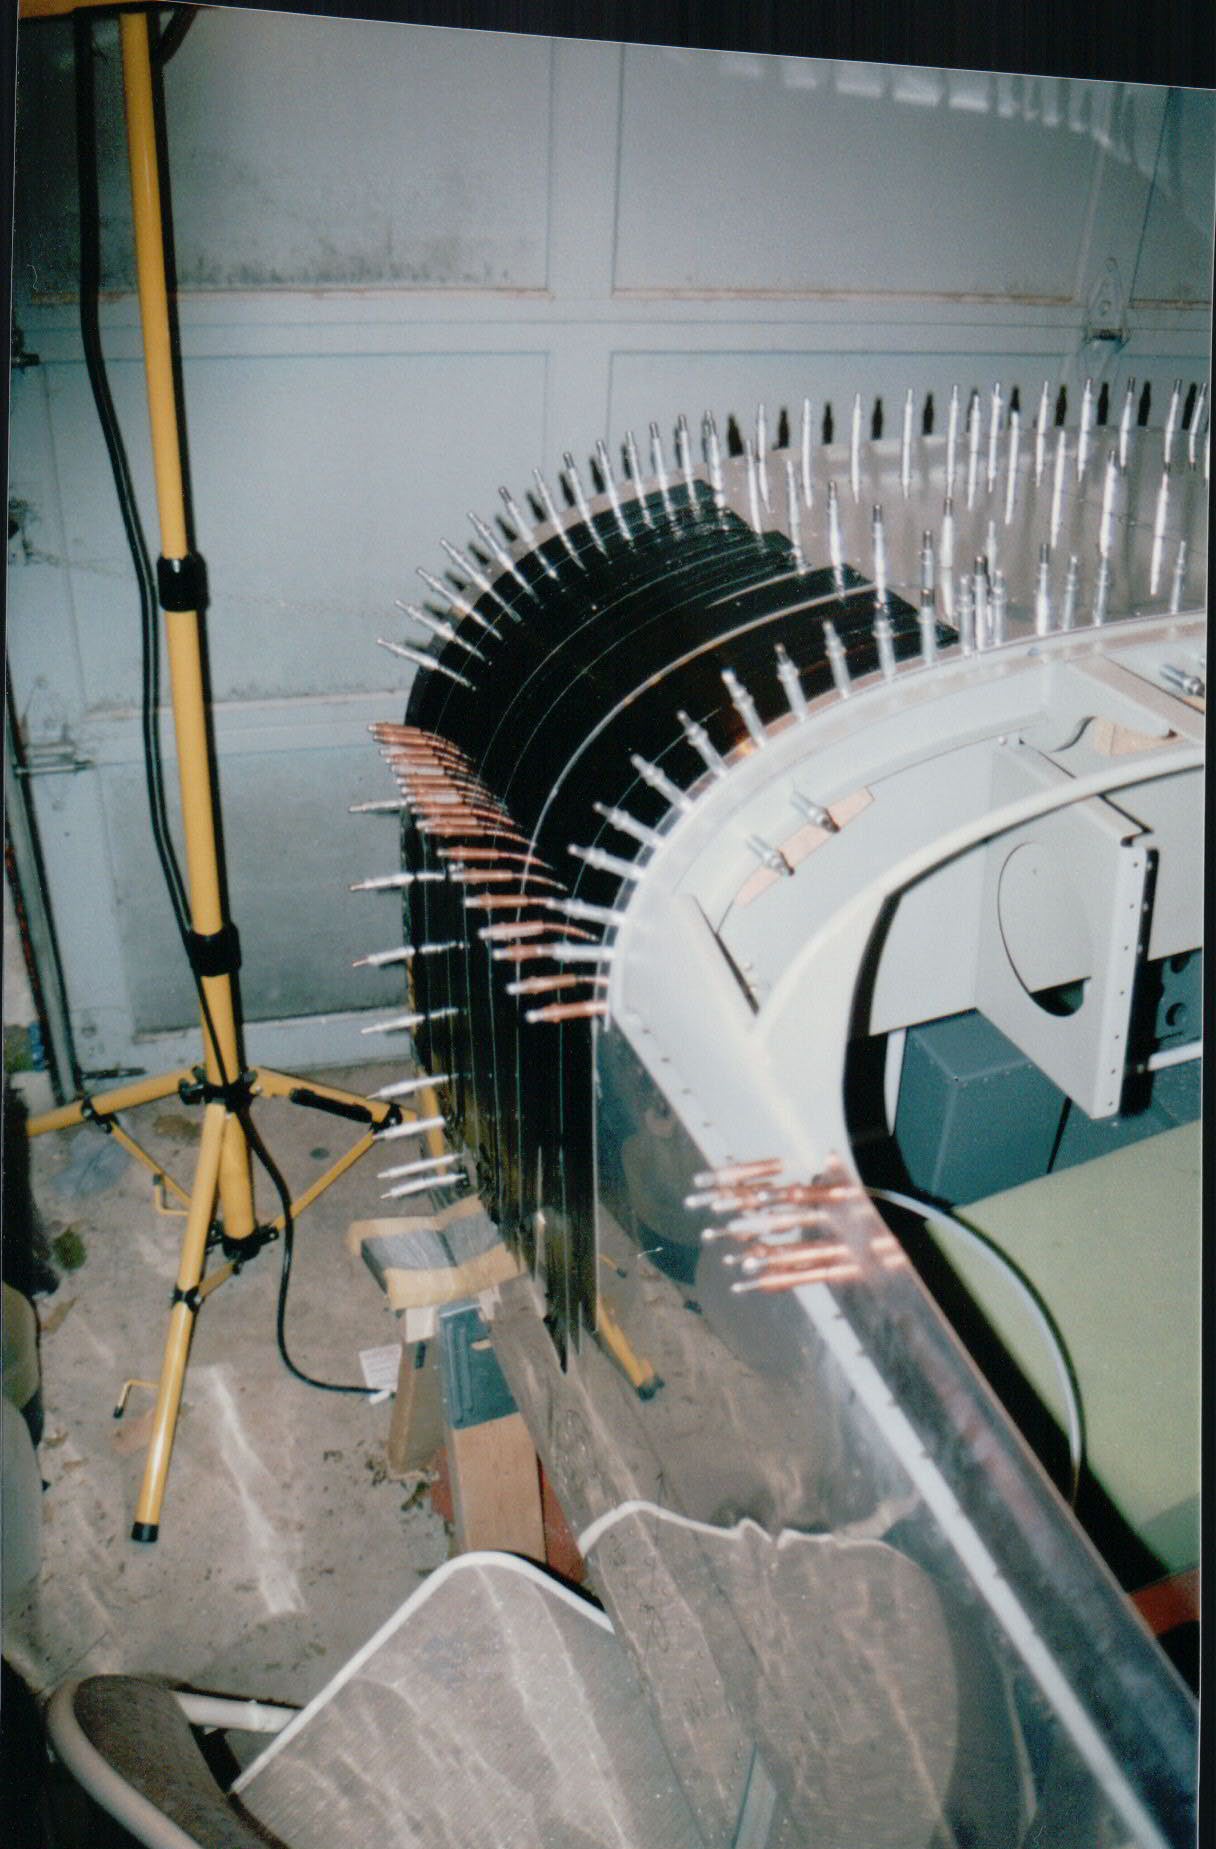
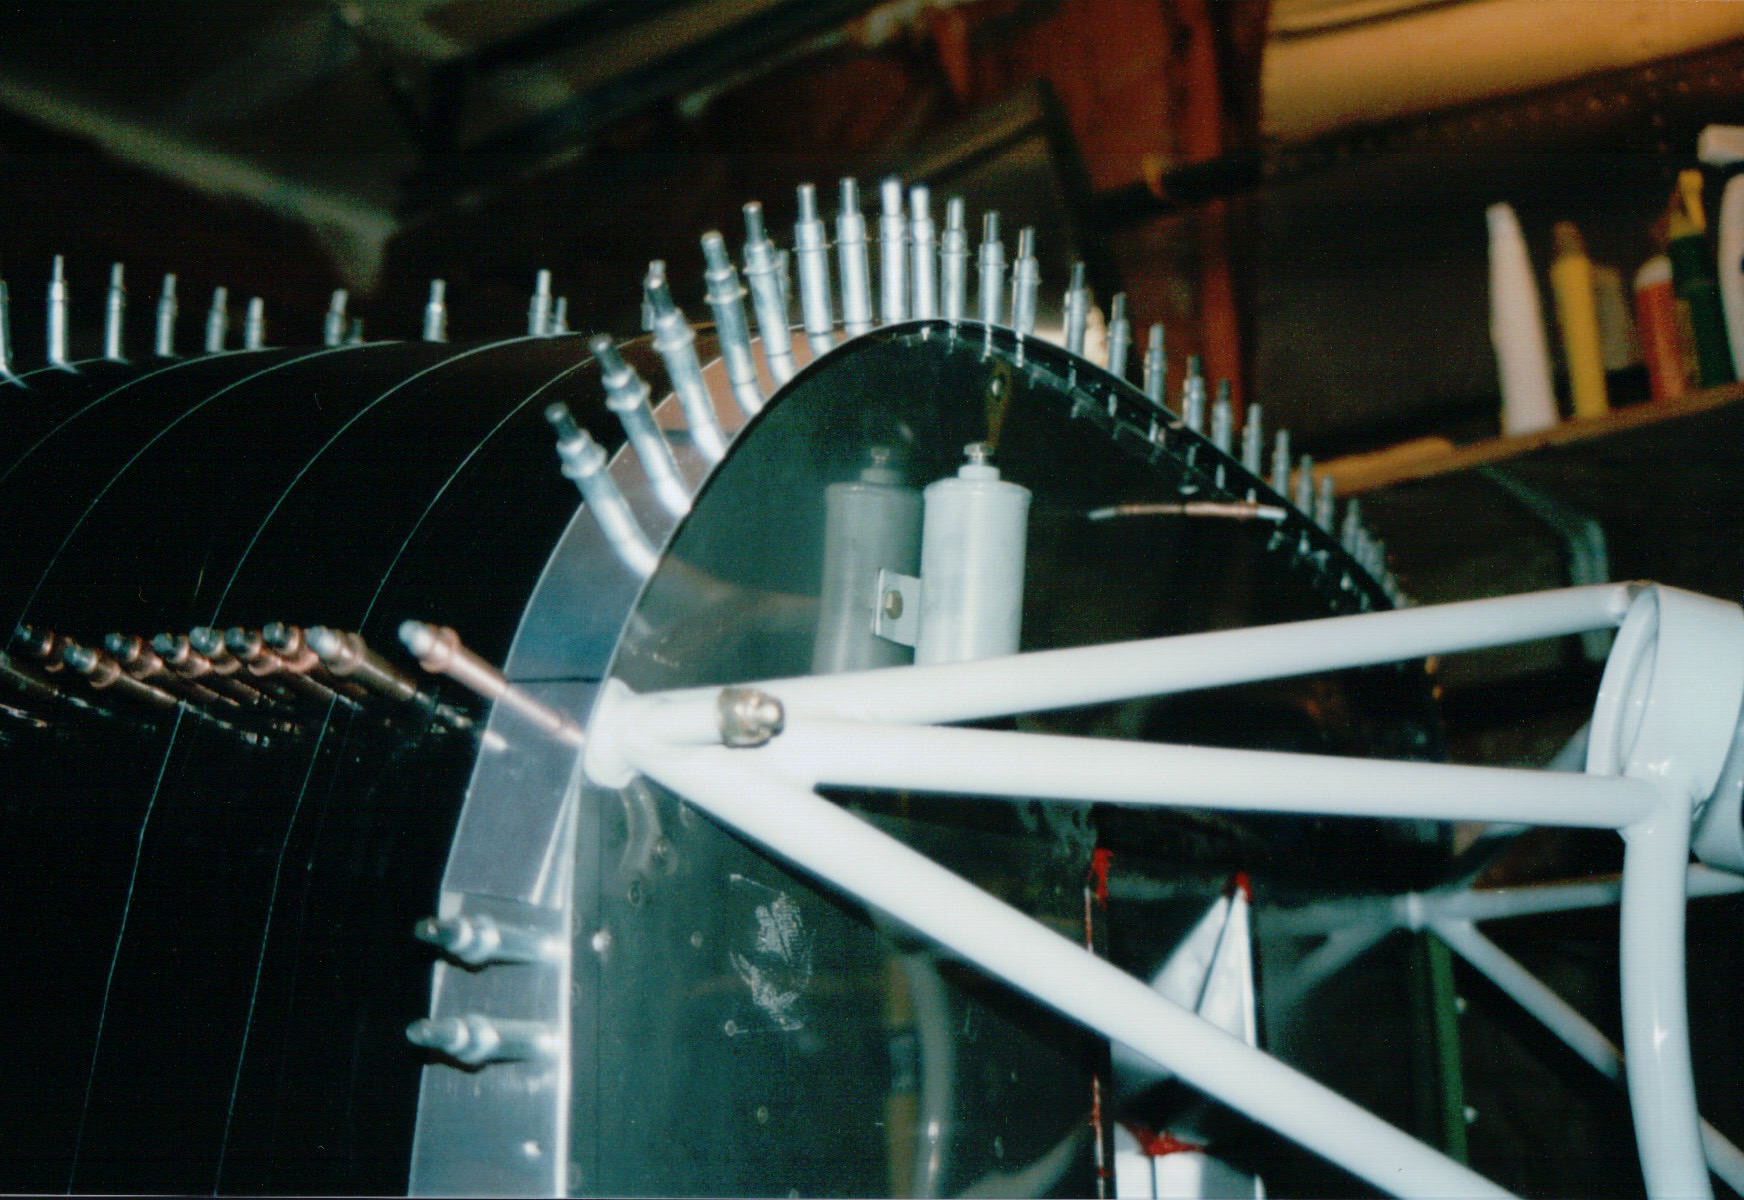
Not much mounted on the firewall just yet, so far just the brake fluid reservoir, and the forward top skin still needs trimmed flush to the firewall for fitting and drilling of the hinge pieces that eventually hold the cowling in place:
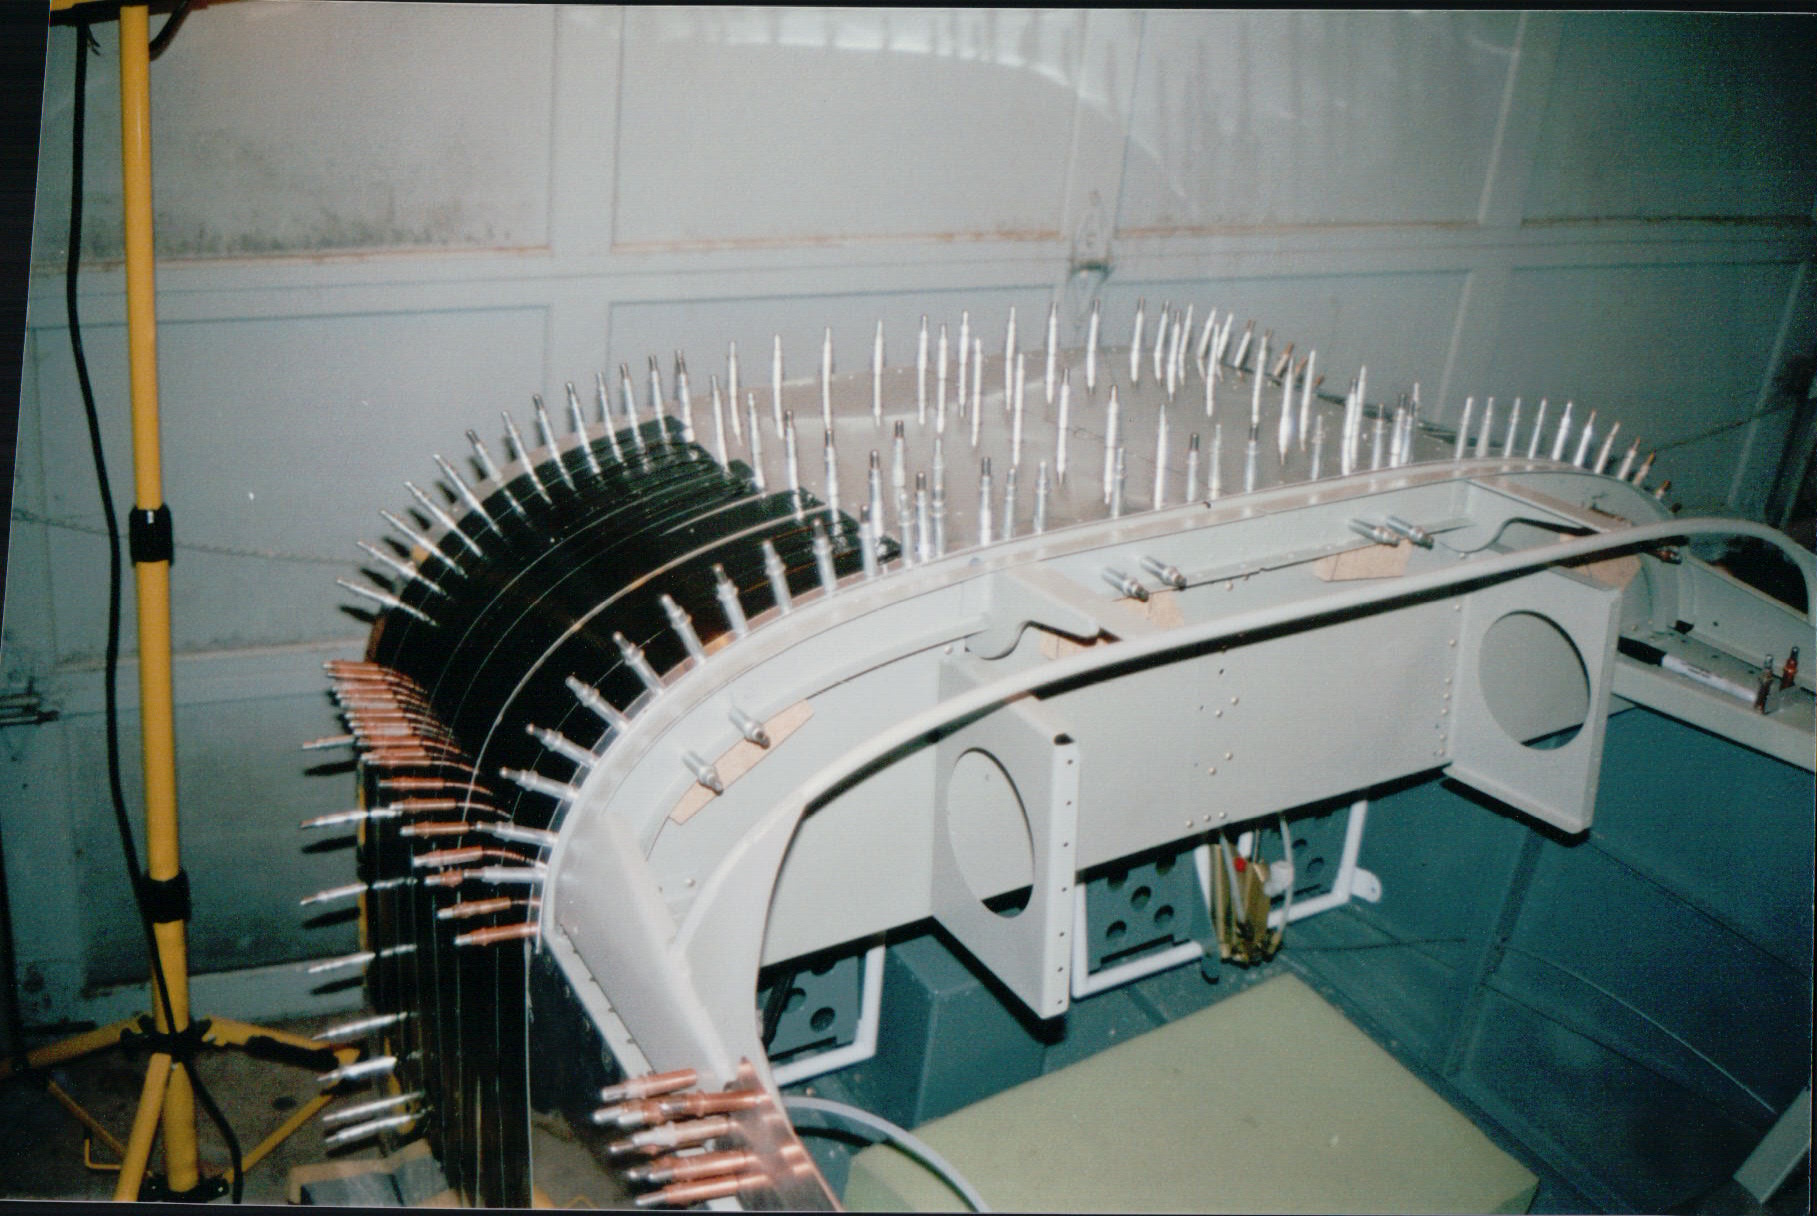
This photo shows the pieces of wood (press board) I used between the canopy frame and sub-panel bulkhead to maintain initial fit spacing during the process of fitting the canopy frame:
Shot from forward, left side of the fuselage, looking aft at the not yet properly fit canopy frame; there was a lot of trimming, shimming, bending, tweaking left to be done at this phase:
Another view as the canopy and top skin are being fit and trimmed:
Fuselage: pg 1 | pg 2 | pg 3 | pg 4 | pg 5 | pg 6 | pg 7 | pg 8 | pg 9 | pg 10 pg 11 | pg 12 | pg 13 | pg 14 | pg 15 | pg 16 | pg 17 | pg 18 | pg 19 | pg 20 pg 21 | pg 22 | pg 23 | pg 24 | pg 25 | pg 26 | pg 27 | pg 28 | pg 29 | pg 30 pg 31 | pg 32 | pg 33 | pg 34 | pg 35 | pg 36 | pg 37 | pg 38 |
|
This page was last updated on 12/18/11.
Click here for questions or feedback. Copyright © 2007. All rights reserved. Chris Hand, chris@ckhand.com
|