|
|
|
Aviation Links:
|
Fuselage: pg 1 | pg 2 | pg 3 | pg 4 | pg 5 | pg 6 | pg 7 | pg 8 | pg 9 | pg 10 pg 11 | pg 12 | pg 13 | pg 14 | pg 15 | pg 16 | pg 17 | pg 18 | pg 19 | pg 20 pg 21 | pg 22 | pg 23 | pg 24 | pg 25 | pg 26 | pg 27 | pg 28 | pg 29 | pg 30 pg 31 | pg 32 | pg 33 | pg 34 | pg 35 | pg 36 | pg 37 | pg 38
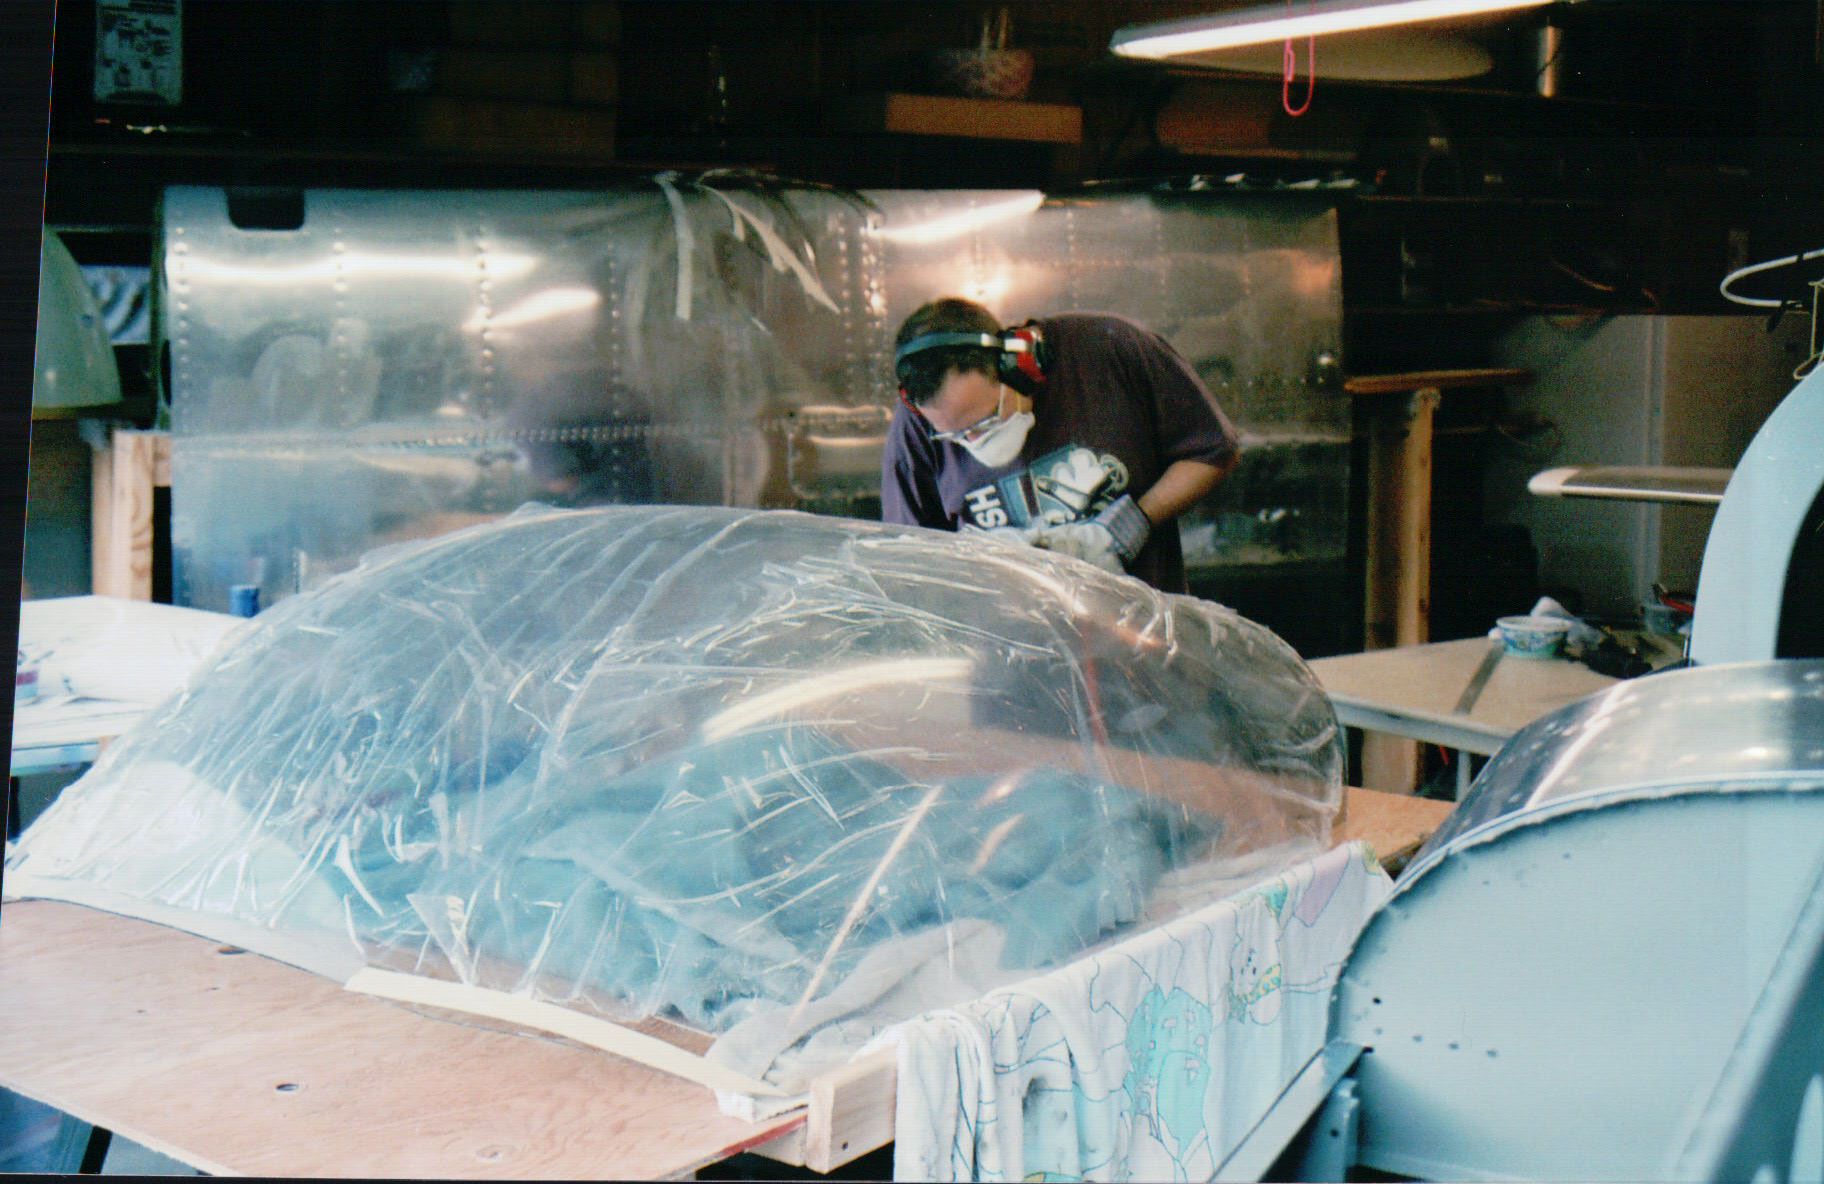
With the RV-6A canopy frame completed, it was time to start fitting the plexi-glass canopy. The canopy as delivered from Van's for the RV side-by-side models comes as a large single piece of plexi from which you cut the back window and tip up sections (for those using tip up canopy option) or front windshield and back slider sections (for those going with sliding canopy option). This is a relatively stressful part of the build because any mistakes can cost you a new canopy, which other than panel and firewall forward stuff is the most expensive single airframe part to replace (a little over $1,000 at time of my build). I warmed my garage with portable heaters for everything I did on the canopy (cutting, fitting, drilling) in an effort to reduce the chance of cracking the canopy and having to start over with a new one. Only the fiberglass finishing work to come later in the project would I create more dust and mess while working on the plane! The dust mask was essential and most of the time I wore better eye goggle protection that what I have on in this first picture. Here I am trimming the edges in one of the many, many iterations of putting the canopy on the plane, marking cut lines, removing, cutting, and repeating:
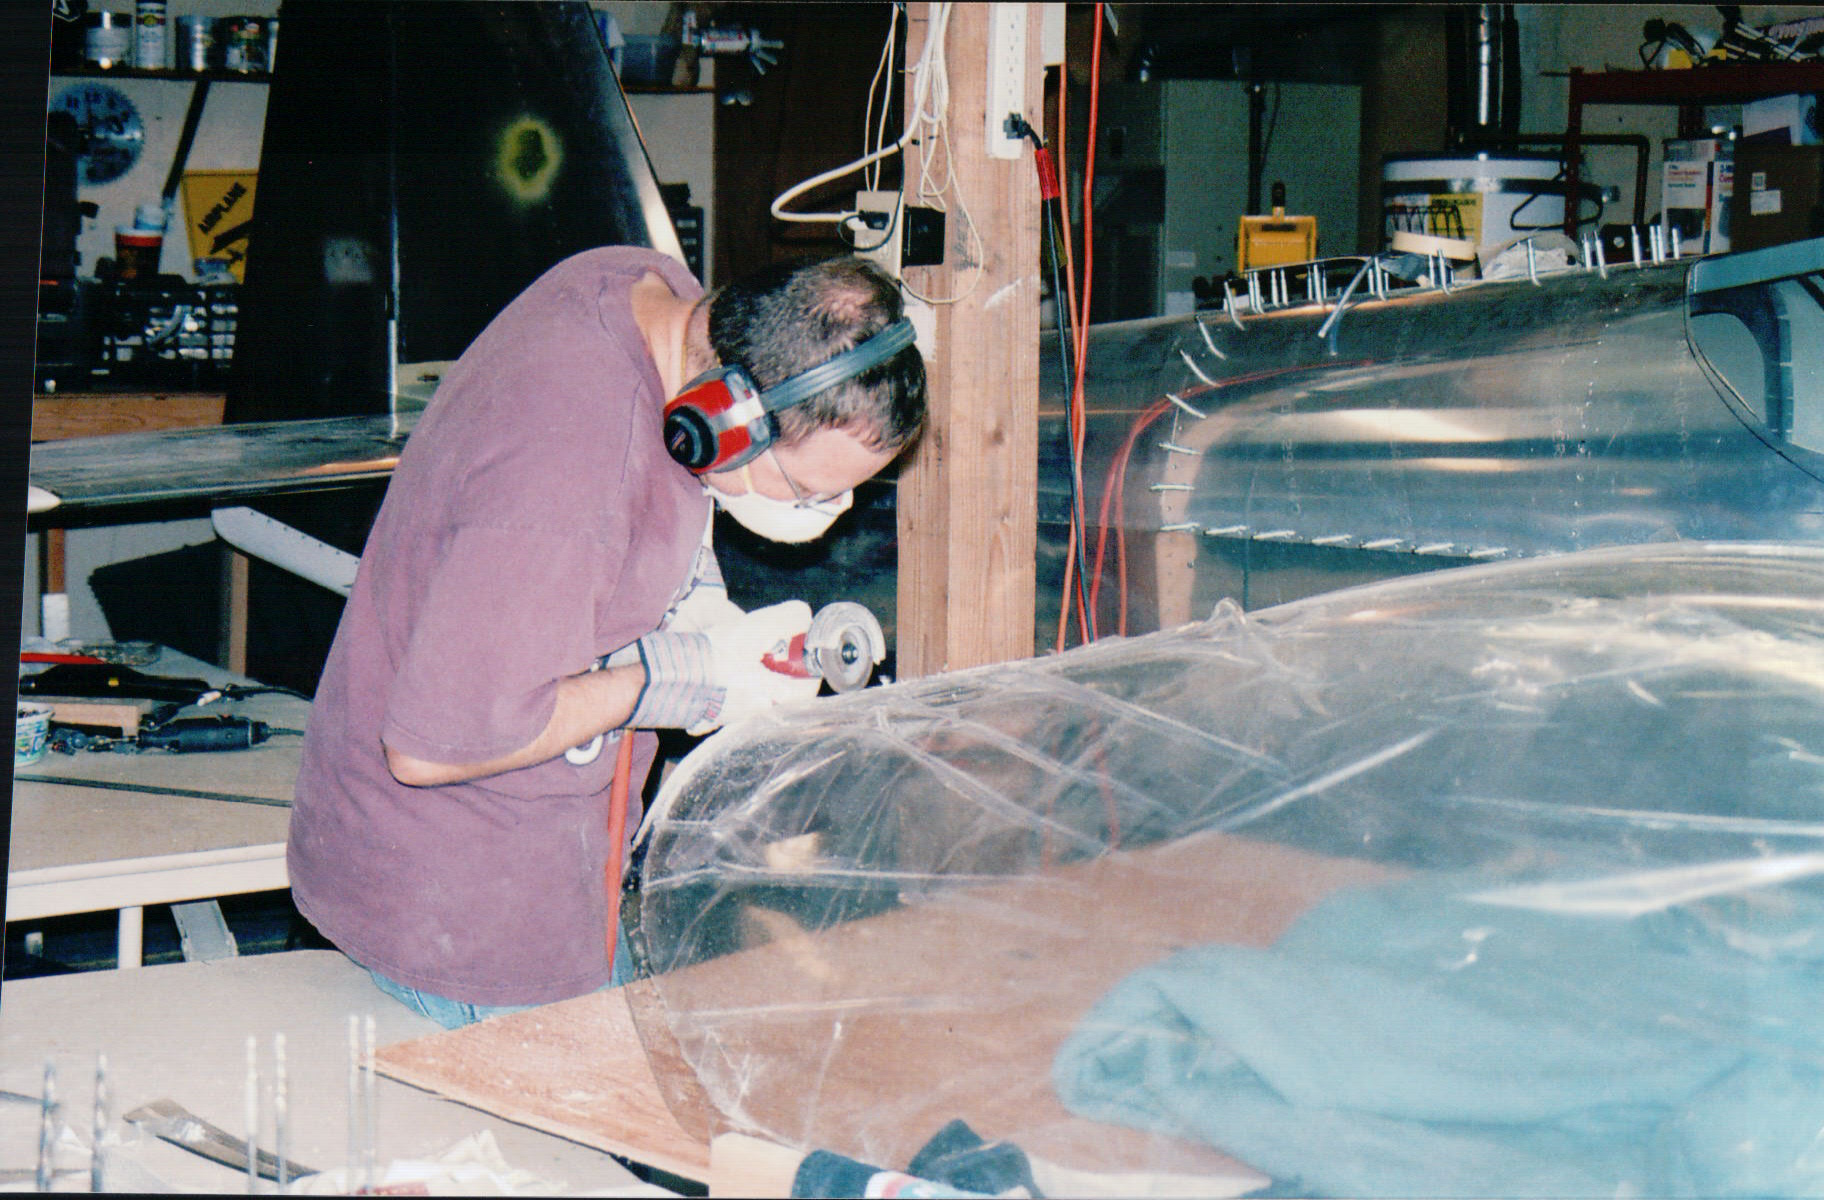
Getting closer to final shape, here I'm trimming the final line for what would become the rear window (you can also see on the fuselage in the background where I marked the cut lines on the rear top skin to get a smooth look I was happy with):
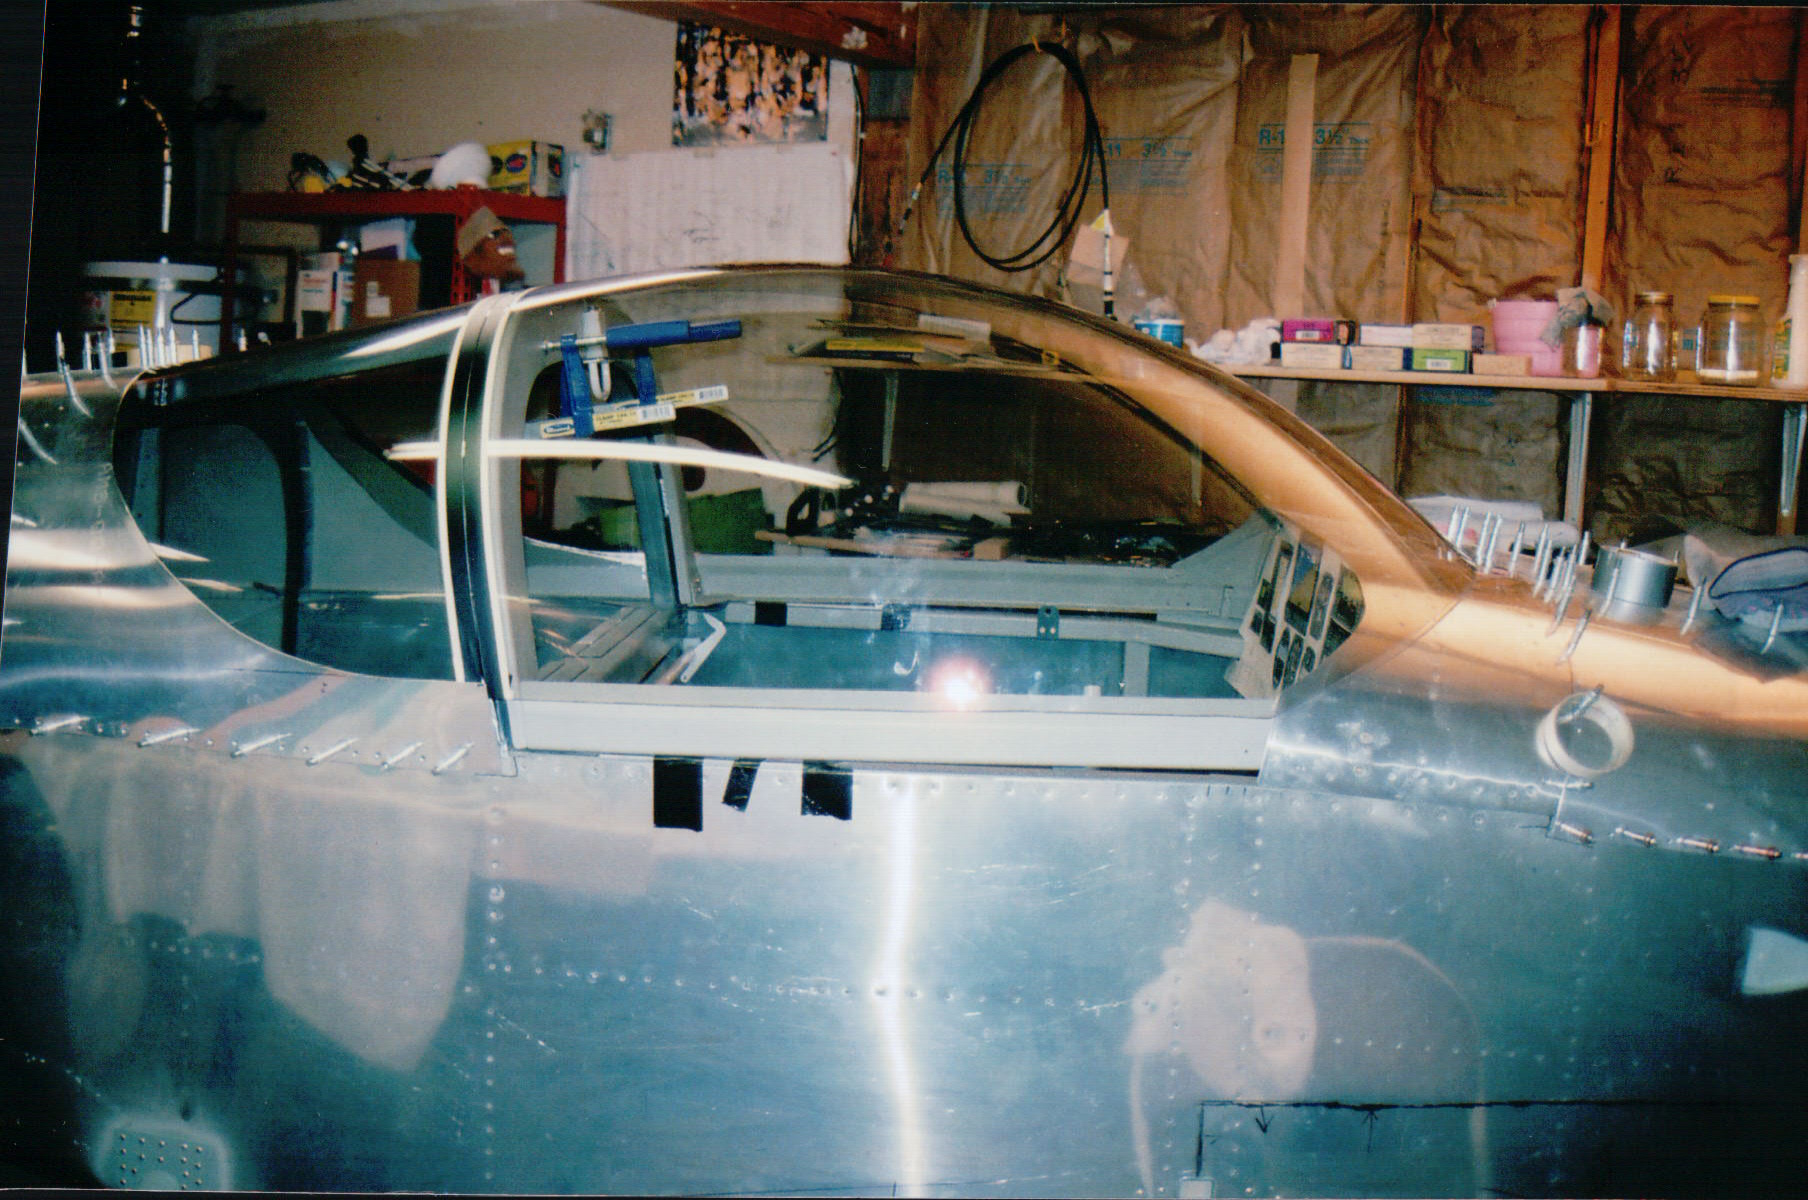
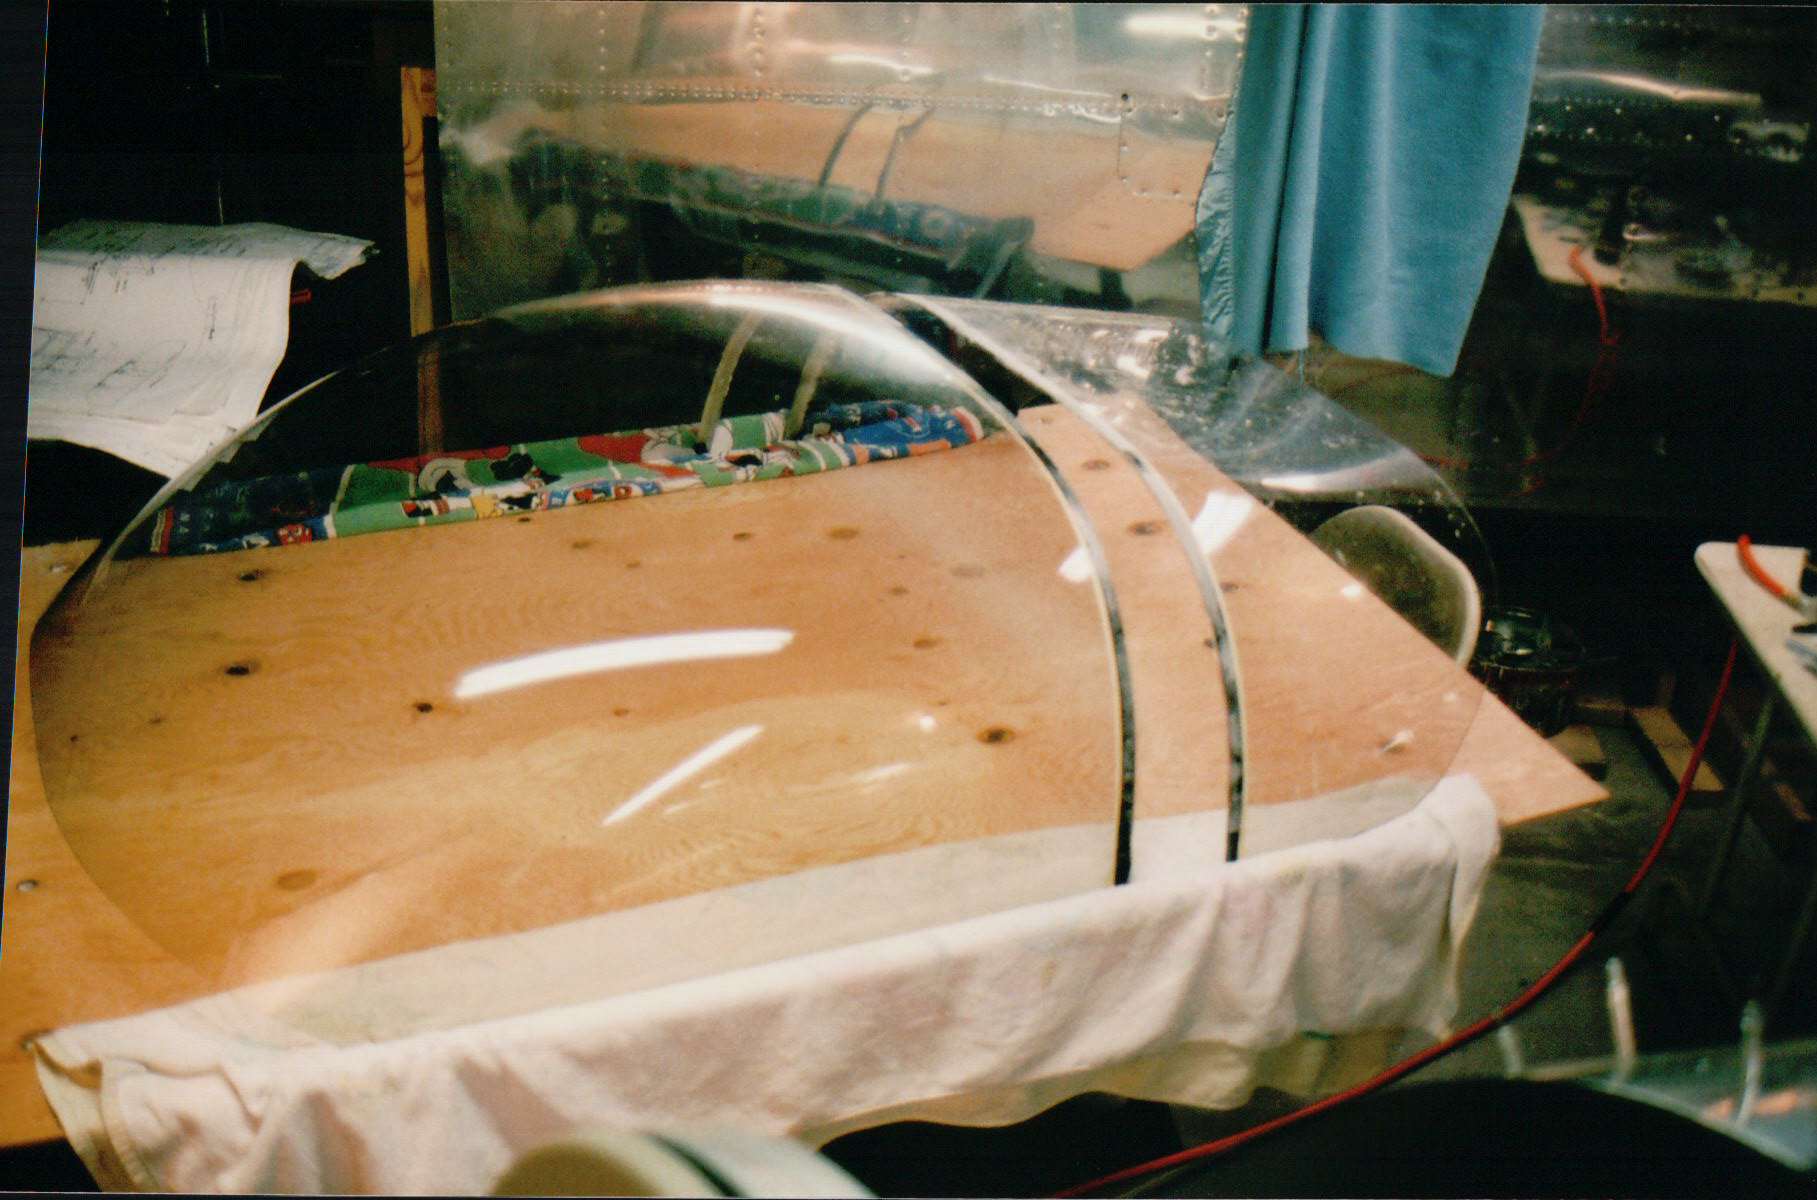
The photo below was taken at the point where I was happy with the fit and almost ready to make the "big cut" to separate the rear window from the tip up canopy. You can see below that I marked the cut location with black electrical tape, using the roll bar frame as a guide to mark exactly where I wanted the cut to be. The clamps that can be seen on the inside of the canopy were there to hold the canopy frame in exactly the position I wanted it as the frame is pretty flimsy before the plexi is actually attached to the frame:
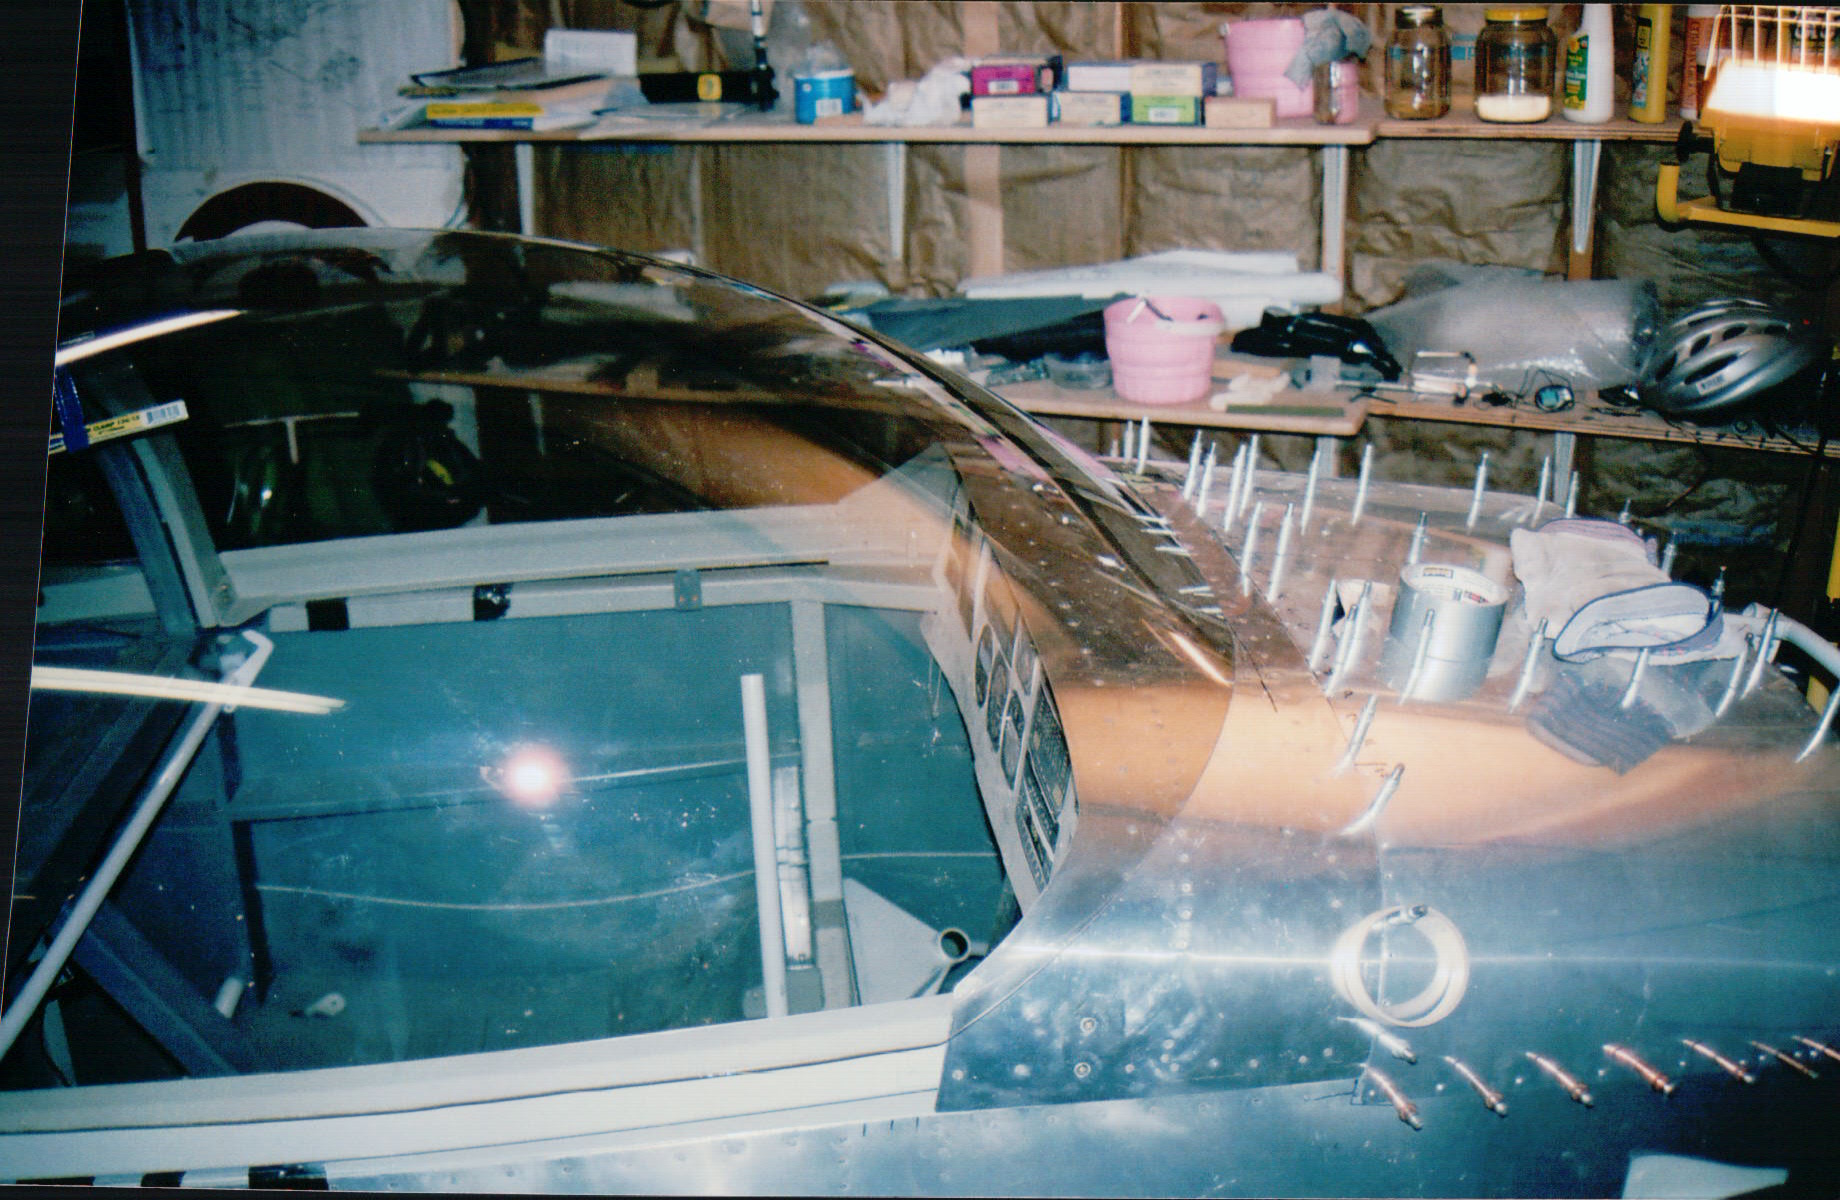
This photo below is at the stage where I was pretty close to ready for the "big cut" but in hindsight, I should have taped the sides in along the side rails and made the cut in the front frame side skin where the plexi transitions inside the frame side rail skin once that goes on (see fuselage page 23 photo 4 for close-up of that transition). Reason I say that is that the change in fit / shape when the canopy gets pulled in tighter on the sides, causes the fit on the front to change so that there end up being large gaps (see fuselage page 23, photo 5) that I had to pull in by installing 0.032 aluminum "clips" I made out of some scrap aluminum before fabricating the fiberglass fairing on the front of the canopy. Trimming with that "final" shape held closer to reality would have made the later fitting and final installation easier.
Closer look at the fit with electrical tape marking location for the "big cut" to separate the back window from the tip up canopy:
And here's the result right after completion of "the big cut"!! To keep the canopy from flopping around and inducing crack causing stress while I was making the separation cut, I did two things; one was to install rails on the plywood table below to keep the bottom of the canopy from flexing outwards (those rails are screwed to the table and covered by the towels in the photo below), and the second was to use duct tape on the underside of the canopy from bottom rail side across the gap to other bottom rail side. The tape was installed with the canopy upside down on the table (with towels on the plywood to prevent scratches) and run tape from one side to the other to maintain shape, then flip canopy over so it sits as shown below, so tape would be flush with the plywood, sticky side up:
Fuselage: pg 1 | pg 2 | pg 3 | pg 4 | pg 5 | pg 6 | pg 7 | pg 8 | pg 9 | pg 10 pg 11 | pg 12 | pg 13 | pg 14 | pg 15 | pg 16 | pg 17 | pg 18 | pg 19 | pg 20 pg 21 | pg 22 | pg 23 | pg 24 | pg 25 | pg 26 | pg 27 | pg 28 | pg 29 | pg 30 pg 31 | pg 32 | pg 33 | pg 34 | pg 35 | pg 36 | pg 37 | pg 38 |
|
This page was last updated on 12/18/11.
Click here for questions or feedback. Copyright © 2007. All rights reserved. Chris Hand, chris@ckhand.com
|