|
|
|
Aviation Links:
|
Fuselage: pg 1 | pg 2 | pg 3 | pg 4 | pg 5 | pg 6 | pg 7 | pg 8 | pg 9 | pg 10 pg 11 | pg 12 | pg 13 | pg 14 | pg 15 | pg 16 | pg 17 | pg 18 | pg 19 | pg 20 pg 21 | pg 22 | pg 23 | pg 24 | pg 25 | pg 26 | pg 27 | pg 28 | pg 29 | pg 30 pg 31 | pg 32 | pg 33 | pg 34 | pg 35 | pg 36 | pg 37 | pg 38
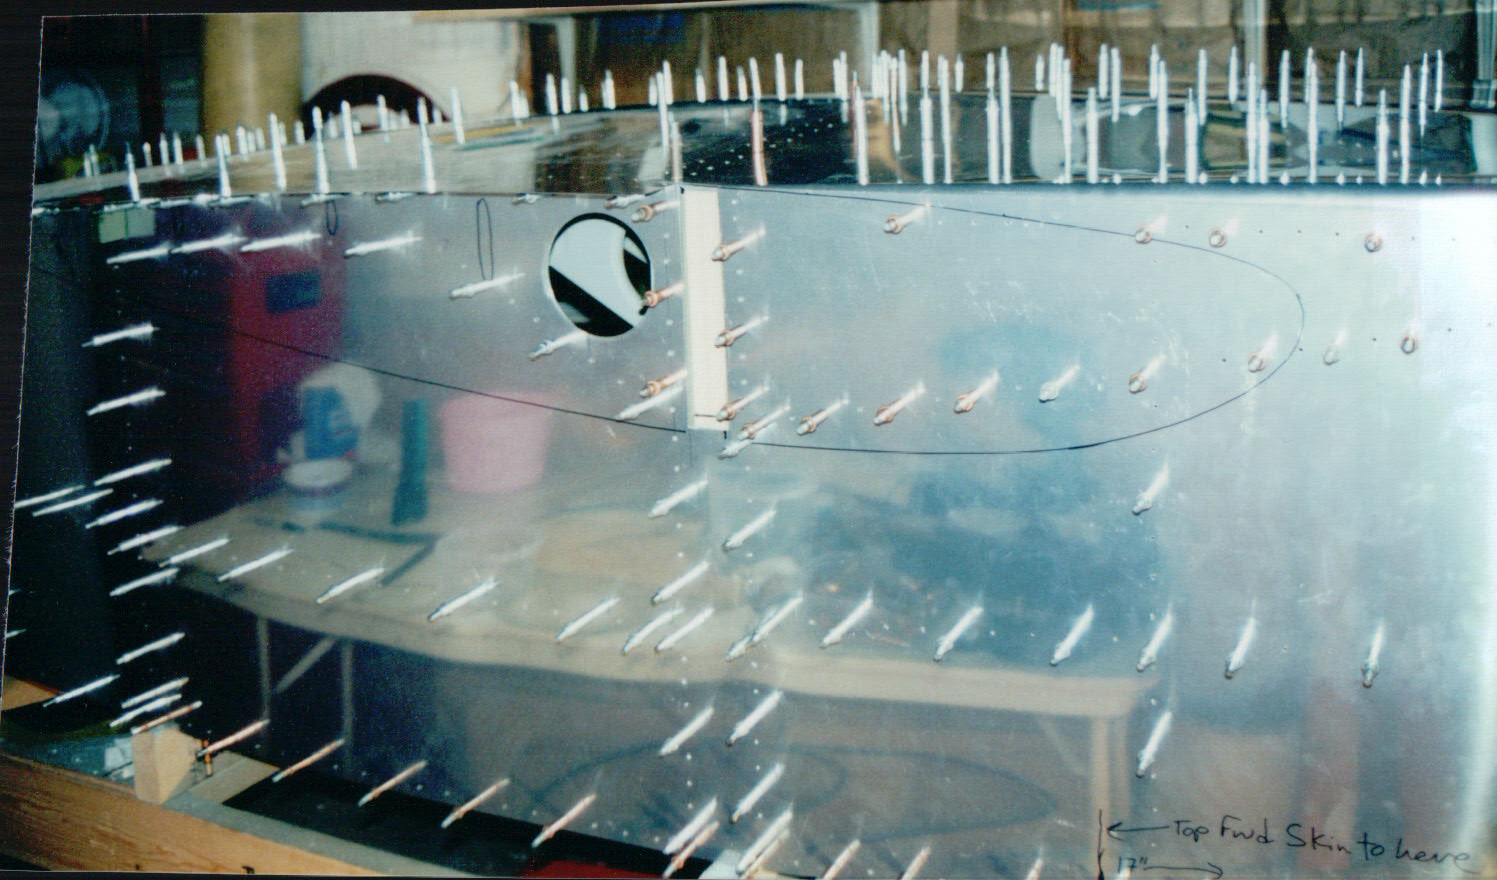
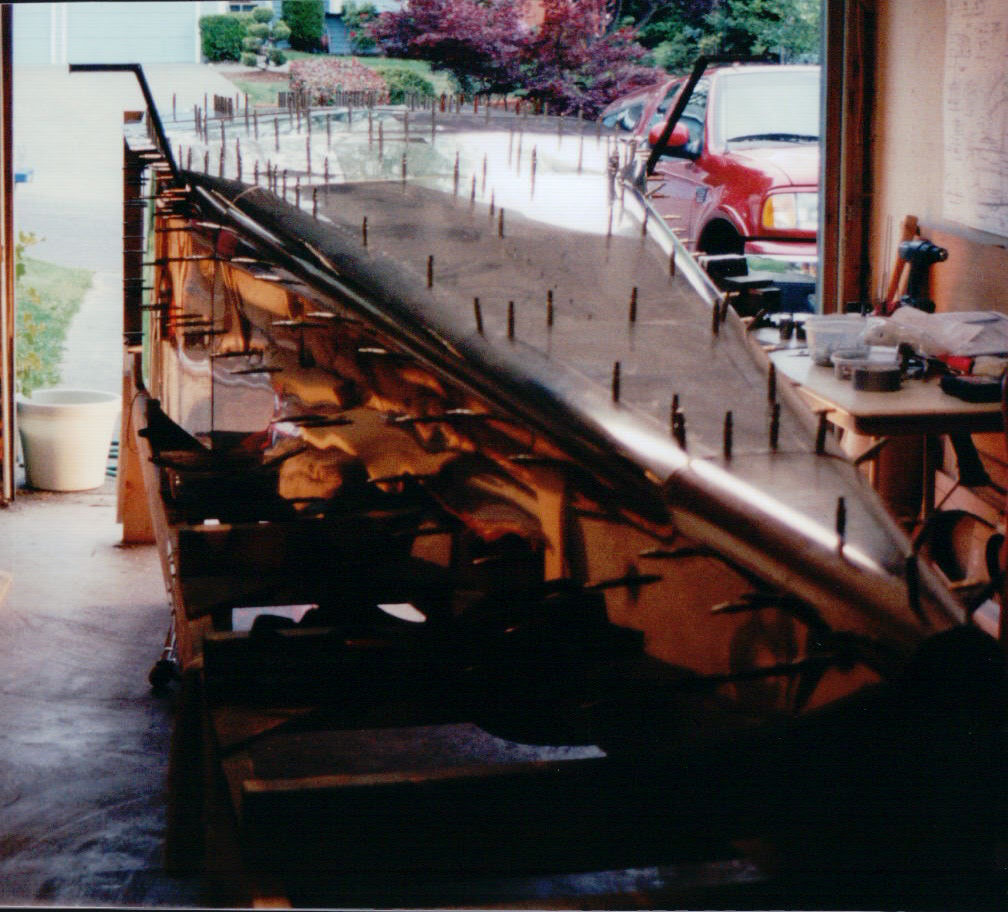
The photo below shows the pilot side of my RV-6A fuselage upside down in the jig with the side and bottom skins drilled and cleco'd in place. The false spar can be seen where the main spar will eventually slide into the fuselage. I used cardboard cutouts of the wing rib shapes to trace the wing location onto the fuselage on both sides so I could better see where to use flush rivets and where to use round head (AN470) rivets through the fuselage skin into the angle of the fuselage skeleton. The rivets covered by the wing root fairing and wing shape don't need to be flush.
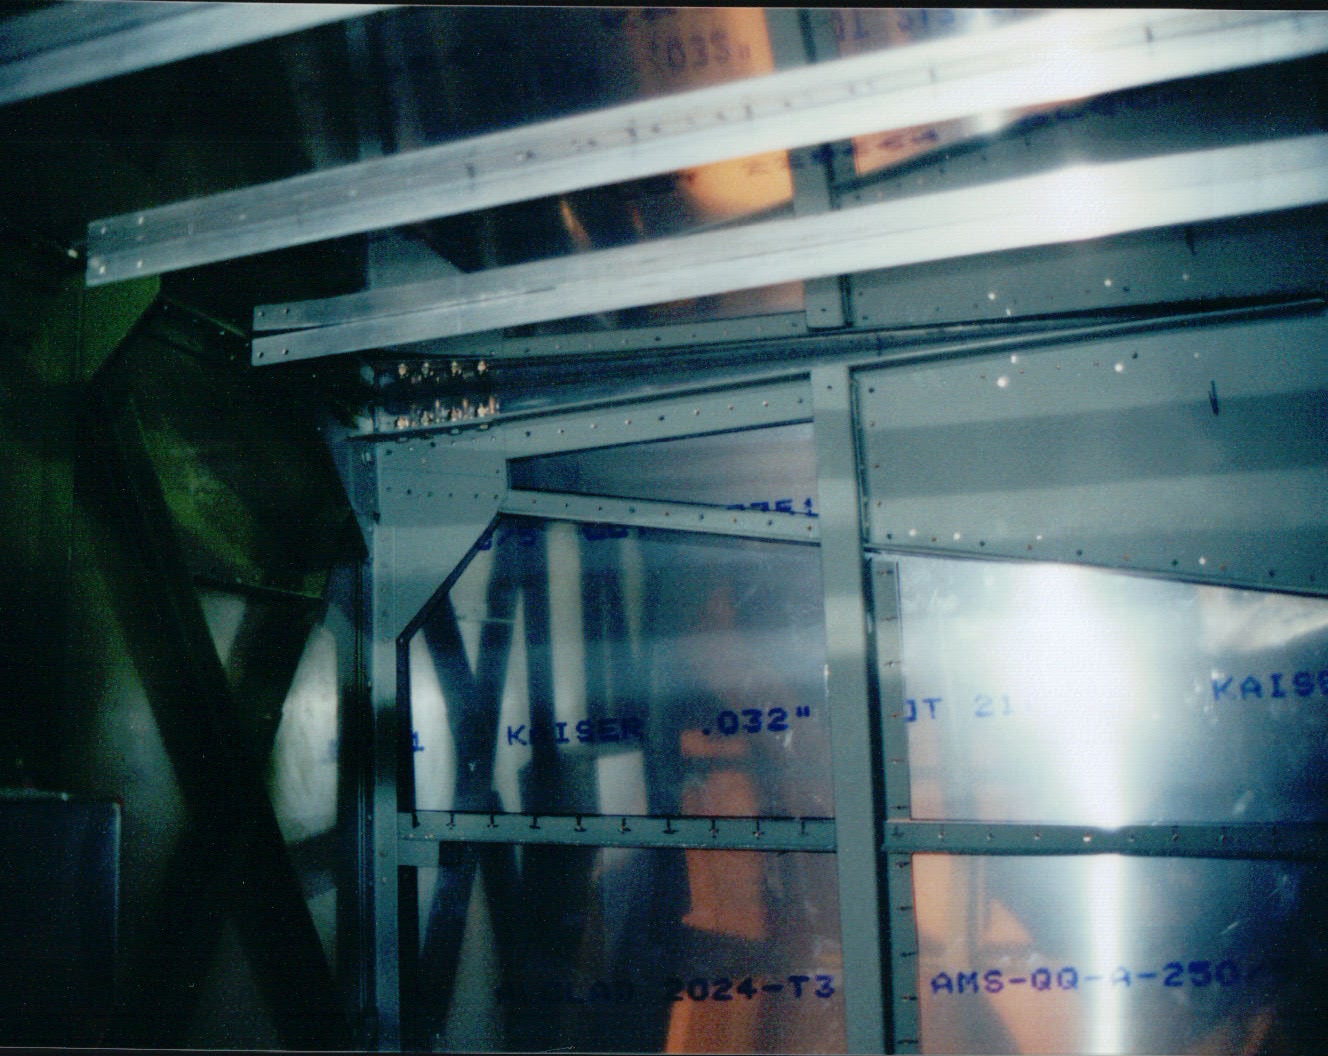
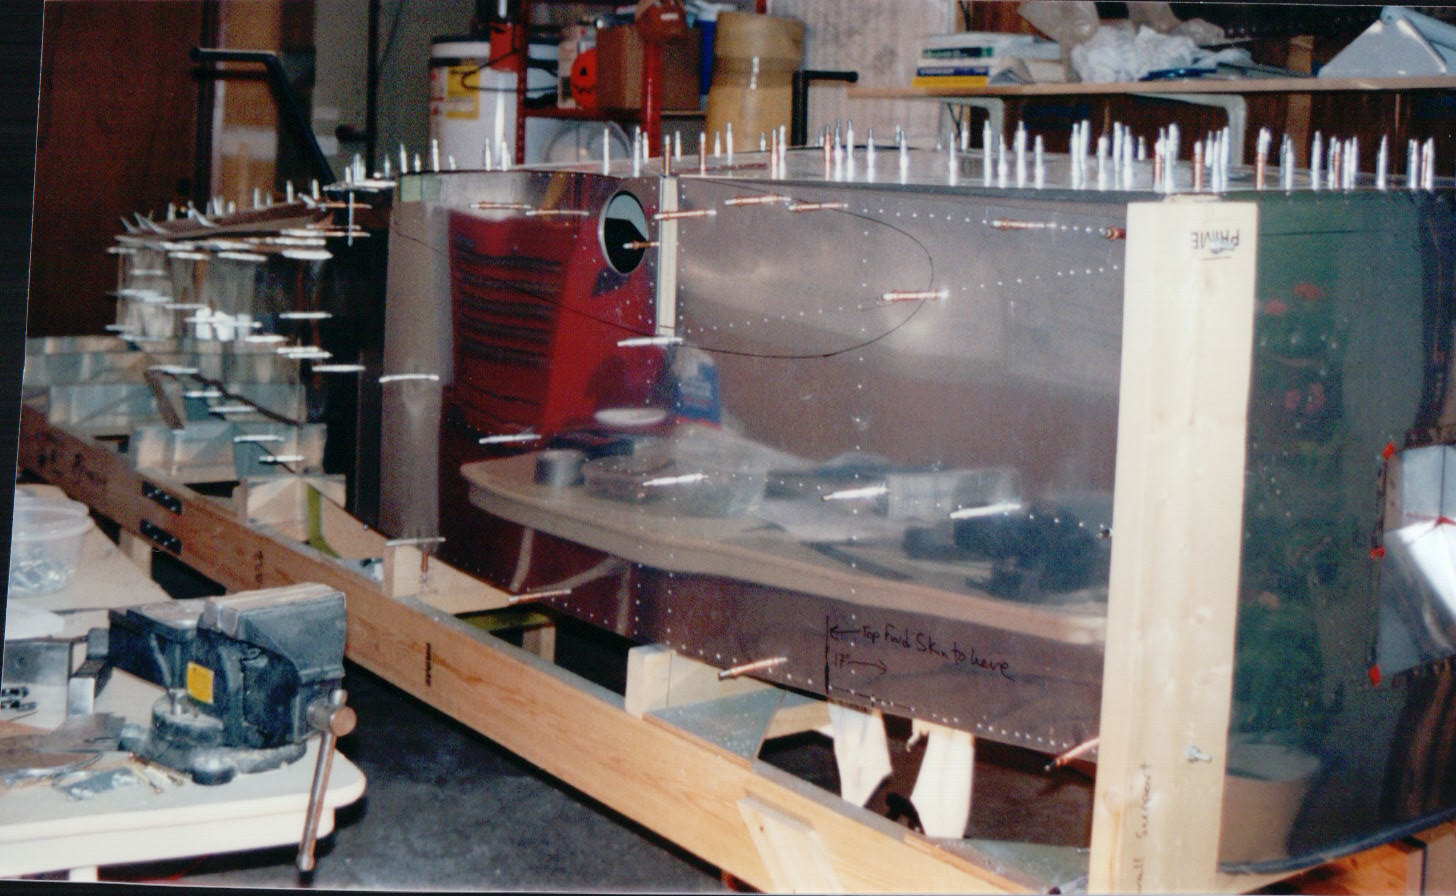
Inside view of the fuselage forward cockpit area with the side and bottom skins cleco'd in place. The floor is at the top of this picture since the fuselage is still upside down in the jig. This shows the reinforcing angles and other structure on the sides and bottom of the fuselage cabin area:
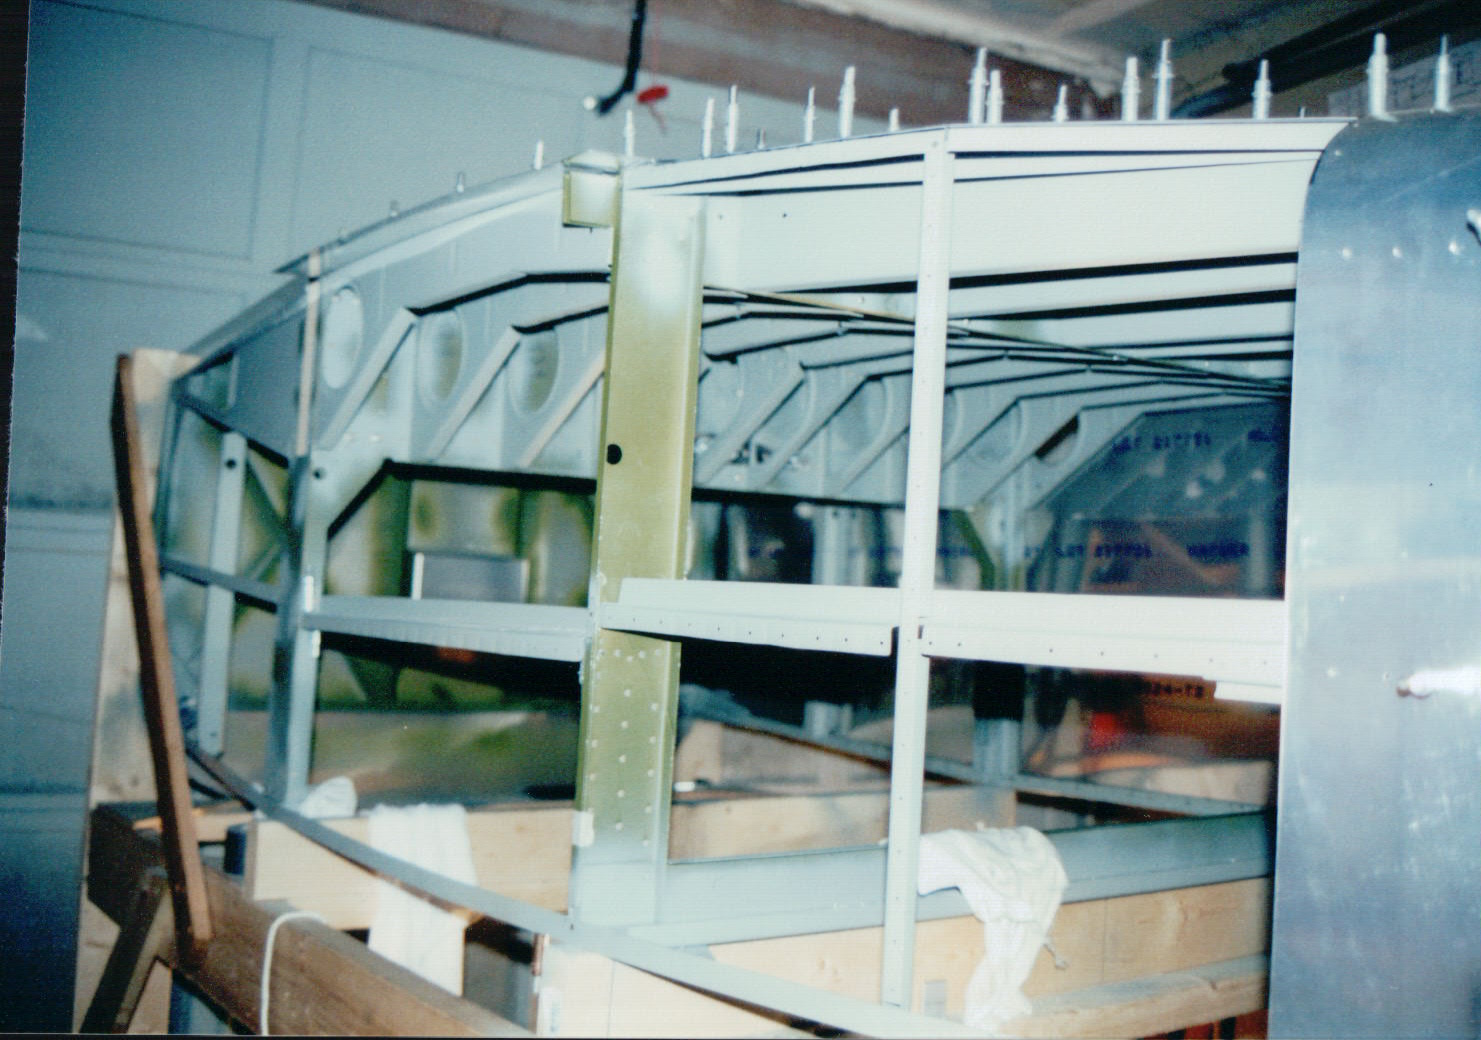
Another inside view of the fuselage with skins in place but not yet riveted. The false spar is secured in place by the main spar splice plates using hardware store bolts for now. The cutouts in the false spar allow for the required nutplates that the spar assemblies allow for:
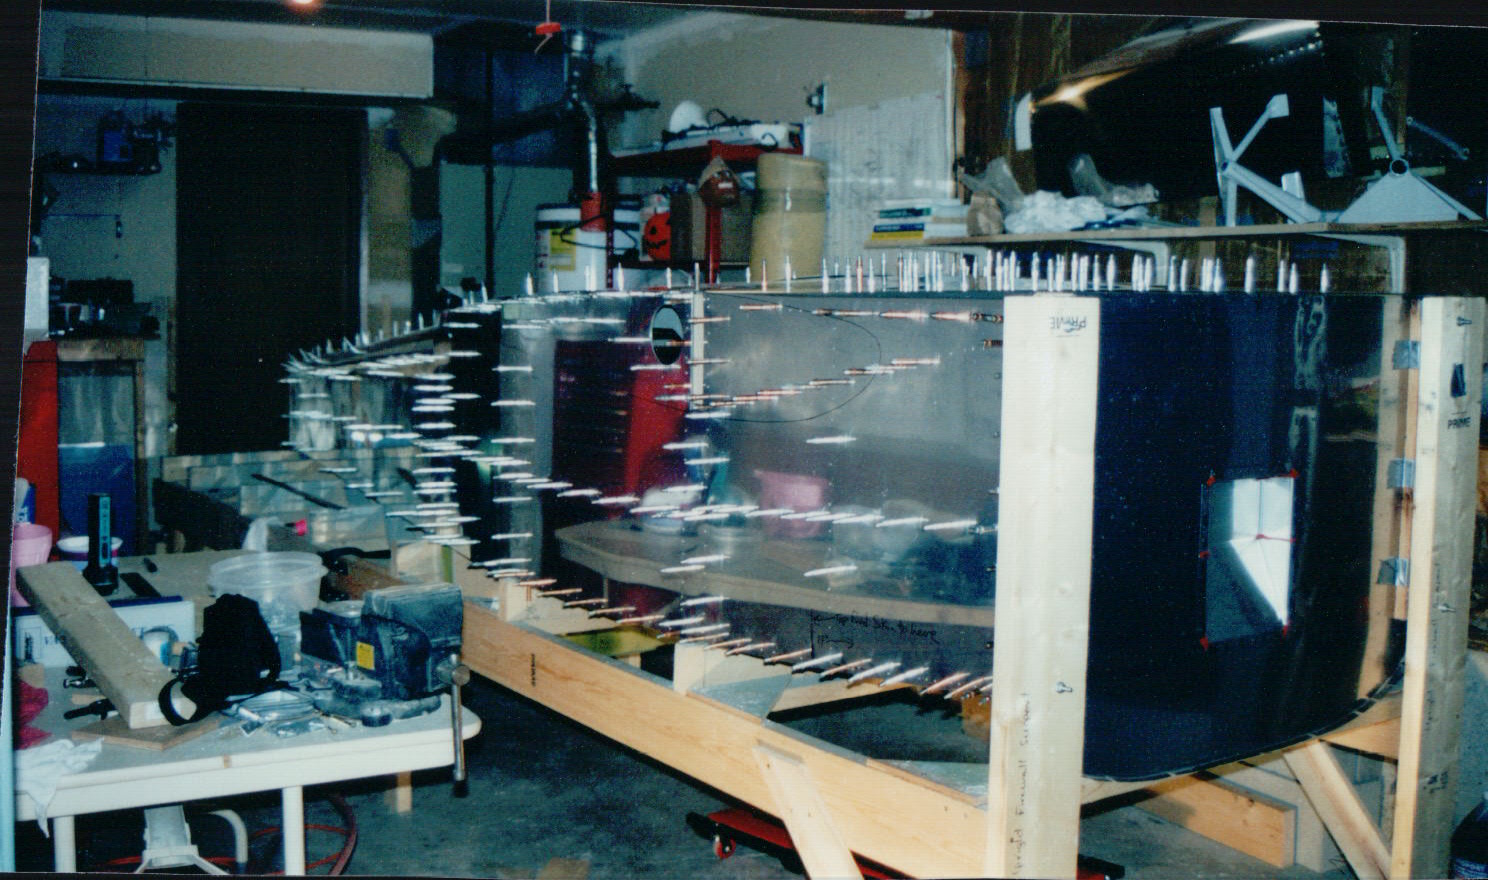
Wider view of the fuselage with skins cleco'd in place:
Passenger side of fuselage skeleton with pilot side and bottom skins in place:
Really starting to look like an airplane fuselage at this point:
Another view of fuselage with skins temporarily in place:
Fuselage: pg 1 | pg 2 | pg 3 | pg 4 | pg 5 | pg 6 | pg 7 | pg 8 | pg 9 | pg 10 pg 11 | pg 12 | pg 13 | pg 14 | pg 15 | pg 16 | pg 17 | pg 18 | pg 19 | pg 20 pg 21 | pg 22 | pg 23 | pg 24 | pg 25 | pg 26 | pg 27 | pg 28 | pg 29 | pg 30 pg 31 | pg 32 | pg 33 | pg 34 | pg 35 | pg 36 | pg 37 | pg 38 |
|
This page was last updated on 12/18/11.
Click here for questions or feedback. Copyright © 2007. All rights reserved. Chris Hand, chris@ckhand.com
|