|
|
|
Aviation Links:
|
Panel: pg 1 | pg 2 | pg 3 | pg 4 | pg 5 | pg 6 Electrical: pg 1 | pg 2 | pg 3 | pg 4 | pg 5 | pg 6 | pg 7 | pg 8
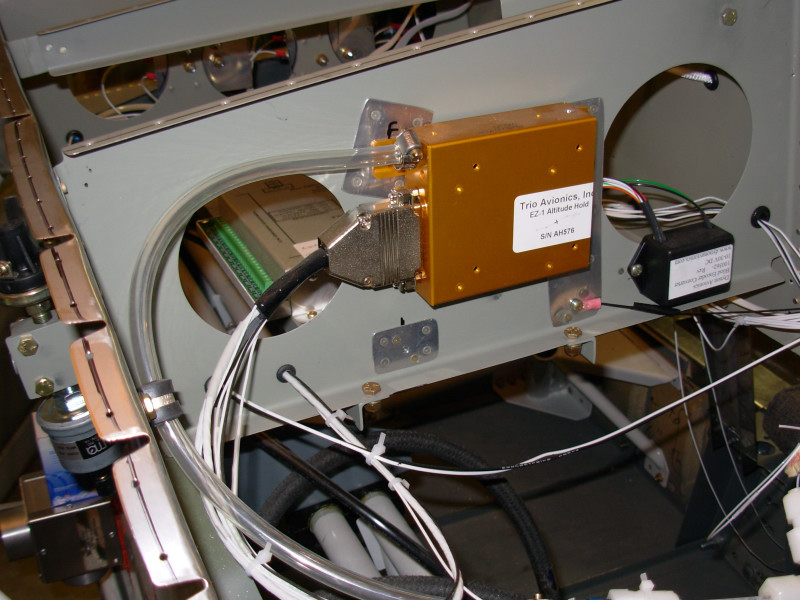
This page shows the installation of the Trio EZ-1 altitude hold system. This first picture is the EZ-1 "brain box" which includes the sensor and processor. The tubing connected to the box is the static line used by the system and the wiring harness connects the control box to the panel controls and the servo back in the fuselage behind the baggage compartment:
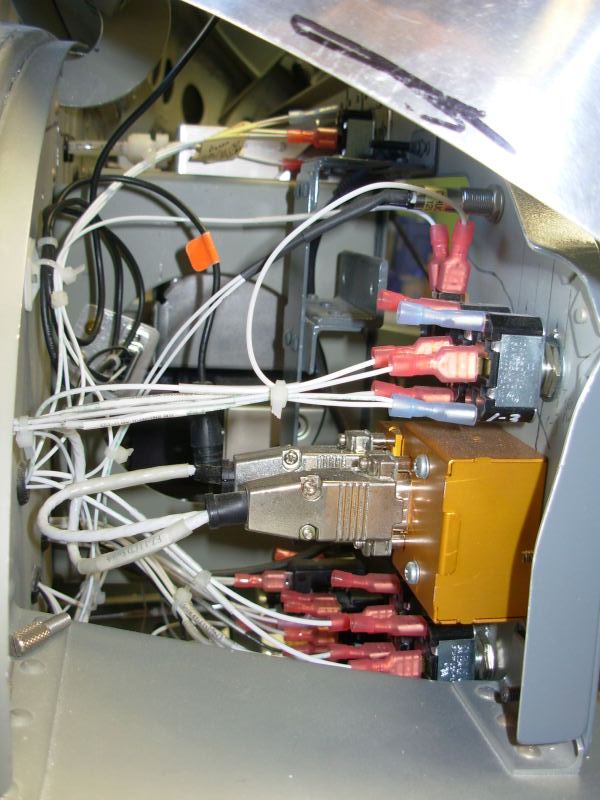
The gold colored boxes shown in this shot of the back side of the panel on the pilot side are the control switches for the EZ-1 altitude hold system the controls consist of a multi-function pushbutton and a control knob:
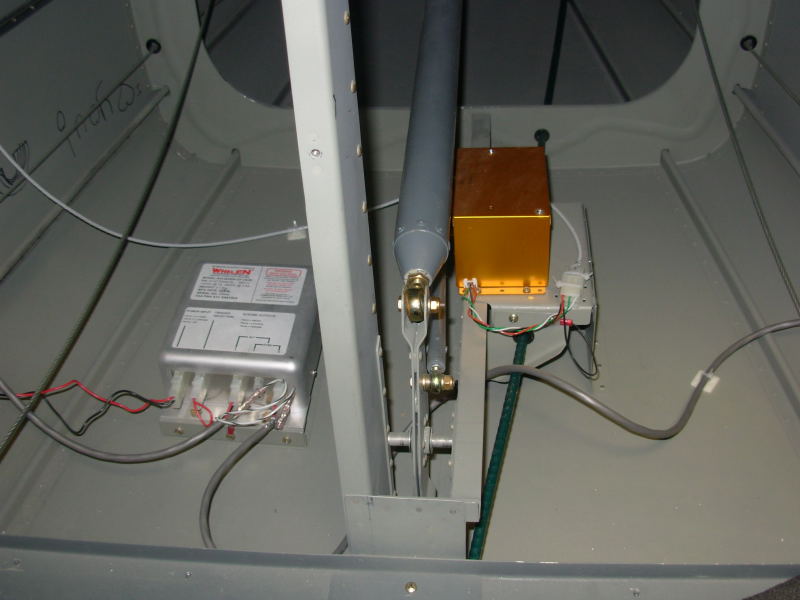
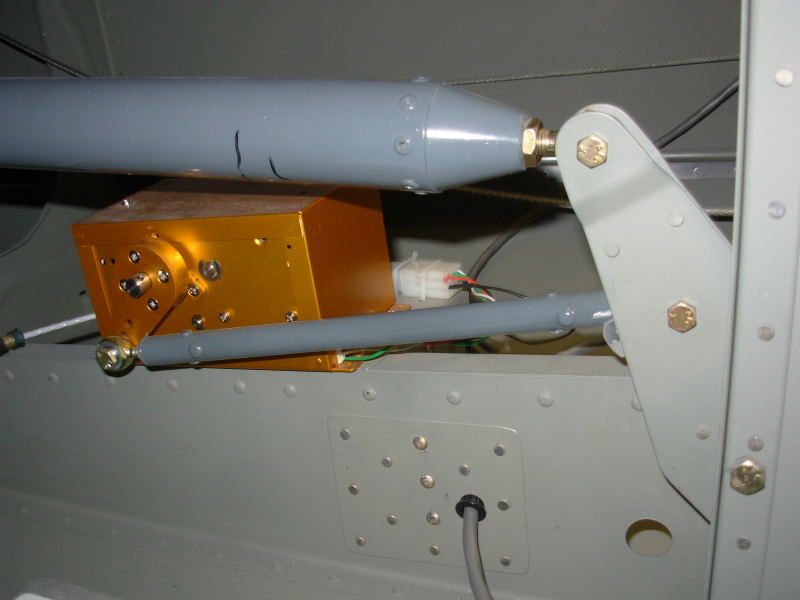
The EZ-1 servo is connected to the elevator bellcrank just aft of the baggage compartment. I built a mounting platform next to the existing rib and ran the manual trim cable underneath that platform. It's a pretty solid installation and should work well:
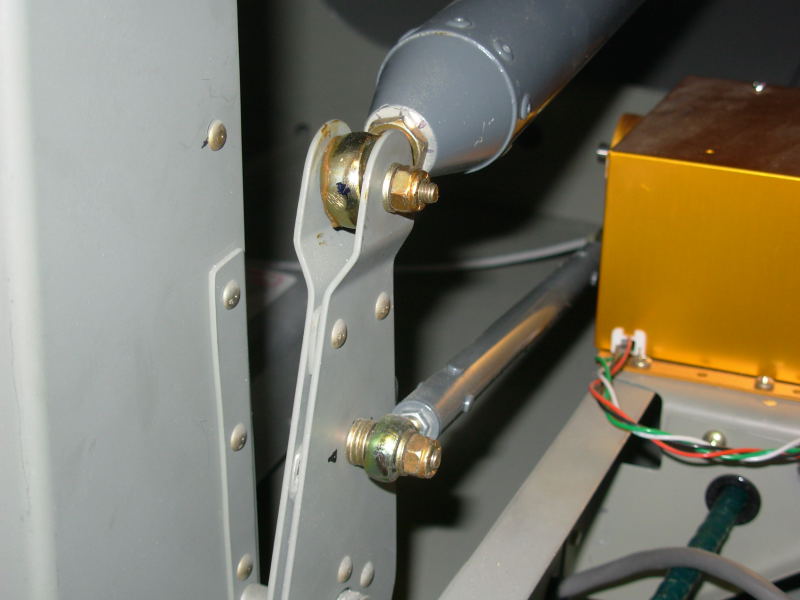
Here's a close up shot of the bellcrank area prior to final installation of the servo pushrod:
Side view of the EZ-1 servo installation after final assembly with primed pushrod:
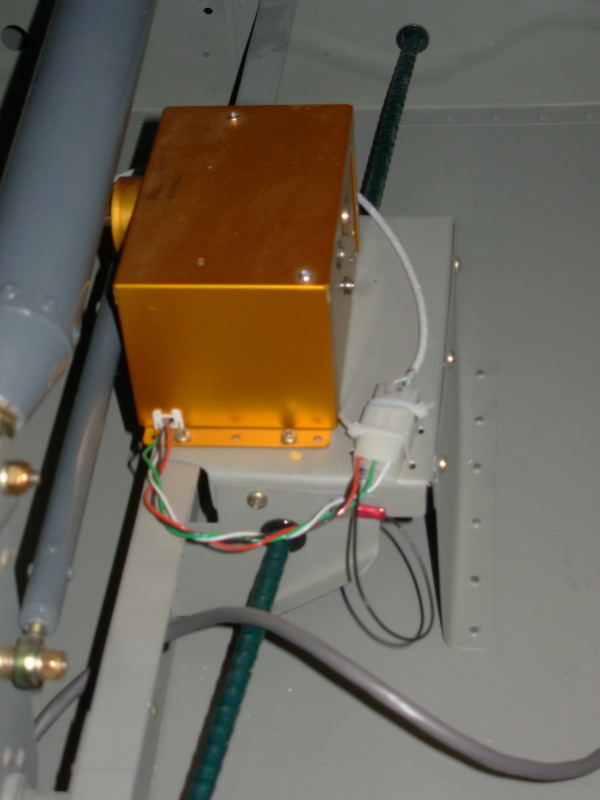
Top view of Trio EZ-1 altitude hold servo final assembly:
Panel: pg 1 | pg 2 | pg 3 | pg 4 | pg 5 | pg 6 Electrical: pg 1 | pg 2 | pg 3 | pg 4 | pg 5 | pg 6 | pg 7 | pg 8
|
|
This page was last updated on 12/18/11.
Click here for questions or feedback. Copyright © 2007. All rights reserved. Chris Hand, chris@ckhand.com
|