|
|
|
Aviation Links:
|
Panel: pg 1 | pg 2 | pg 3 | pg 4 | pg 5 | pg 6| pg 7 Electrical: pg 1 | pg 2 | pg 3 | pg 4 | pg 5 | pg 6 | pg 7 | pg 8
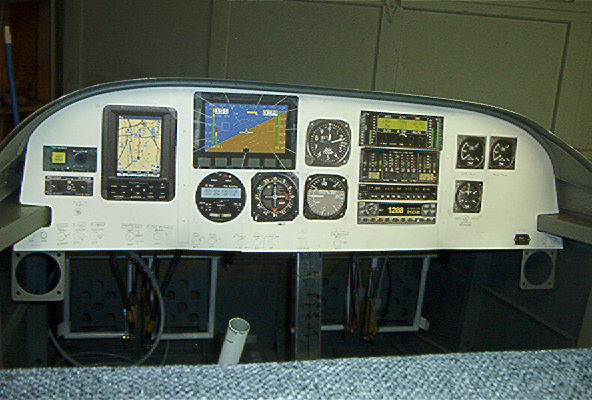
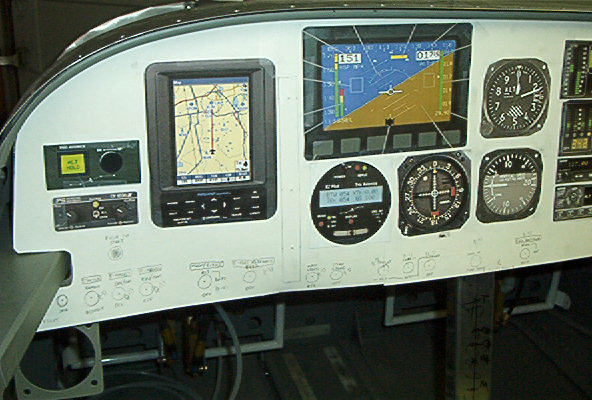
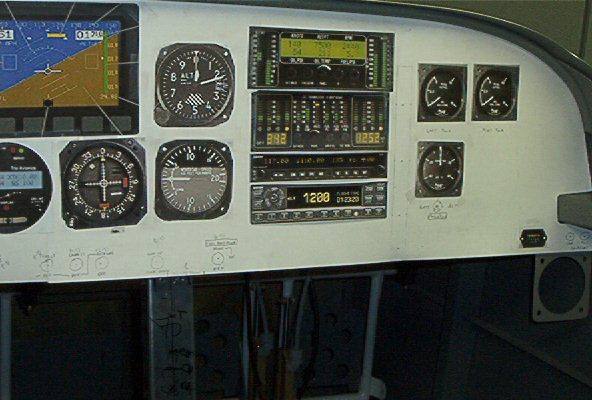
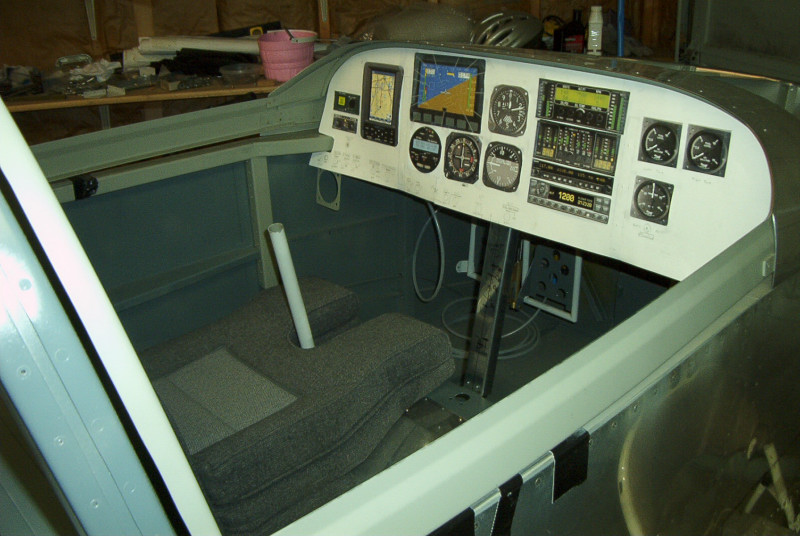
Using full size color printouts pulled off various web sites, I built a full size mock up of my panel and taped it onto the uncut panel in the plane. I went through a number of iterations with this and even then made some changes as I built the panel. But the basic setup is what I went with; Dynon D100 EFIS, Lowrance 2000C portable GPS mounted into the panel, Trio EZ-Pilot wing leveler (also serves as turn rate indicator & has mechanical slip/skid ball, both backup to Dynon indications), Trio EZ-1 altitude hold, IK-2000 engine monitor with altimeter and airspeed backup to Dynon, SL-30 NAVCOM, Garmin GTX-327 transponder, Van's fuel level and ammeter indicators, and mechanical altimeter & VSI to backup Dynon. Here is the full panel mockup in place with the fuselage still on sawhorses:
Close up of the left side panel mock up:
Close up of right side panel mock up:
Full panel view of panel mock upwith canopy frame installed but no canopy yet:
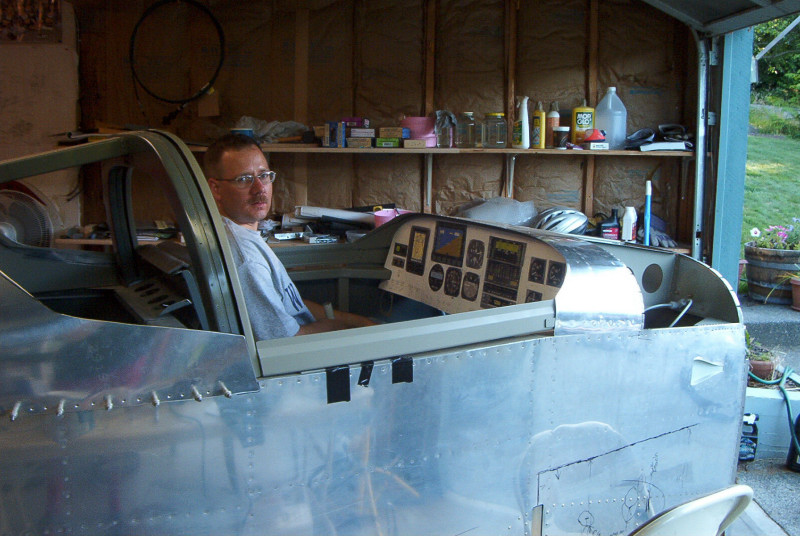
Fuselage is still on sawhorses, no canopy and no engine yet, but with the mock up panel and control stick temporarily installed, everything is set to make airplane noises and pretend to fly:
Panel: pg 1 | pg 2 | pg 3 | pg 4 | pg 5 | pg 6| pg 7 Electrical: pg 1 | pg 2 | pg 3 | pg 4 | pg 5 | pg 6 | pg 7 | pg 8
|
|
This page was last updated on 12/18/11.
Click here for questions or feedback. Copyright © 2007. All rights reserved. Chris Hand, chris@ckhand.com
|